Archive | 2008

Kamut Spaghetti with Simple Tomato Sauce

22 Apr

I am always on the lookout for simple delicious recipes.  And I am indeed a pasta lover.  Pasta dishes are usually simple, no?  I usually see the TV chefs creating their simple tomato sauces, which in my humble opinion are not that simple…  onions, garlic, celery , carrots.

I’ll be honest, I tried Giada DeLaurentiis recipe once, and I was not impressed by the flavor after the amount of chopping that went on.

I decided to take a stab at creating my very own simple version of tomato sauce.  I used something I am not very likely to have in my pantry, canned tomatoes.  I used a 28oz can of organic San Marzano tomatoes with the can lined with something white to prevent the tin metals to go into the acid tomato juice inside.  But I just have heard soooooo much about these San Marzano tomatoes I just had to give it a try.

I tried this sauce with a new kind of spaghetti I found at a specialty store – Kamut, a different type of grain, apparently available in Egypt since the time of the pharaohs.  I liked it a lot.  I read that Kamut is in the wheat family, very much like spelt, but better tolerated by people with wheat allergies.  I do not have those sensitivities usually, but there are times I want to experiment with other grains and give traditional wheat a rest.


Kamut Spaghetti with Simple Tomato Sauce

28oz can of organic San Marzano tomatoes, whole
2 tbs extra virgin olive oil
3-4 cloves of garlic, sliced
Basil – fresh preferably about 10-12 leaves, but I used dry – about 1 tbs – and worked great
Salt and Pepper to taste
¼ box of organic Kamut Spaghetti – I used DeCecco brand


  1. In a large pot over medium heat, pour the olive oil and sauté the garlic slices and about 1 tsp of salt for about 2-3 minutes, until the garlic is taking some color.
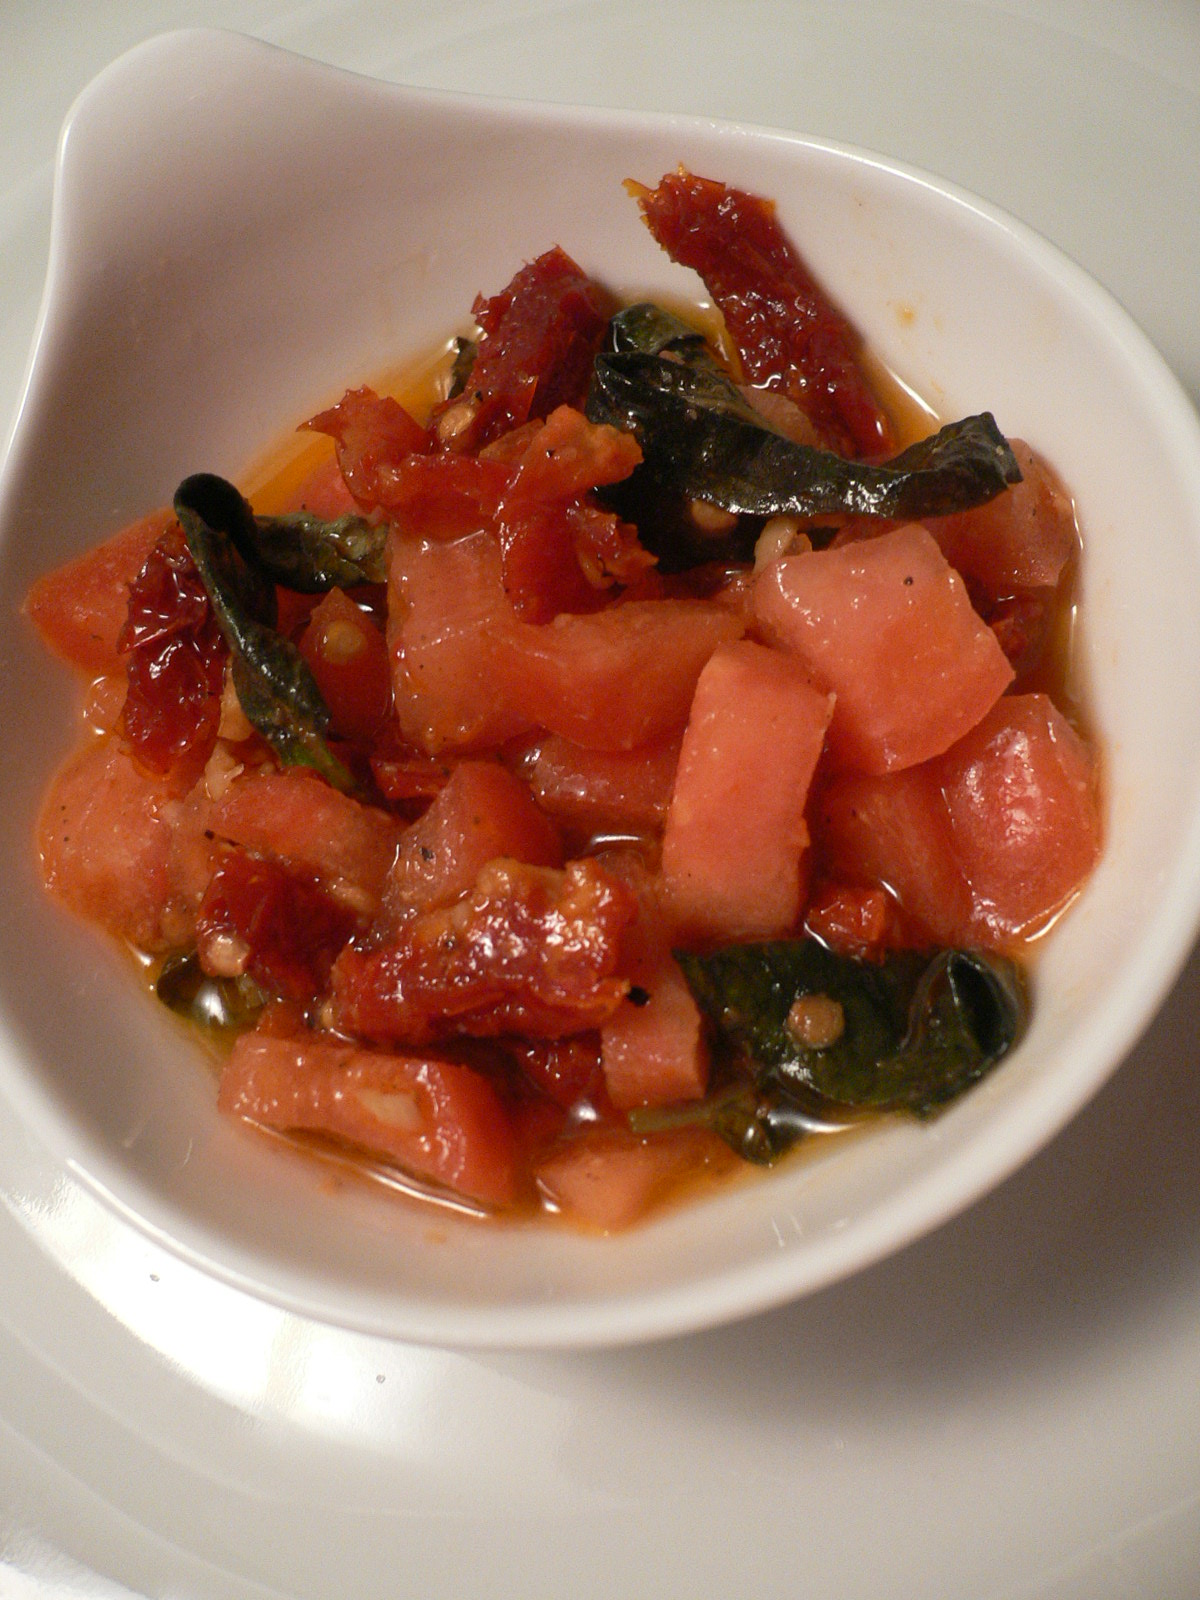
  2. When you open the tomato can, take kitchen shears and cut the tomatoes somewhat.  I have also seen Tyler Florence dumping them onto a bowl and smashing them with your own hands.  It sounds very appealing, but that’s another bowl to wash up.  When I have the kitchen staff Tyler has, I’ll do it his way.
  3. Pour the tomatoes in the pot.   Add some more salt and pepper to taste.  Let the tomatoes simmer uncovered for about 15-20 minutes.
  4. Check the seasoning.  Add more salt or pepper if needed.  Add the basil – dry or fresh.  Let it wilt a bit for a few minutes.
  5. With an immersion blender, blend the tomatoes into a pureed sauce.  The color of the sauce will change, from an intense red to an orangey color.  Don’t be discouraged by that.  The garlicky flavor rocks!!!
  6. I just let it simmer about 5 minutes more and turn off the heat.
  7. Meanwhile, boil a large pot of water for the pasta.  Salt the water well before adding the pasta.  It takes about 12 minutes to cook al dente.


The sauce recipe makes way more sauce than for one serving of pasta… so I transferred most of the sauce to a container and transferred the cooked drained pasta to the pot with the remaining sauce.  Use the amount you deem necessary to dress your noodles.  

I dressed with a dollop of yogurt cheese instead of adding the traditional Parmesan cheese, given I am on a no-cheese-phase in my life right now… believe me, I did not miss the Parmesan and the tangy taste was a sure plus.

Buon Apetito!!!


Yogurt Cheese

21 Apr

I am trying to learn to live with a little less cheese in my life…   My personal trainer used to tell me that that little belly I complain soooooo much about has a name – QUESO!!!! 

Cheese usually has a lot of fat.  I don’t like to buy the low-fat kinds usually because they replace the fat with plenty of chemicals to emulate the mouth-feel.  So I rather eat the real full-fat kind and eat less of the chemicals in the process.  I do like the reduced fat cream cheese though…

But sometimes, too much of a good thing can be not-so-good for you.  There was a time in my life when my doctors eliminated all dairy from my diet.  It was absolute HELL!!!  At the time, I used to drink at least 2 huge mugs of milk with chocolate a day.  Ohhh, I also got caffeine eliminated from my diet too.  Caffeine I can understand better, but Milk, Cheese,  how?!?!?!?

Over the years,  I have learned to have soy milk or rice milk based cheeses.  They are actually very ,very nice.  There are some better brands than others…   I know.  But they tend to be expensive. And I have to take a special trip to the natural food store to get them… not usually available at my neighborhood grocery store.

Some years ago, I learned that for people who tend to be lactose intolerant, yogurt seems to agree with them and it’s a great way to get calcium in your diet.  Something to do with the live active cultures. 

So I decided to make yogurt cheese – all the benefits of yogurt, the consistency of cream cheese.  It’s economical, because I can make it with regular yogurt I can find at my regular grocery store.  And, there’s hardly anything to it…  Too many pluses to count.  Don’t you think? 

I try to use organic plain yogurt.  I always read the label to make sure it has no added gelatin.  Unfortunately, most commercial fruit-flavored yogurts (the Dannons and Yoplait yogurts of the world…) all have added gelatin.  I usually buy Stonyfield Farms or some other organic brand.


YOGURT CHEESE

6oz container of plain low-fat yogurt – I started small, but the next time I’ll make a whole pint
1 tsp kosher salt


  1. In the same container the yogurt comes in, mix in the salt.
  2. Empty the salted yogurt onto a fine mesh strainer lined with a cheese cloth or 2 coffee filters.  I used the unbleached kind.
  3. Place a bowl under the strainer to catch all the liquid that will drain.  Cover the yogurt on the strainer with cling wrap or the cover of the bowl you placed underneath and place in the fridge for about 24 hours. 

The whey will drain off and the yogurt left will have the thick consistency of cream cheese.

Use the same way you would use cream cheese or even ricotta cheese – on crackers, toast, in a sauce, on top of pasta… 

Spinach and Asparagus Casserole

20 Apr

I mentioned I am trying to eat less cheese, right?  So here is one of the recipes I have come up with to feel satisfied without adding cheese to my food.  It’s hard, like getting rid of an addiction.  But with dishes like these, it is getting easier each day…


SPINACH AND ASPARAGUS CASSEROLE

1 tbs sofrito
½ cube of vegetable bouillon
1 shallot, finely sliced
½ green or cubanelle pepper
½ cup frozen corn
1 ½ cup cooked brown rice
½ container cream of asparagus soup
½ cup buttermilk or sour cream
10 grape tomatoes, quartered
2 cups of fresh baby spinach, washed well and spun dry
1 tbs Extra virgin Olive oil
Salt and Freshly Cracked Black Pepper to taste
1 tbs sliced almonds


  1. In a medium sauce pan over medium heat, pour the olive oil and add the sofrito.   After a few minutes, add the vegetable broth cube, add the shallot, pepper and corn and sauté. 
  2. In a large bowl, mix together the cooked rice, sautéed vegetables, asparagus soup, buttermilk or sour cream, tomatoes, spinach.  Mix together well.  If the mixture is too dry, you can add extra sour cream, olive oil or even a little bit of soy milk to add some moisture.
  3. Transfer the mixture to a baking dish and add the almonds on top.
  4. Bake in a 350 F degree oven for about 30-45 minutes so all the flavors meld together and the top is golden brown.

Let it rest for 10 minutes before serving.


This is a great dish to “clean out your fridge”… the ingredients I used were the little things I had left over from other dishes or little things I wanted to use up already.  So feel free to adapt this recipe to the things you want to clean out in your fridge.


Eggless Scramble – A Taste of Yellow 2008

19 Apr

Barbara at Winos and Foodies is hosting A Taste of Yellow 2008 to celebrate LiveSTRONG Day.  As you may recognize, LiveSTRONG is the organization Lance Armstrong created to raise awareness and funds for the research and eventual cure of cancer.

Barbara is a cancer survivor and when I read her story in her original round-up of A Taste of Yellow 2007, I was inspired and touched, because my family, like many, many families around the world has been struck by cancer too…  my grandma developed a skin cancer tumor in an ankle, my aunt had cancer cells in her bladder and my grandpa passed away from complications from prostate cancer.  Plus, she is a traveler just like me… and learned about her diagnosis right after completing the challenging and spiritual Camino de Santiago.

I am a firm believer that food can be your nourishment as well as your medicine.  I also believe that what we eat over our lifetime determines how healthy we will be overall.  We can stray to savor some goodies here and there, but overall we need to eat as naturally and organically as possible to give our body the best fuel possible.

Soybeans are the only vegetable containing all the essential amino acids needed for human health.  Soy protein has been linked to benefiting and decreasing risks of certain cancers, when consumed in moderation. Also, tofu is a vegetable source of omega-3 fatty acids.  This is why I decided to submit my Eggless Scramble recipe to A Taste of Yellow 2008.


EGGLESS SCRAMBLE

Scramble:
½ package of firm silken tofu
3 tbs soymilk or buttermilk
1/3 cup water
1 tbs olive oil
Squirt of Dijon mustard
3 tbs cornstarch
½ tbs garlic salt
½ tsp turmeric
A pinch of paprika
 
Filling:
¼ Small onion, chopped small
½ Tomato, chopped small
¼ Green bell pepper, chopped small


  1. Spray a medium non-stick skillet with canola oil spray and heat over medium-high heat.  If your skillet has a cover, even better.
  2. Sautee the filling ingredients of your choice until softened – I was going for a western-style scramble here at the beginning. (You’ll see why the qualifier later on).
  3. Blend together all scramble ingredients until smooth.
  4. When the skillet is very hot, pour the batter in the center of the skillet, turning it around a few times until the batter reaches the edges evenly.   
  5. When it has set somewhat, sprinkle the filling ingredients on top.  Cover the skillet for a few minutes to help the scramble batter cook thoroughly.
  6. Check the bottom for doneness and browning.  With a heat-proof spatula, break the tofu mixture to resemble scrambled eggs.  The filling will combine with the scramble.

 Serve hot.  I added my Tomato Relish on top for added veggies and a little zing!!


TOMATO RELISH

10 grape or cherry tomatoes, chopped small
2-3 sun-dried tomatoes, chopped small
4-5 fresh basil leaves, cut into thin strips
1 garlic clove, finely minced
2-3 tbs extra-virgin olive-oil, or as much needed to almost cover the tomatoes
Salt and freshly cracked Black Pepper
  1. Mix everything in a small dish.
  2. Let all ingredients macerate together for about 30 minutes, mixing it all occasionally during that time.


Papaya Juice

11 Apr

I learned once you should try not to drink any liquids when eating.  In an ideal world, one should wait about 15-20 minutes AFTER having eaten to drink any type of liquid, especially water.  The thing is that when we drink while eating we dilute the stomach’s gastric juices and make it harder for our stomach to do its job.    Drinking while eating might very well be the reason why some of us feel full and bloated after eating, even after eating something light and healthy.

But there is hope for those of us how sometimes find it hard to eat without a drink besides our plate… we could drink fruit juices that contain enzymes and will actually help us digest the food more easily rather than slow our stomach in its tracks… these juices are:

  • Apple Juice
  • Pinneaple Juice
  • Papaya Juice

And the way to ensure we are indeed taking in these enzymes is by making the juices from scratch.  And it’s easier than you might think…


PAPAYA JUICE

½ of a medium-sized papaya – peeled and cut into 1 inch pieces
About 3 cups of water
¼ cup brown sugar – more or less depending how sweet your papaya is


  1. Place the papaya pieces, sugar and water in a blender.  Blend until all is well combined and smooth.  The juice should be light in texture.  If you feel it’s like a fruit puree, feel free to add more water little by little.
  2. Pass the juice through a sieve to make sure you get rid of any grittiness in the brown sugar.
  3. Refrigerate well.   Drink the juice chilled, within 1-2 days. 

If the juice remains longer than 1-2 days in the fridge, it will still be good, but it could gel on you… just blend again with a bit extra water to thin out again.