Archive | treats RSS feed for this section

Recap of our 2nd KarmaFree Cooking Class – Love Yourself First

7 Feb

Last week we had our 2nd KarmaFree Cooking class and our theme was Loving ourselves first thru our Food. Sometimes, we only cook nice things when we’re cooking for others. But why not cook something nice even if it’s just us in the house??

Clase Cocina KFC - Feb 2014 2

The recipes we shared are old and new KarmaFree Cooking recipes that work well made just for one person, for two or for a crowd. These are simple, quick and delicious recipes that work well to make just for you on a solo movie night at home and just the same are not much more effort making for a large dinner party.

RECETAS - KFC2


Here was our class menu:

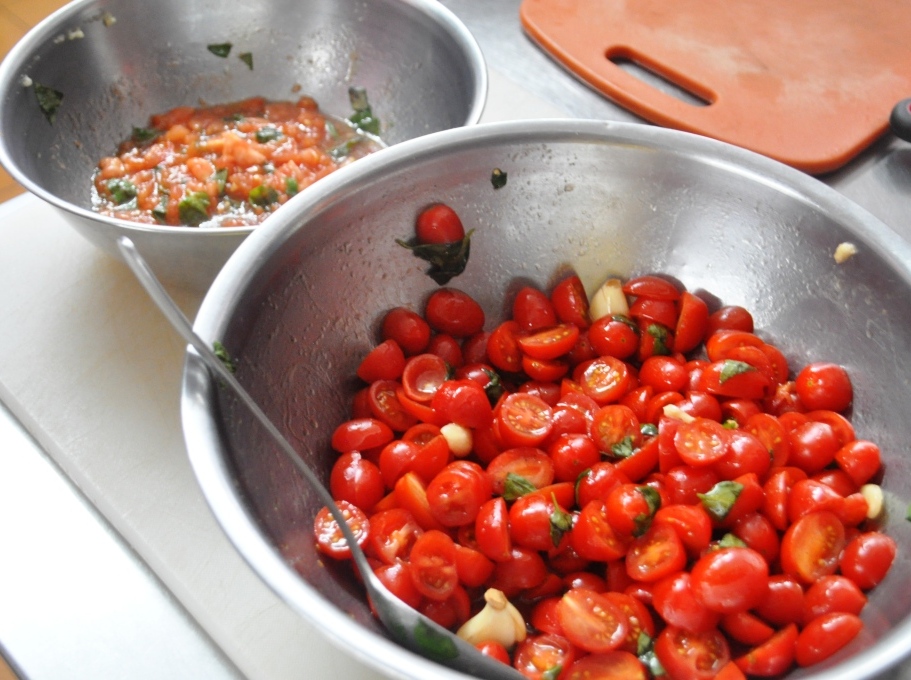
Pasta with Marinated Tomatoes over Brown Rice Pasta

 Pasta with Marinated Tomatoes - KFC2

Quinoa Pasta with Fresh Baby Spinach and Lemon Vinaigrette

 Pasta with Spinach KFC2

Spinach Salad with Macerated Strawberries

 spinach-strawberry-salad-comp

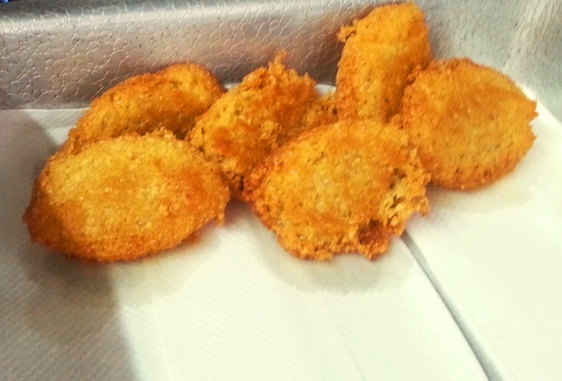
Baked Sweet Plantains with Cinnamon and Vanilla

 Platanos maduros - KFC2

Poached Pears with Blue Cheese and Almond Praline

 Poached Pears - KFC2

Even though these were all recipes we had shared in the blog before, it’s never the same reading and making them on your own as seeing how I make them, after I have made them over and over and over again. Your words… not mine.

Plato Completo - KFC2

The class is not only about sharing recipes and techniques. We also talked about alternative pastas… we talked about my favorite olive oils and vinegars. We also talked about microplanes and rasps to grate lemon zest and how I do not like to rinse pasta after I drain it. We also shared how the same ingredients for the Marinated Tomates can be used in a bruschetta as an appetizer or skewered to make for a fancier passed hors d’oeuvre.

Tomates Marinados - KFC2

Pinchos de Mozz Tom - KFC2

I am so grateful for all of those who attended… we had a larger class this time around. Some repeats and some new students. I want to give a great shout out to Adriana from Great Food 360 who attended once again and contributed with the wonderful pictures. She rocks!!!

GRUPO - KFC2

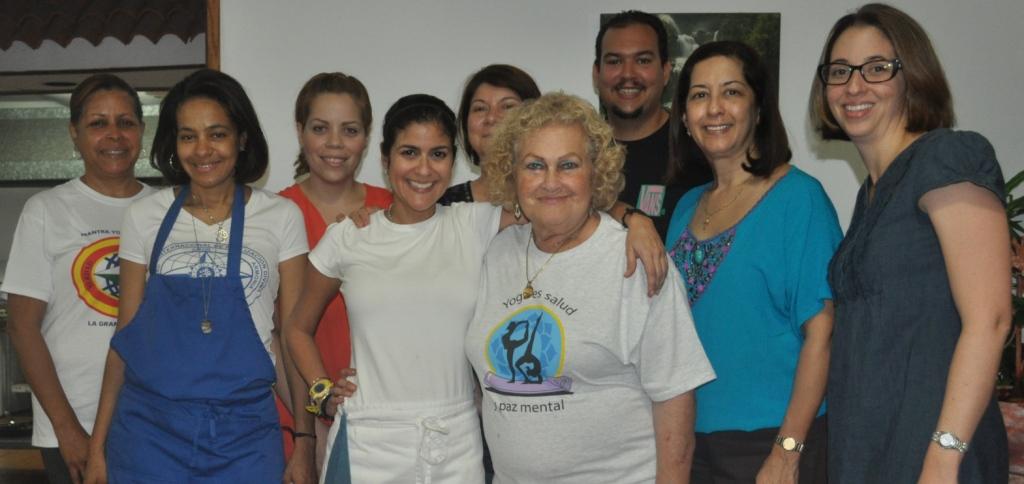
Again to my lovely assistants Angie and Mom… who help me with the little things that keep the class rolling smoothly.

Hope you can join us for the next installment… Late April. Mark your calendars – Recipes to celebrate Mom. I am already planning the menu.


Yautía Fritters

27 Dec

I learned to make these fritters from Mili at the Yoga Center. She was always a champion of having something fried in our Saturday menus…

I have always been a great fan of anything fried, but to be honest, never made these yautía fritters myself. So why in the world did I want to include them as part of a Cooking Class menu??? Beats me…

So I had to prepare fast, real fast to make a recipe that I could replicate time and time again, and that it tasted as good as Mili’s always did. Thank goodness yautías and most viandas are on sale during Xmas because they’re used in so many typical recipes.

Frituras Yautia - INgredients

Here are the results… I hope you enjoy them as much as the cooking class students did.

Frituras Yautia 3

YAUTÍA FRITTERS

2 medium sized yautías, peeled and cut into small pieces
1 green banana, peeled and cut into small pieces
3 tbs sofrito
2 large garlic cloves, peeled and cut into smaller pieces
1 tsp salt
1 tbs olive oil
Sprinkling of paprika
Frying oil – Grapeseed oil or Canola Oil
  1. Add all the ingredients in a food processor and blend until you create a puree.
  2. With a spatula, scrape off the sides of the bowl of the food processor to make sure all the mix is evenly pureed.
  3. Using a skillet with about ½ inch of oil over medium high heat, fry the fritters creating small mounds with 2 spoons.
  4. When they’re golden brown on both sides, transfer them to a plate with paper towel to soak up any extra oil.

Processing Frituras yautia

These fritters are easy… and delicious. You can make them in a cinch. Perfect for an impromptu parranda. They taste like an alcapurria without the filling.

Masa Frituras Yautia

When we were making them at the cooking class, Angie told me if we had left a bit of the soy filling from the yuca pastelón, we could’ve demonstrated how this masa works for an alcapurrias too.

Coquito Ice Cream

25 Dec

I have been meaning to make an ice cream using my Coquito recipe for years… but recently I asked my mom for her ice cream maker and I have become a frozen dessert maniac.

I educated myself on making ice creams… proportions, flavors, textures. And the best ice creams always included some sort of egg component. And as you know, eggs are no-no’s in KarmaFree Cooking. I was willing to give this project a few tries, but making Coquito takes a few steps and I didn’t want to be wasteful.

I struck gold when I took my ice cream making inquiries to a Facebook group we have – the Serious Eats Water Cooler. There a few friends introduced me to Max Falkowitz, an ice cream guru who’s also part of the editorial team at Serious Eats. Between his recommendations and my friend Jerzee Tomato’s input, I came up with a brilliant combination of texture and smoothness.

Create a custard… without using eggs and mix in the Coquito. Genius!!! The Coquito has fat from the coconut milk, evaporated and condensed milks so all you need to do is add some more to the custard.

I hope you enjoy it as much as we do!   My mom was in awe when she tried it…  as has been each and every person who has tasted it after that.  This was a home run!

Coquito Ice Cream


COQUITO ICE CREAM

2 cups of my Coquito Recipe
1 ¼ cups half and half
2 tsp cornstarch
½ cup brown sugar

First we need to create the components… you can make a batch of Coquito first and then make the cornstarch custard.

  1. In a medium saucepan over medium heat, add 1 cup of half and half and sugar. Add the cornstarch to the remaining ¼ cup half and half. Whisk well to create a slurry and while whisking, add to the saucepan with the rest of the ingredients.
  2. Whisk or stir constantly using a wooden spoon to avoid any lumps while the mixture thickens. It’ll take about 5-6 minutes. The custard is done when it coats the back of a wooden spoon and when you run a finger thru it, the sides of custard will not get back together.
  3. It may look a tad loose, but it’ll thicken in the fridge while it cools.
  4. Transfer the custard to a heatproof bowl or even a glass measuring cup and chill in the fridge at least 2-3 hours. I place a plastic film over the custard to avoid it creating a film on top. You can do this even a few days in advance if you want. Just like making the Coquito in advance.
  5. When you’re ready to assemble the ice cream, in a pitcher bring together 2 cups of Coquito and the cornstarch custard, which should measure just a tad more than 1 cup. Mix well to combine and add to your ice cream maker. Churn 25-30 minutes according to your ice cream machine’s instructions.
  6. Transfer to a container to freeze in the freezer for about 2 hours before serving. It’s delicious right off the ice cream maker… but it’s at its best after a few hours in the freezer.
  7. When you’re about to serve it… leave it a few minutes at room temperature before scooping.

??????????

The end result is a smooth, spicy and creamy ice cream that feels as rich as any premium ice cream around.

Merry Xmas, Happy Holidays and may 2014 be filled with lots of blessings.

Black Sesame Gomasio

22 Nov

Have you ever had gomasio?? It’s a seasoning made from sesame seeds and salt. I was under the impression it was something that came from India, but according to Wikipedia, apparently is more Japanese.

I learned to enjoy gomasio thanks to Mili at the Yoga Center. She loves it and she would make some and bring to the center. She taught me how to eat it as a condiment sprinkled over salads, but you can certainly enjoy it over soups, rice or anything you want to give a nice salty flavor to.

??????????

You can find prepared gomasio in any gourmet or health food store or supermarket like Whole Foods. I even saw gomasio over at La Grande Epicerie in Paris. But why buy it if it’s so easy to make yourself???

??????????

Black Sesame Gomasio

1 ½ cups black sesame seeds
3 tbs kosher salt

??????????

  1.  In a large sauté pan over medium heat toast the sesame seeds. Toasting black sesame seeds is a bit challenging than toasting the regular white ones. Just keep toasting until the seeds start to pop and jump a little bit out of the pan. Transfer to a heat resistant bowl and allow for the seeds to cool completely. They turn a tad ashy…

??????????

2.  Transfer the cooled sesame seeds to a food processor. Pulse to pulverize the seeds a few times. Add the kosher salt and pulse a few times again until everything combines and becomes a unified powder mix.

Keep in a tight container. I save it in the fridge as the warm temperatures of Puerto Rico can make the seeds rancid very quickly.

Acerolas are here!!

11 Jul

I’ve seen them called Caribbean cherries… we just simply call them acerolas. And they’re in season.

IMG-20121220-00009

They’re tart and sweet and they make the best juice and fruit compotes.

Have you ever had acerolas? What do you like to enjoy them?