Tag Archives: coconut

Hawaiian Haupia Coconut Custard

11 May

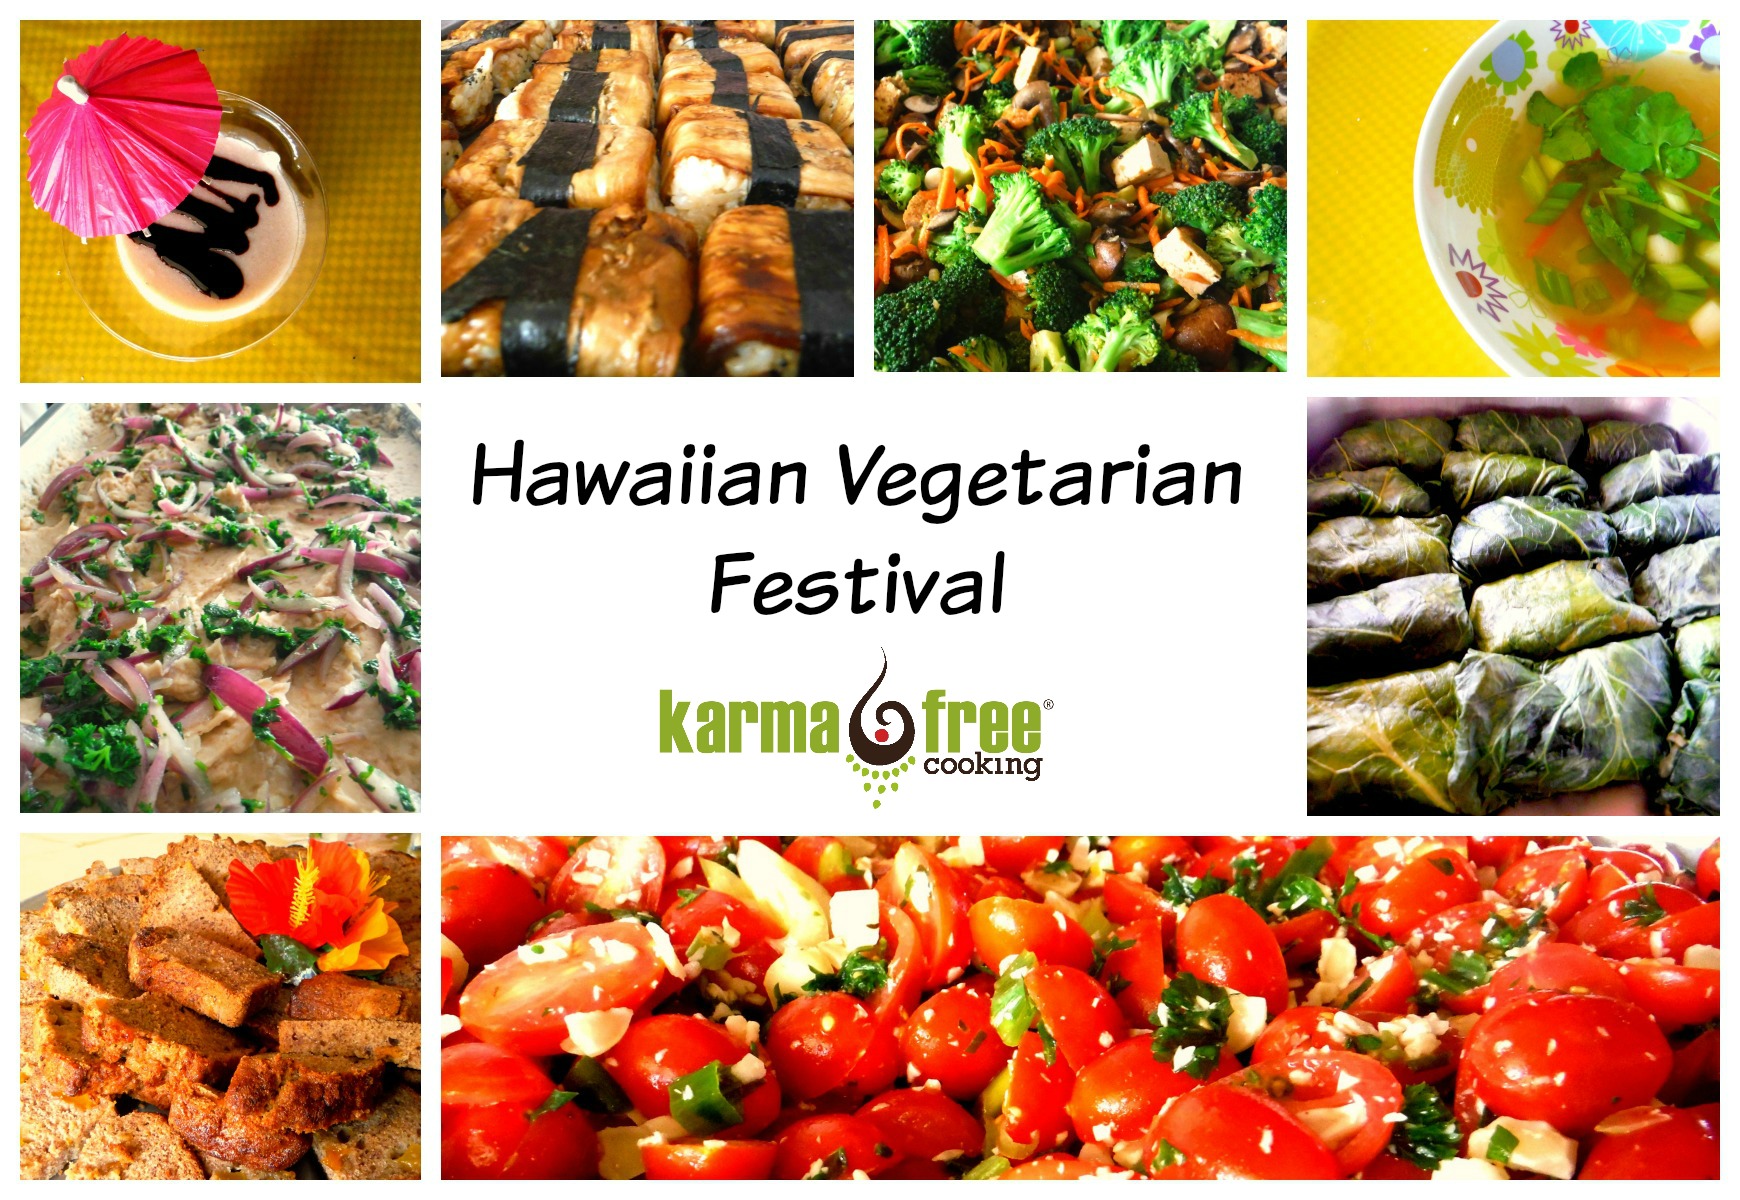
It was tempting to make a Hawaiian-inspired dessert using pineapples… but as I mentioned to you originally, we were instructed by our Guruji to only make one dish with pineapple for the Hawaiian Vegetarian Festival a few weeks ago.

To be honest…  I liked the idea and the challenge, because as I have learned, Hawaiian cooking is much more than about the pineapple.  And just by adding pineapple to something, doesn’t make it Hawaiian, right??  This was a Hawaiian Festival, not a pineapple festival.

A typical Hawaiian dessert is haupia…  very similar to a Puerto Rican tembleque.  To make sure the locals didn’t confuse this Hawaiian dessert with its local “braddah”, as they say in the islands, we added a nice little twist, of lime rind that is and a drizzle of carob syrup.


Coconut Custard Dessert from Hawaii

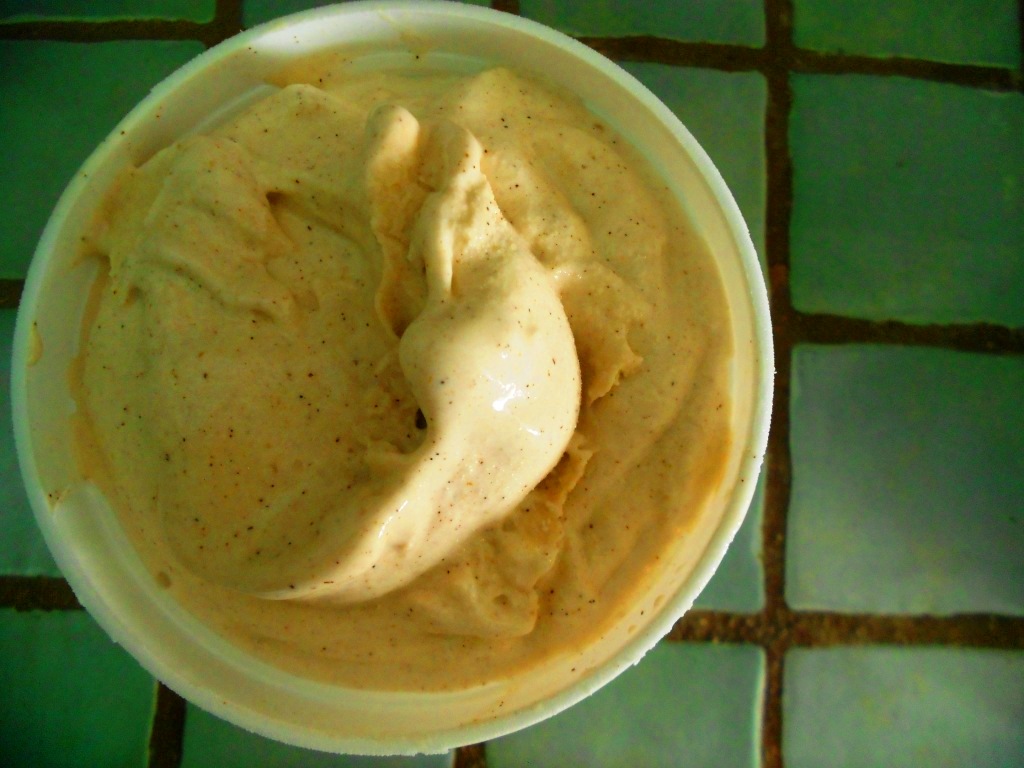
HAWAIIAN HAUPIA COCONUT CUSTARD

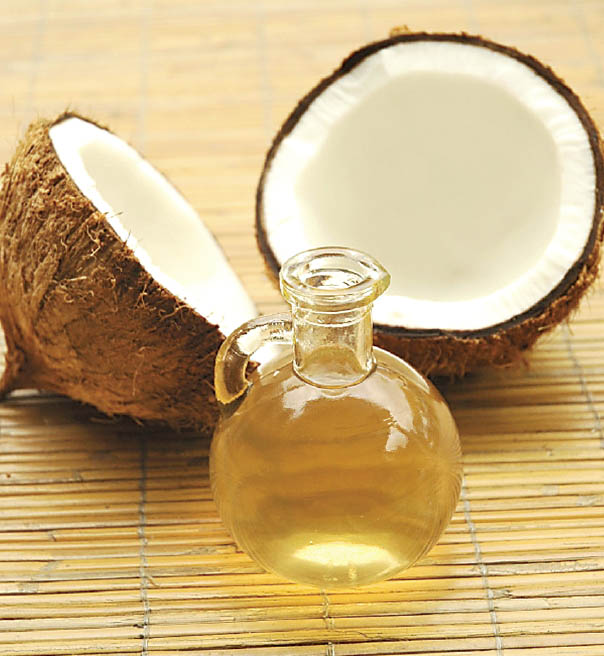
2 cans of coconut milk or one 25oz can

1 cup of water

6 tbs cornstarch

2/3 cups brown sugar

¼ tsp salt

2 pieces of lime rind


  1. In a large saucepan or small pot at medium high heat, add the coconut milk.  Feel free to use a larger pot than you think you might need so you’ll have enough space to stir the mix.
  2. Add the sugar, salt and lime rinds and stir well with a wooden spoon.
  3. Add 1 cup of water to the cans to “wash them” from any leftover coconut milk.  Add the cornstarch to this water to create a slurry.  Mix well with a small whisk and add to the pot on the stove.
  4. Stir the mixture kinda constantly to avoid the cornstarch to fall to the bottom of the pot and create lumps.  When the mixture feels it’s starting to thicken, lower the heat so the bottom doesn’t scorch.  Continue stirring making a figure 8 until the mixture coats the back of the spoon and when you run your finger thru the coating the side do not come together again.
  5. Transfer individual plastic cups for individual servings.   Make sure you remove the lime rinds.
  6. Allow to slightly cool for about 20 minutes on top of the kitchen counter.  After that, transfer to the fridge to cool and set for about 2 hours.  The final product will set but still be “jiggly” when you shake the mold or cup.
  7. Garnish with a drizzle of carob syrup and a paper umbrella…


Recipe from KarmaFree Cooking

Hawaiian Vegetarian Festival

26 Apr

Manolo gave me a challenge… Why don’t we plan a Vegetarian Festival with the flavors of Hawaii??  Hawaii??  Why??  I asked.   He replied: “Well…  I did this Rice with Pineapple the other day and I think it’s pretty awesome… so I thought it would go well within a Hawaiian-themed festival.”

33  stock-footage-aloha-form-hawaii

Just like Manolo… he gets an idea in his head, and then the rest of the world needs to accommodate to it.   “Oh… and the decorations would look so pretty!!!! Don’t you think, Madelyn??”   And that’s how the idea about this Hawaiian Festival came about.  Because… I have never been to Hawaii, Manolo has never been to Hawaii and the closest we have been to something truly Hawaiian are our friends Kenny and Tim, who one is from Hawaii and the other lives currently in Maui.

Hawaii Festival - ENG

So I went to the internet and social media to gather some ideas of what a traditional Hawaiian Luau would be like and how could I make it into a vegan, gluten-free affair.  My friends were enthusiastic about the idea and recipes started to flow.  What surprised me the most was that many of the ingredients in Hawaiian/Polynesian cuisine are the same as in Puerto Rican cooking – taro root, breadfruit, sweet potatoes… with a few unexpected twists, such as nori, gomasio, rice vinegar, and macadamia nuts…

During the next few weeks I will be sharing with you the menu of this Vegetarian Hawaiian Luau.  But this post will serve as an anchor and summary of all the recipes served that Sunday at the Centro Cultural Yoga Devanand.   Let’s all travel through our taste buds…

Alohas and Mahalo!!!

23  shaka-sign

 Lomi Tomato

Longrice Soup

Poi

Tofu Mushroom Poke

Lau Lau

Eggplant Musubi

Roasted Breadfruit with Spices

Haupia with a Carob Drizzle

Banana Mango Bread

Lilikoi and Grapefruit Juice

Vegan Coquito

1 Dec

Yes… I went there. My sister has been dairy-free for some time now and she was craving Coquito.

Being the good big sister that I am, I developed this version omitting the evaporated and condensed milks. I must admit, this turned out to be a really cool experiment. The flavors and the spirit of Coquito is still there – without rum or dairy.

I hope you enjoy it as much as I and my sister did.

Vegan Coquito

VEGAN COQUITO

1 pint coconut creamer
2 containers coconut cream
2 containers of coconut milk
30oz of spiced tea – using a baggie each of cinnamon sticks, anise seeds, star anise, cloves and a 5” piece of ginger
2 tbs vanilla powder or extract
2 tbs cinnamon powder
2 tbs nutmeg
 
  1. Just like my regular recipe for coquito, you first make a spiced tea – In a medium saucepan pour 3 cups of water, cinnamon sticks, anise seeds, star anise and cloves. Add also the piece of ginger cut up into small pieces or rounds. No need to even take off the skin. Bring to a rolling boil over medium high heat for about 15-20 minutes to create a strong spiced tea. This will give the coquito most of its spiciness. Turn off the heat and allow the spices to concentrate the flavor of the tea. Let cool a bit. You could even make this the day before and store it in the fridge until you’re ready to assemble the Coquito recipe.
  2. I find that if you have a really large pitcher or plastic jug with a large mouth that will accommodate about 90oz of liquid, this is the best way to assemble this…
  3. In the large pitcher I described above, combine the coconut creamer, coconut milks and creams of coconut with 30oz of the spiced tea. Add the vanilla powder, cinnamon powder and freshly grated nutmeg. Using an immersion blender, blend the whole thing well to combine and make a tad frothy.
  4. Allow to chill in the refrigerator in that same pitcher you made it in.

Serve chilled in small shot glasses. Sprinkle with ground cinnamon.

Natural Remedies – Coconut Oil to soften skin and other beauty purposes

24 Apr

I am a fan of natural remedies. I have not used a Tylenol or any other analgesic to take care of a headache in over 15 years. I have shared already some of the natural remedies I use to treat a cold, coughs, sleepless nights and even nausea.

We were discussing over on FaceBook some of our experiences with natural remedies and my friend Robin shared her new found appreciation for coconut oil. To her, it’s a miracle on a jar.

coconut_oil

I asked her to please share her experience and this is what she wrote for me and you all:

“I’ve used coconut oil in the past, but I’ve never been regular with it. Skin super dry, slather it on, forget about it until the next major emergency. A couple of weeks ago I decided to be regular, vigilant. It goes on my lips instead of lip balm, it gets rubbed in after the shower, still dripping wet, patting, not rubbing skin dry.

Oh my God, it is amazing. I am a 55 year old woman. My skin is as soft and smooth as a 20 year old. I have a patch of psoriasis on my calf. No, I don’t, not anymore. It’s gone, smooth, silky skin in its place. Also, my upper arms were bumpy. Kind of like teeny, tiny pimples, but not pimples. I’ve had them since my early 30’s. Gone.

And this, okay, it’s going to sound weird, but I have allergies. I rub a little of the oil inside my nose. The sneezing is down by half. Apparently, the oil traps the particles. Way less marauders get by to torture me.

I’m using organic, cold pressed, cooking grade coconut oil. It’s not cheap, but a little goes a long way. I really wish I’d done this earlier. I smell great all the time now. I find myself at work, sniffing my forearms.

I think I shall make a lip balm, using coco butter, coconut oil, and maybe a dash of peppermint (which I understand does not have the drying effects that camphor or menthol). My lips are the only part that haven’t reverted to youth. They’re still dry, but they’re not still crackly. I’m hopeful the oil will have the same effect it did on my skin, just that it will be a slower process. It’s helped a great deal, just not as much as it’s done on my skin, at least this far.

Today, it’s cold and dry out. I rubbed a tiny bit of oil on my palms, rubbed it into my hair. Shiny, not staticky hair resulted. Let me stress – tiny bit. I have thin, fine hair. If I’d used more, it have been weighted down like a helmet. The tiny bit though, it did good things.”

coconut-oil-DSC_1718
After this testimonial, I am giving coconut oil a try too. I was reading on the internet from trusted sources like WebMD, Dr. Oz and Body & Soul Magazine that coconut oil does have a positive anti-oxidant action on the body as it contains Vitamin E, which helps to reduce the effects of oxidation on the body. And even though it’s a saturated fat and should be consumed in moderation, it’s from a vegetable source.

According to Ayurvedic medicine, the higher the fruit/crop grows from the ground, the better it is for us… and coconuts grow real high atop palm trees. So don’t be discouraged to try coconut oil either for cosmetic uses like Robin has or for consumption. I’ve had great experience using coconut water to hydrate myself while training for marathons, to aid in constipation and I have also used coconut oil in cooking. Coconut oil has a high smoking point so it’s great for sautéing and cooking at high temperatures. I have even used it in place of melted butter in a vegan version of my bread budín recipe and a vegan version of crepes. Just be careful, always cut down a bit when using coconut oil to replace melted butter. If a recipe calls for X amount of melted butter, use about ¼ less coconut oil than what the recipe calls for butter. I do not know the logic for it, but it is a rule of thumb that has worked well for me.

I want to thank Robin for candidly sharing her experience with coconut oil with us… and to encourage you to always strive to go as natural as possible. It’s good for your body and spirit.


Coquito Ice Cream

25 Dec

I have been meaning to make an ice cream using my Coquito recipe for years… but recently I asked my mom for her ice cream maker and I have become a frozen dessert maniac.

I educated myself on making ice creams… proportions, flavors, textures. And the best ice creams always included some sort of egg component. And as you know, eggs are no-no’s in KarmaFree Cooking. I was willing to give this project a few tries, but making Coquito takes a few steps and I didn’t want to be wasteful.

I struck gold when I took my ice cream making inquiries to a Facebook group we have – the Serious Eats Water Cooler. There a few friends introduced me to Max Falkowitz, an ice cream guru who’s also part of the editorial team at Serious Eats. Between his recommendations and my friend Jerzee Tomato’s input, I came up with a brilliant combination of texture and smoothness.

Create a custard… without using eggs and mix in the Coquito. Genius!!! The Coquito has fat from the coconut milk, evaporated and condensed milks so all you need to do is add some more to the custard.

I hope you enjoy it as much as we do!   My mom was in awe when she tried it…  as has been each and every person who has tasted it after that.  This was a home run!

Coquito Ice Cream


COQUITO ICE CREAM

2 cups of my Coquito Recipe
1 ¼ cups half and half
2 tsp cornstarch
½ cup brown sugar

First we need to create the components… you can make a batch of Coquito first and then make the cornstarch custard.

  1. In a medium saucepan over medium heat, add 1 cup of half and half and sugar. Add the cornstarch to the remaining ¼ cup half and half. Whisk well to create a slurry and while whisking, add to the saucepan with the rest of the ingredients.
  2. Whisk or stir constantly using a wooden spoon to avoid any lumps while the mixture thickens. It’ll take about 5-6 minutes. The custard is done when it coats the back of a wooden spoon and when you run a finger thru it, the sides of custard will not get back together.
  3. It may look a tad loose, but it’ll thicken in the fridge while it cools.
  4. Transfer the custard to a heatproof bowl or even a glass measuring cup and chill in the fridge at least 2-3 hours. I place a plastic film over the custard to avoid it creating a film on top. You can do this even a few days in advance if you want. Just like making the Coquito in advance.
  5. When you’re ready to assemble the ice cream, in a pitcher bring together 2 cups of Coquito and the cornstarch custard, which should measure just a tad more than 1 cup. Mix well to combine and add to your ice cream maker. Churn 25-30 minutes according to your ice cream machine’s instructions.
  6. Transfer to a container to freeze in the freezer for about 2 hours before serving. It’s delicious right off the ice cream maker… but it’s at its best after a few hours in the freezer.
  7. When you’re about to serve it… leave it a few minutes at room temperature before scooping.

??????????

The end result is a smooth, spicy and creamy ice cream that feels as rich as any premium ice cream around.

Merry Xmas, Happy Holidays and may 2014 be filled with lots of blessings.

%d bloggers like this: