Tag Archives: cinnamon

Pumpkin Almond Oatmeal

27 Nov

Some of you may still have a few leftovers from Thanksgiving… some pureed pumpkin, some condensed milk from making pie or even a tres leches cake. Wink, wink…

Well, that was my predicament about this same time last year – left over pumpkin and condensed milk from making a few batches of my Pumpkin 4 Leches Cake.  I was not let them go to waste… so here’s how to partly clean your fridge from those Thanksgiving leftover ingredients.

Oatmeal made with pumpkin puree and sweet condensed milk.

PUMPKIN ALMOND OATMEAL

¾ cup condensed milk

¾ cups water

¼ cup pumpkin puree

1/3 cup quick-cooking oatmeal

½ tsp vanilla powder

¼ tsp freshly ground nutmeg

½ tsp ground cinnamon

Pinch of Salt

¼ cup slivered almonds, toasted


  1. In a medium sauce pan over medium heat add the condensed milk, water and pumpkin puree.  Whisk well to combine and dissolve the pumpkin into the milk.  Season with vanilla powder, nutmeg, cinnamon and salt .  Mix together to combine well.   Immediately after, add the oatmeal.  Mix well again and partially cover the saucepan allowing an opening for you to see the milk and how it’s coming to temperature.
  2. When the milk starts to boil, in about 2-3 minutes, stir everything to combine and allow all the boiling to subside a bit.  Lower the temperature of the stove to low and continue to cook partially covered.
  3. After about 5-6 minutes of cooking, you’ll see the oatmeal starts to thicken a bit, but not quite done yet.  I cover completely.  Count to 10 and turn off the stove.  Turn it off and walk away.  Don’t look, don’t peek… just walk away.
  4. After about 15 minutes of letting the oatmeal stand, it’s done.  I usually let it stand for about 30 minutes to allow it to be a tad cooler.
  5. Add the toasted almonds over the top to garnish as you’re serving it.


Tip:  You can also used pureed sweet potato for this recipe… or use 1 ½ cups almond milk instead of the condensed milk + water mixture, but then add 1 tbs brown sugar to sweeten the oatmeal.

Oatmeal made with pumpkin puree, sweet condensed milk and spices.

Pumpkin Chia Kisses

10 Nov

I’m in total Thanksgiving mode and because usually is just Mom and me… I decided to make something sweet to end our lunch, but small and cute to sweeten our life without making it too sweet.

That’s how these little Pumpkin Kisses came about…  you could also call them mini-muffins, but the idea of naming them Kisses was too tempting to pass.  They have a pronounced pumpkin and spice flavor with a delicate hint of maple.  I enjoy the frosting to focus on the cheese to balance the sweetness of the little cake itself.

In this recipe I used chia seeds instead of the typical egg-replacer I usually use in my baking recipes.  I had been experimenting with these diminutive seeds and I believe the method I use for this mini muffins is spot on, allowing the seeds to gelatinize in the batter before baking make for spongy little cakes, perfect to enjoy as a dessert, a snack or even breakfast…  such is the life of the food blogger, mmmm!

I bake this recipe in my toaster oven because it’s usually just me testing these recipes and because I only have two small mini muffin pans.  Therefore, I bake this recipe in 2 batches.  The batter will remain perfectly fine while you wait for the first batch to bake.  But if you are a tad inpatient, you can certainly make this in a larger mini muffin pan and turn on your large oven…

Let me know how you enjoy these…

Pumpkin Chia Mini-muffins

PUMPKIN CHIA KISSES

1 cup whole wheat pastry flour
½ cup brown sugar
1 ½ tsp baking powder
2 tsp chia seeds
2 tbs butter, melted
2/3 cups milk, I use 2%
1/3 cup fresh pumpkin, steamed and mashed
½ tsp vanilla powder
½ tsp ground cinnamon, plus more for garnish
¼ tsp salt
½ tsp freshly ground nutmeg

For the frosting:

½  packet or 4 oz of cream cheese          
4 tbs heavy cream
3 tbs maple syrup
1 tbs brown sugar, optional
  1. In a large bowl, mix all the dry ingredients – flour, sugar, baking powder and the chia seeds.  Whisk them well to make sure there are no lumps of flour or brown sugar in the mix.
  2. In a measuring cup measure and add the milk, melted butter and mashed pumpkin.  Mix it well to create a homogeneous mixture.
  3. Add it to the dry ingredients and whisk together until all ingredients are well incorporated.  Season mixture with salt, vanilla powder and spices.
  4. Rest the batter at room temperature on your kitchen counter for about 30 minutes.  This will allow the chia seeds to gelatinize inside the batter.
  5. Pre-heat oven to 350F.
  6. Butter the baking pan.  Pour the mixture using a 1tbs measure.  The batter may seem like a lot, but they rise nicely and they will not stick together.
  7. Bake in oven for 10 minutes until the cake has risen and it’s golden on top.  After 10 minutes have elapsed, turn the oven off but do not take the mini muffins out.  Not even open the oven door!! Wait about 20 additional minutes for the mini cakes to complete cooking with the residual heat already in the oven.  The muffins will be a total of 30 minutes in the oven.
  8. Take the mini muffins out of the oven and rest it on a cooling rack so they cool completely.  While the first batch cools, bake the second batch using the same method.
  9. While the mini-muffins rest, prepare the frosting – mixing in a large bowl the cream cheese, heavy cream and maple syrup using an electric hand mixer.  It’s possible the frosting might be a tad soft,  so I place in the fridge while the “kisses”  cool completely.
  10. With an offset spatula, spread the frosting over the kisses and decorate with a light sprinkle of grown cinnamon using a very fine sieve.

Pumpkin Chia mini-muffin

Vegan Coquito

1 Dec

Yes… I went there. My sister has been dairy-free for some time now and she was craving Coquito.

Being the good big sister that I am, I developed this version omitting the evaporated and condensed milks. I must admit, this turned out to be a really cool experiment. The flavors and the spirit of Coquito is still there – without rum or dairy.

I hope you enjoy it as much as I and my sister did.

Vegan Coquito

VEGAN COQUITO

1 pint coconut creamer
2 containers coconut cream
2 containers of coconut milk
30oz of spiced tea – using a baggie each of cinnamon sticks, anise seeds, star anise, cloves and a 5” piece of ginger
2 tbs vanilla powder or extract
2 tbs cinnamon powder
2 tbs nutmeg
 
  1. Just like my regular recipe for coquito, you first make a spiced tea – In a medium saucepan pour 3 cups of water, cinnamon sticks, anise seeds, star anise and cloves. Add also the piece of ginger cut up into small pieces or rounds. No need to even take off the skin. Bring to a rolling boil over medium high heat for about 15-20 minutes to create a strong spiced tea. This will give the coquito most of its spiciness. Turn off the heat and allow the spices to concentrate the flavor of the tea. Let cool a bit. You could even make this the day before and store it in the fridge until you’re ready to assemble the Coquito recipe.
  2. I find that if you have a really large pitcher or plastic jug with a large mouth that will accommodate about 90oz of liquid, this is the best way to assemble this…
  3. In the large pitcher I described above, combine the coconut creamer, coconut milks and creams of coconut with 30oz of the spiced tea. Add the vanilla powder, cinnamon powder and freshly grated nutmeg. Using an immersion blender, blend the whole thing well to combine and make a tad frothy.
  4. Allow to chill in the refrigerator in that same pitcher you made it in.

Serve chilled in small shot glasses. Sprinkle with ground cinnamon.

Pumpkin Tres Leches or is it Cuatro Leches???

17 Nov

This recipe is the first one I made for the Spanish Recipe portal Qué Rica Vida to celebrate Fall and Thanksgiving season.

I have been meaning to develop a recipe for a Pumpkin Tres Leches for several years now.  After few failed attempts, I knew I needed to come up with a new recipe.  A cake that would soak up all the milks like a sponge…  a SPONGE!!!!  That was the key!!!  I needed to develop a sponge cake recipe without using eggs.

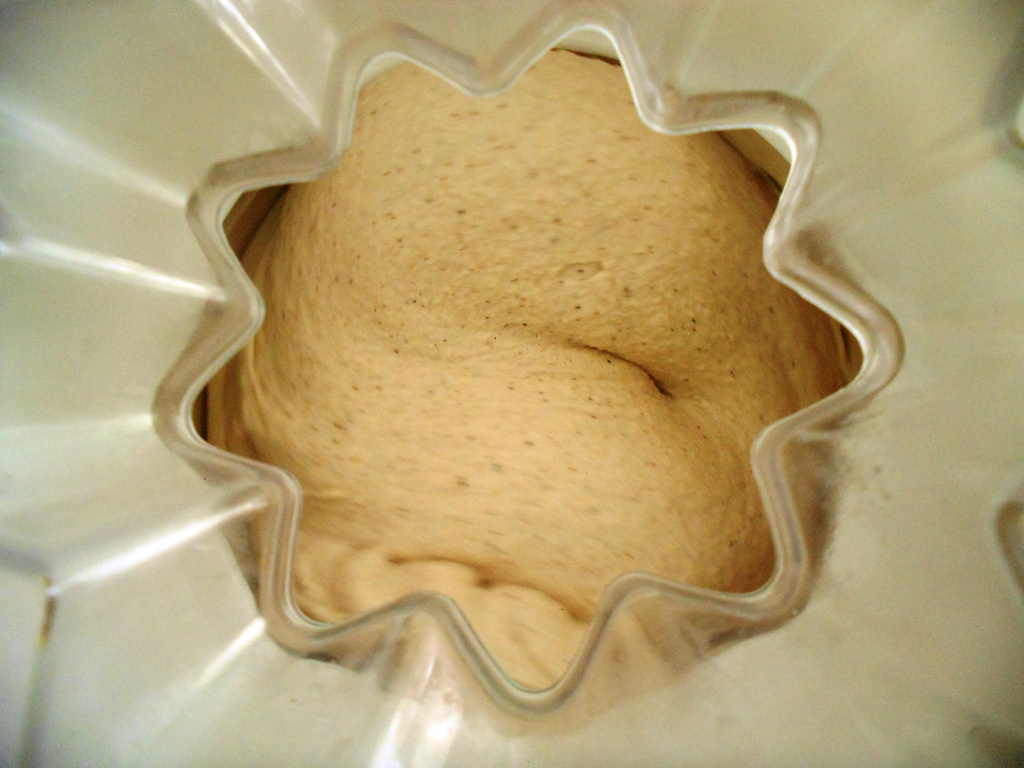
Chia Seeds were the key… they worked even better than my usual and trusted egg-replacer.  Chia seeds, as I have shared previously, are full of protein, omega-3 fatty acids, fiber, anti-oxidants and even calcium.  And they work perfectly to substitute eggs in recipes because they gelatinize when they come in contact with liquids so they rise the batter they’re added to.

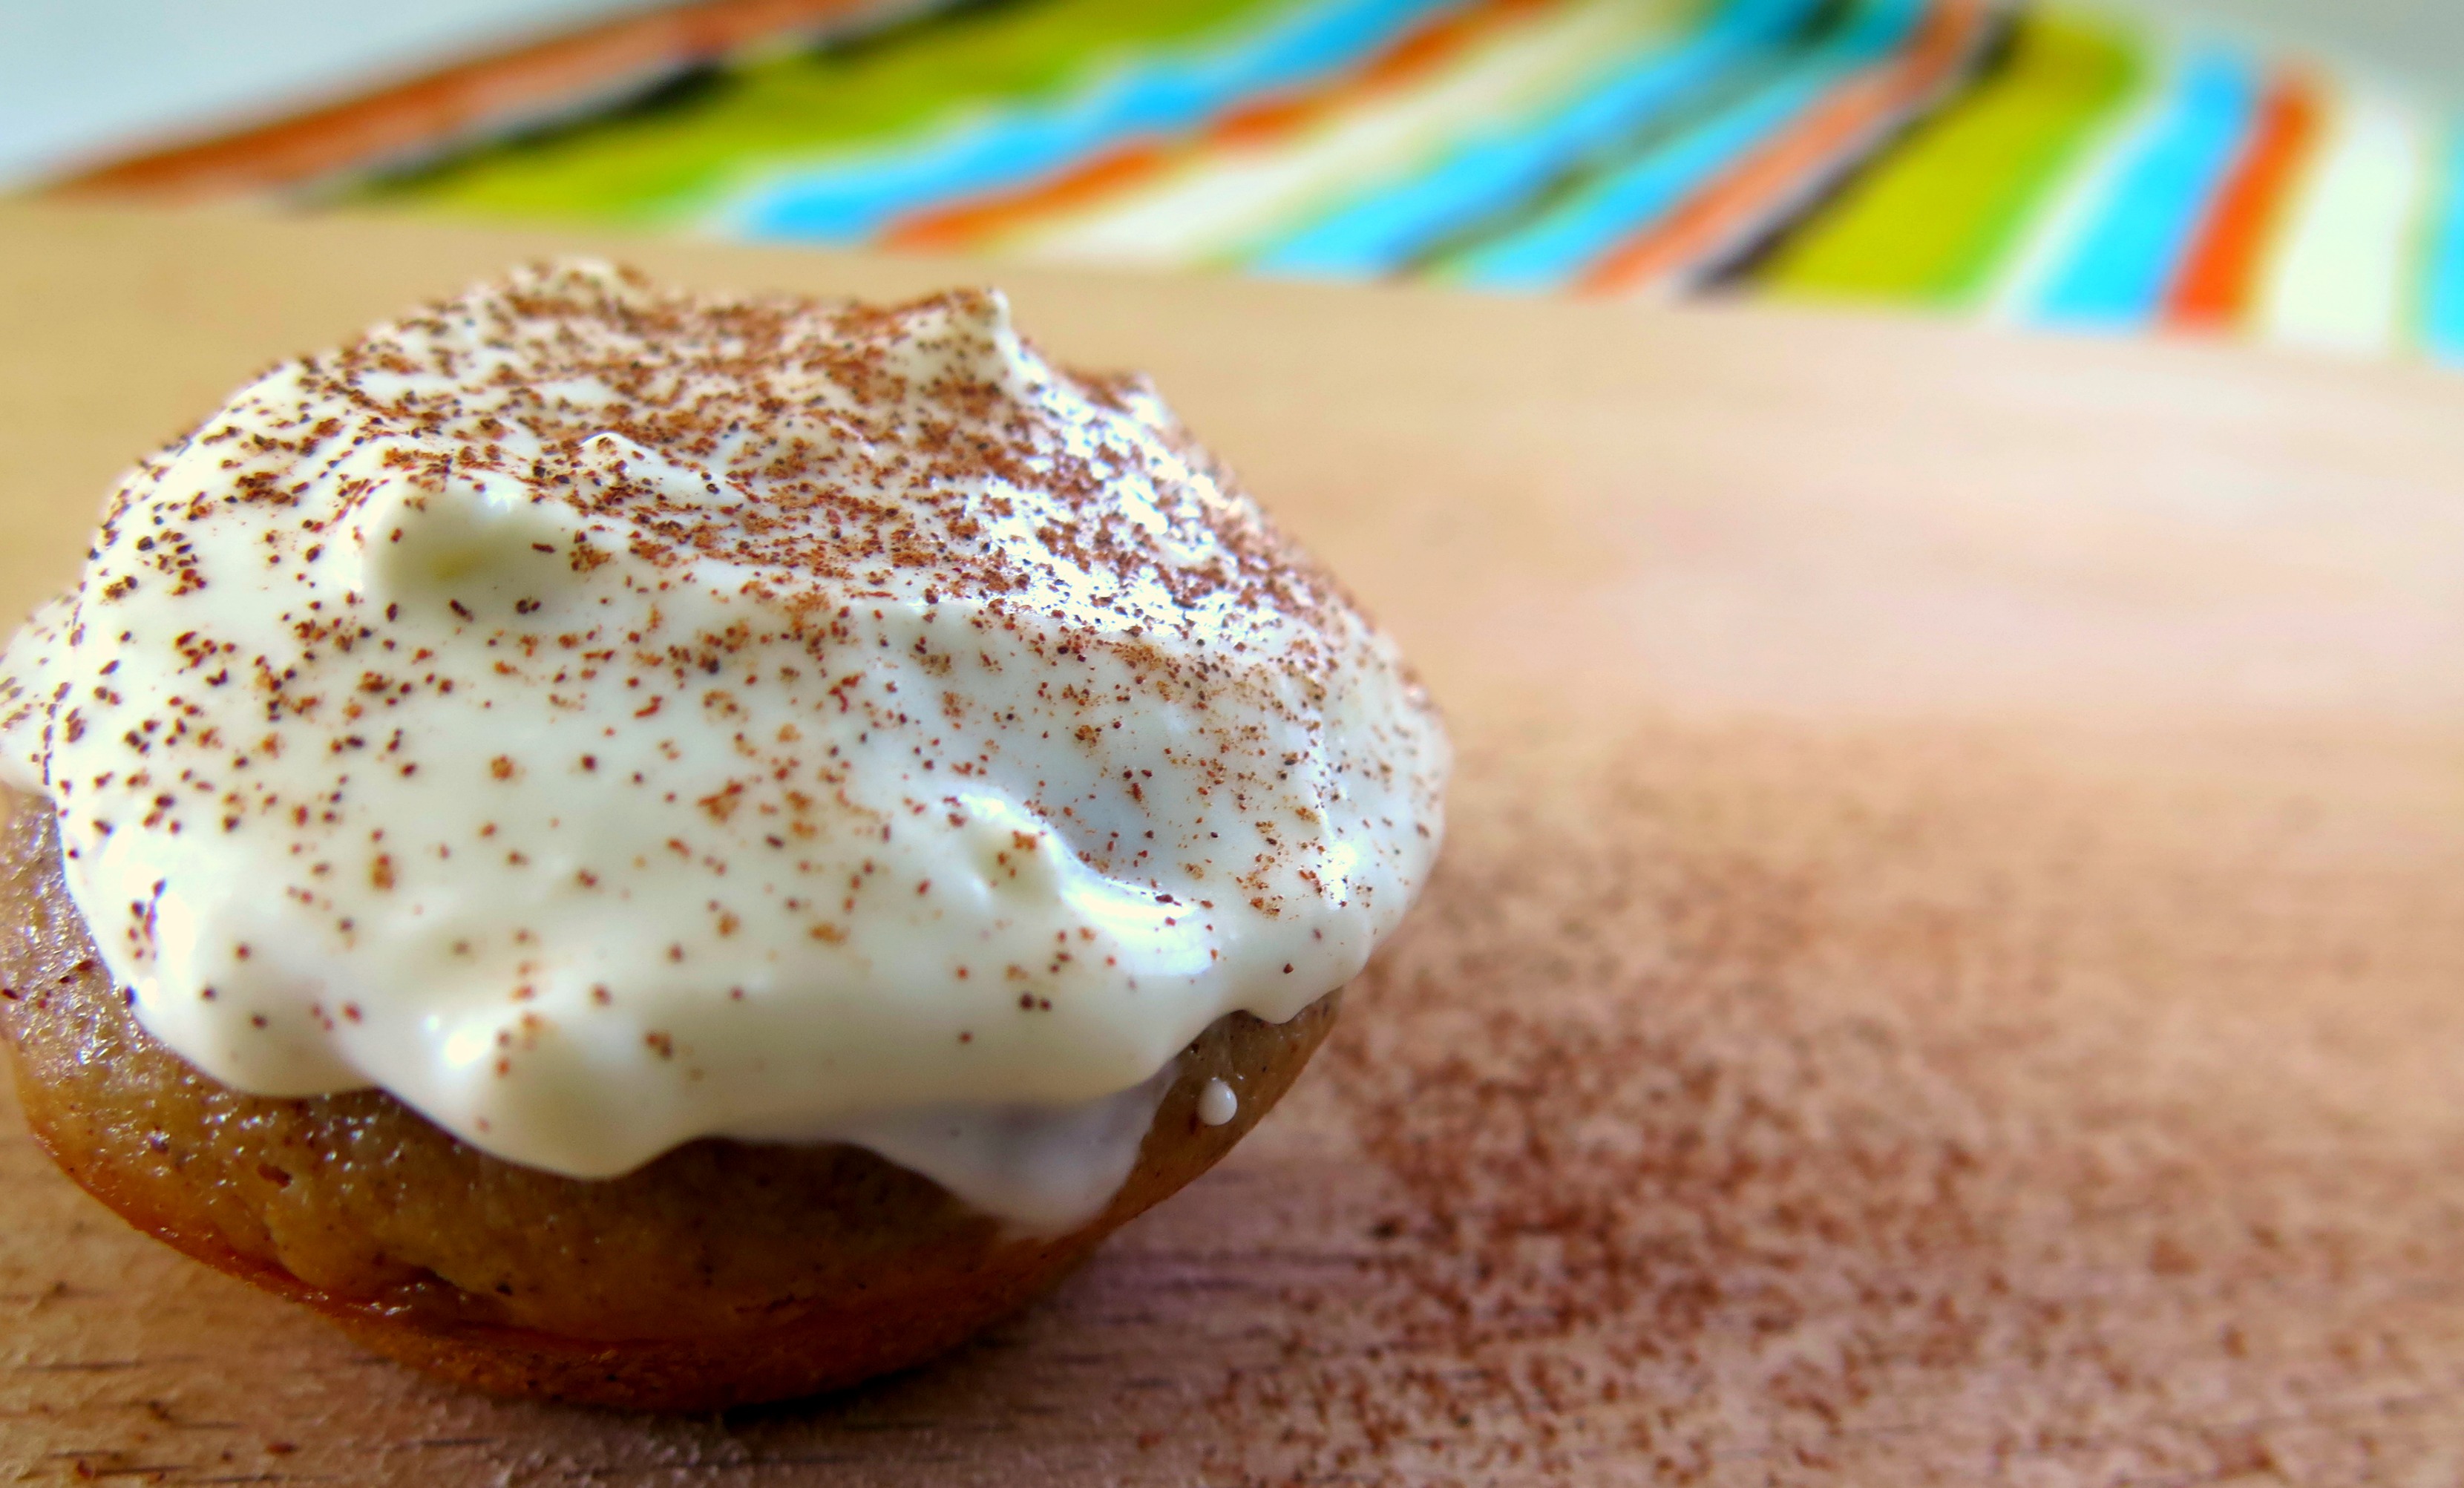
And why call it a Pumpkin Cuatro Leches, or 4 milks, instead of the usual Tres Leches?  Because traditional Tres Leches cakes are soaked in a mixture of fresh milk, evaporated milk and condensed milk but have a meringue topping.  Our version still is filled with the sweet flavors of the traditional 3 milks, but used a whipped cream topping, making the heavy cream the 4th milk in the recipe.

I tested and tested this recipe and it now has a following among the taste testers… hope you also join the group.

Pumpkin Cuatro Leches Cake

PUMPKIN CUATRO LECHES CAKE

1 cup whole wheat pastry flour
½ cup brown sugar
1 ½ tsp baking powder
2 tsp chia seeds
2 tbs butter, melted
2/3 cups milk, I use 2%
1/3 cup fresh pumpkin, steamed and mashed
½ tsp vanilla powder
½ tsp ground cinnamon
¼ tsp salt
½ tsp freshly ground nutmeg

In addition:

6 oz fresh 2% milk
6 oz evaporated milk
6oz sweetened condensed milk

For the topping:

1 cup heavy whipping cream
3 tbs condensed milk
1 tsp vanilla powder
½ tsp grown cinnamon, to decorate

It seems like a lot of ingredients… but it’s a really easy recipe to make.  I use a rectangular baking dish 8” x 6” x 2” or a round 8” cake pan.  And I also make this recipe in my toaster oven.  I believe this recipe is co chuck full of flavor and sweetness that a little bit goes a long way.  Although I do know a few that could easily eat a whole Pumpkin Cuatro Leches cake in one sitting… no problem, you all shall remain nameless.

  1. Pre-heat oven to 350F.
  2. Butter the baking pan in which you’ll make this.  This will be the same pan in which you’ll serve it.  After greasing pan, set it aside.
  3. In a large bowl, mix all the dry ingredients – flour, sugar, baking powder and the chia seeds.  Whisk them well to make sure there are no lumps of flour or brown sugar in the mix.
  4. In a measuring cup measure and add the milk, melted butter and mashed pumpkin.  Mix it well to create a homogeneous mixture.
  5. Add it to the dry ingredients and whisk together until all ingredients are well incorporated.
  6. Season mixture with salt, vanilla powder and spices.
  7. Pour the mixture in the prepared greased pan.  It may seem like little batter for the size of the pan, but remember we’ll be adding later on 18 ounces of milks and they need a place to go.
  8. Bake in oven for 20 minutes until the cake has risen and it’s golden on top.  After 20 minutes have elapsed, turn the oven off but do not take the cake out.  Not even open the oven door!! Wait about 40 additional minutes for the cake to complete cooking with the residual heat already in the oven.  There’s nothing to see… but your patience will be rewarded.
  9. After those additional 40 minutes have elapsed, take the cake out of the oven and rest it on a cooling rack so it cools completely.
  10. When it’s completely cooled, pierce it using a toothpick, a skewer or even a fork.  The idea is to make perforations so the milks can seep and soak the cake all from the inside.  It will not matter if the cake looks kinda ugly, because later on we’ll cover all that with whipped cream.  No one will see this but you…
  11. Mix the 3 milks in equal parts in a large measuring cup or a small pitcher.  It helps that the vessel you use has a spout so it’ll be easier to pour over the cooled cake.
  12. Pour half of the milks’ mixture over the pierced cooled cake.  You’ll probably not be able to pour more because the milks might overflow the cake pan.  That’s not a problem… just wait out a few hours for that first half to be absorbed and then you’ll be able to pour in the remaining milks.
  13. If the temperature where you live is cool, you can leave the cake soaking over your kitchen counter at room temperature.  If it’s too warm, you can cover the cake and place in the fridge over night while the milks are absorbed by the cake.
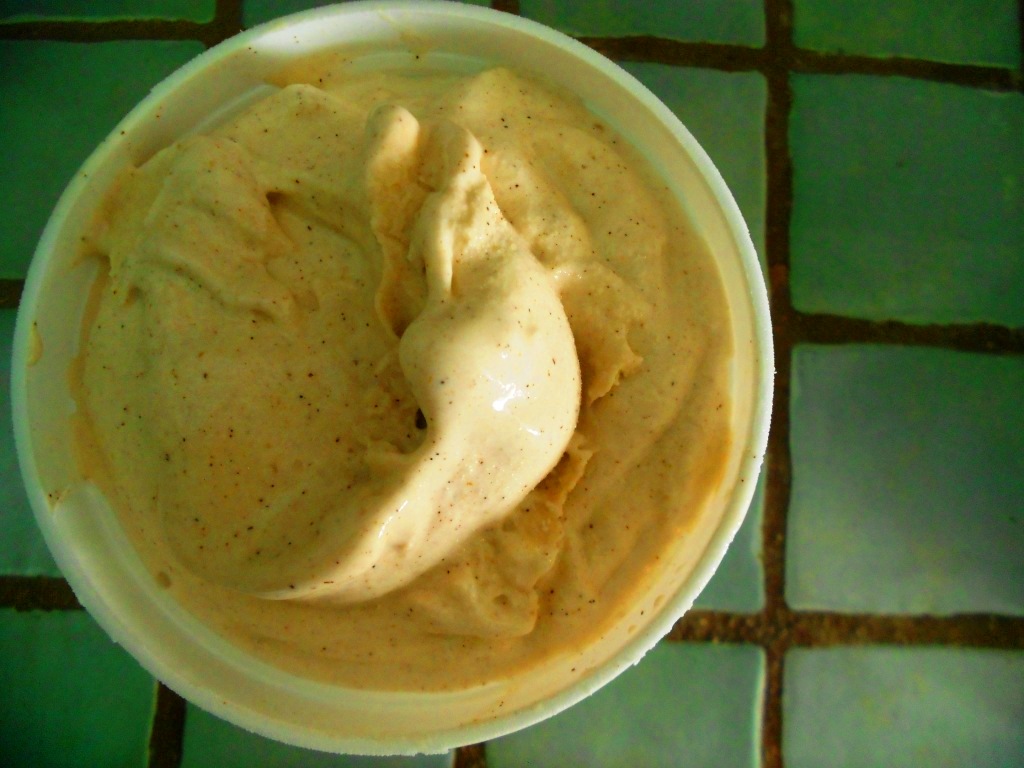
  14. The next day, pour 1 cup of heavy whipping cream in a large bowl and whip using an electric hand mixer.  Make sure the heavy cream is cold and start at a low speed and increase speeds slowly.  When bubbles start to form, add the condensed milk and the vanilla.  Continue whipping until soft peaks form.
  15. With an offset spatula, spread the whipped cream over the cake, which should have absorbed all the milks by now.  Decorate with a light sprinkle of grown cinnamon using a very fine sieve.

3 Leches for Tres Leches Cake

If you want to double this recipe, you certainly can… and you can use a 9” x 13” baking dish.  By going larger on the pan, you’ll probably need a larger oven and to increase the cooking time to 30 minutes and allow the cake to rest inside the hot oven for an additional 30 minutes, for a total 1 hour in the oven.  For the 3 milk mixture you can just mix a can of evaporated milk a can of condensed milk and the same amount of one of those cans of fresh milk.  With that, you’ll have the perfect amount of milk to soak your cake.

I prefer to use evaporated and condensed milks that come in UHT packaging instead of cans, but I understand they’re difficult to come by.  So if you can find them near you, by all means use them.  Just make sure you have equal amounts of milks and the total amount should be between 18 and 20 ounces of liquid to soak the cake well.

Pumpkin Cuatro Leches Cake

Coquito Ice Cream

25 Dec

I have been meaning to make an ice cream using my Coquito recipe for years… but recently I asked my mom for her ice cream maker and I have become a frozen dessert maniac.

I educated myself on making ice creams… proportions, flavors, textures. And the best ice creams always included some sort of egg component. And as you know, eggs are no-no’s in KarmaFree Cooking. I was willing to give this project a few tries, but making Coquito takes a few steps and I didn’t want to be wasteful.

I struck gold when I took my ice cream making inquiries to a Facebook group we have – the Serious Eats Water Cooler. There a few friends introduced me to Max Falkowitz, an ice cream guru who’s also part of the editorial team at Serious Eats. Between his recommendations and my friend Jerzee Tomato’s input, I came up with a brilliant combination of texture and smoothness.

Create a custard… without using eggs and mix in the Coquito. Genius!!! The Coquito has fat from the coconut milk, evaporated and condensed milks so all you need to do is add some more to the custard.

I hope you enjoy it as much as we do!   My mom was in awe when she tried it…  as has been each and every person who has tasted it after that.  This was a home run!

Coquito Ice Cream


COQUITO ICE CREAM

2 cups of my Coquito Recipe
1 ¼ cups half and half
2 tsp cornstarch
½ cup brown sugar

First we need to create the components… you can make a batch of Coquito first and then make the cornstarch custard.

  1. In a medium saucepan over medium heat, add 1 cup of half and half and sugar. Add the cornstarch to the remaining ¼ cup half and half. Whisk well to create a slurry and while whisking, add to the saucepan with the rest of the ingredients.
  2. Whisk or stir constantly using a wooden spoon to avoid any lumps while the mixture thickens. It’ll take about 5-6 minutes. The custard is done when it coats the back of a wooden spoon and when you run a finger thru it, the sides of custard will not get back together.
  3. It may look a tad loose, but it’ll thicken in the fridge while it cools.
  4. Transfer the custard to a heatproof bowl or even a glass measuring cup and chill in the fridge at least 2-3 hours. I place a plastic film over the custard to avoid it creating a film on top. You can do this even a few days in advance if you want. Just like making the Coquito in advance.
  5. When you’re ready to assemble the ice cream, in a pitcher bring together 2 cups of Coquito and the cornstarch custard, which should measure just a tad more than 1 cup. Mix well to combine and add to your ice cream maker. Churn 25-30 minutes according to your ice cream machine’s instructions.
  6. Transfer to a container to freeze in the freezer for about 2 hours before serving. It’s delicious right off the ice cream maker… but it’s at its best after a few hours in the freezer.
  7. When you’re about to serve it… leave it a few minutes at room temperature before scooping.

??????????

The end result is a smooth, spicy and creamy ice cream that feels as rich as any premium ice cream around.

Merry Xmas, Happy Holidays and may 2014 be filled with lots of blessings.

%d bloggers like this: