Tag Archives: brown sugar

Carob Syrup

2 May

For all you former chocolate lovers who had to put your love aside because of what caffeine does to you… let me introduce you to your new best friend – Carob Syrup.  It does not contain caffeine and it’s as delicious as that good ‘ol Hershey’s syrup of the hey days.

If you loved to decorate  your vanilla ice cream with some syrup … this carob syrup is for you.

If you loved to drizzle your sweet crepes with a little something dark and delicious syrup… this carob syrup is you.

If you had to leave those dark chocolaty milks and shakes in your past… then this carob syrup is definitely for you.

The possibilities are endless… give it a try!!!


Carob Syrup 4


CAROB SYRUP

1 cup carob powder
2/3 cup almond milk
½ cup maple syrup
6 tbs brown sugar
1 tbs vanilla powder


  1. Add all the ingredients into your blender and blend until smooth.


CArob Syrup 1


You can store in your fridge for longer shelf-life.  I store it in a squeeze out bottle so I can pour it over whatever in small drizzles.

Carob Syrup - Spout

Coquito Ice Cream

25 Dec

I have been meaning to make an ice cream using my Coquito recipe for years… but recently I asked my mom for her ice cream maker and I have become a frozen dessert maniac.

I educated myself on making ice creams… proportions, flavors, textures. And the best ice creams always included some sort of egg component. And as you know, eggs are no-no’s in KarmaFree Cooking. I was willing to give this project a few tries, but making Coquito takes a few steps and I didn’t want to be wasteful.

I struck gold when I took my ice cream making inquiries to a Facebook group we have – the Serious Eats Water Cooler. There a few friends introduced me to Max Falkowitz, an ice cream guru who’s also part of the editorial team at Serious Eats. Between his recommendations and my friend Jerzee Tomato’s input, I came up with a brilliant combination of texture and smoothness.

Create a custard… without using eggs and mix in the Coquito. Genius!!! The Coquito has fat from the coconut milk, evaporated and condensed milks so all you need to do is add some more to the custard.

I hope you enjoy it as much as we do!   My mom was in awe when she tried it…  as has been each and every person who has tasted it after that.  This was a home run!

Coquito Ice Cream


COQUITO ICE CREAM

2 cups of my Coquito Recipe
1 ¼ cups half and half
2 tsp cornstarch
½ cup brown sugar

First we need to create the components… you can make a batch of Coquito first and then make the cornstarch custard.

  1. In a medium saucepan over medium heat, add 1 cup of half and half and sugar. Add the cornstarch to the remaining ¼ cup half and half. Whisk well to create a slurry and while whisking, add to the saucepan with the rest of the ingredients.
  2. Whisk or stir constantly using a wooden spoon to avoid any lumps while the mixture thickens. It’ll take about 5-6 minutes. The custard is done when it coats the back of a wooden spoon and when you run a finger thru it, the sides of custard will not get back together.
  3. It may look a tad loose, but it’ll thicken in the fridge while it cools.
  4. Transfer the custard to a heatproof bowl or even a glass measuring cup and chill in the fridge at least 2-3 hours. I place a plastic film over the custard to avoid it creating a film on top. You can do this even a few days in advance if you want. Just like making the Coquito in advance.
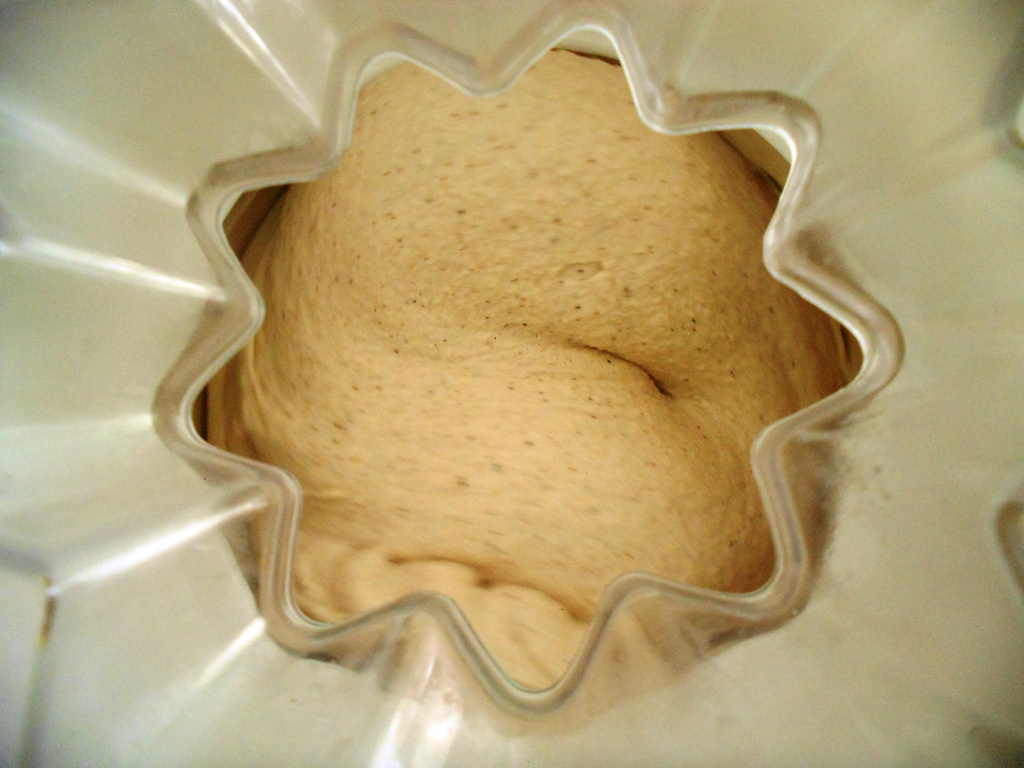
  5. When you’re ready to assemble the ice cream, in a pitcher bring together 2 cups of Coquito and the cornstarch custard, which should measure just a tad more than 1 cup. Mix well to combine and add to your ice cream maker. Churn 25-30 minutes according to your ice cream machine’s instructions.
  6. Transfer to a container to freeze in the freezer for about 2 hours before serving. It’s delicious right off the ice cream maker… but it’s at its best after a few hours in the freezer.
  7. When you’re about to serve it… leave it a few minutes at room temperature before scooping.

??????????

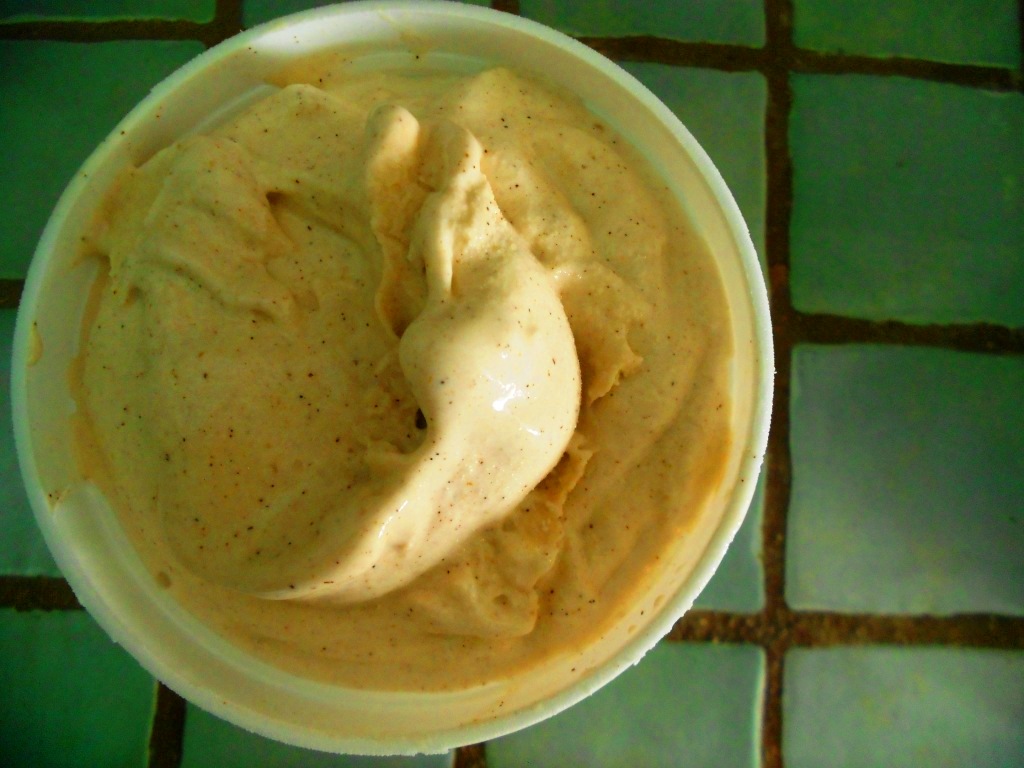
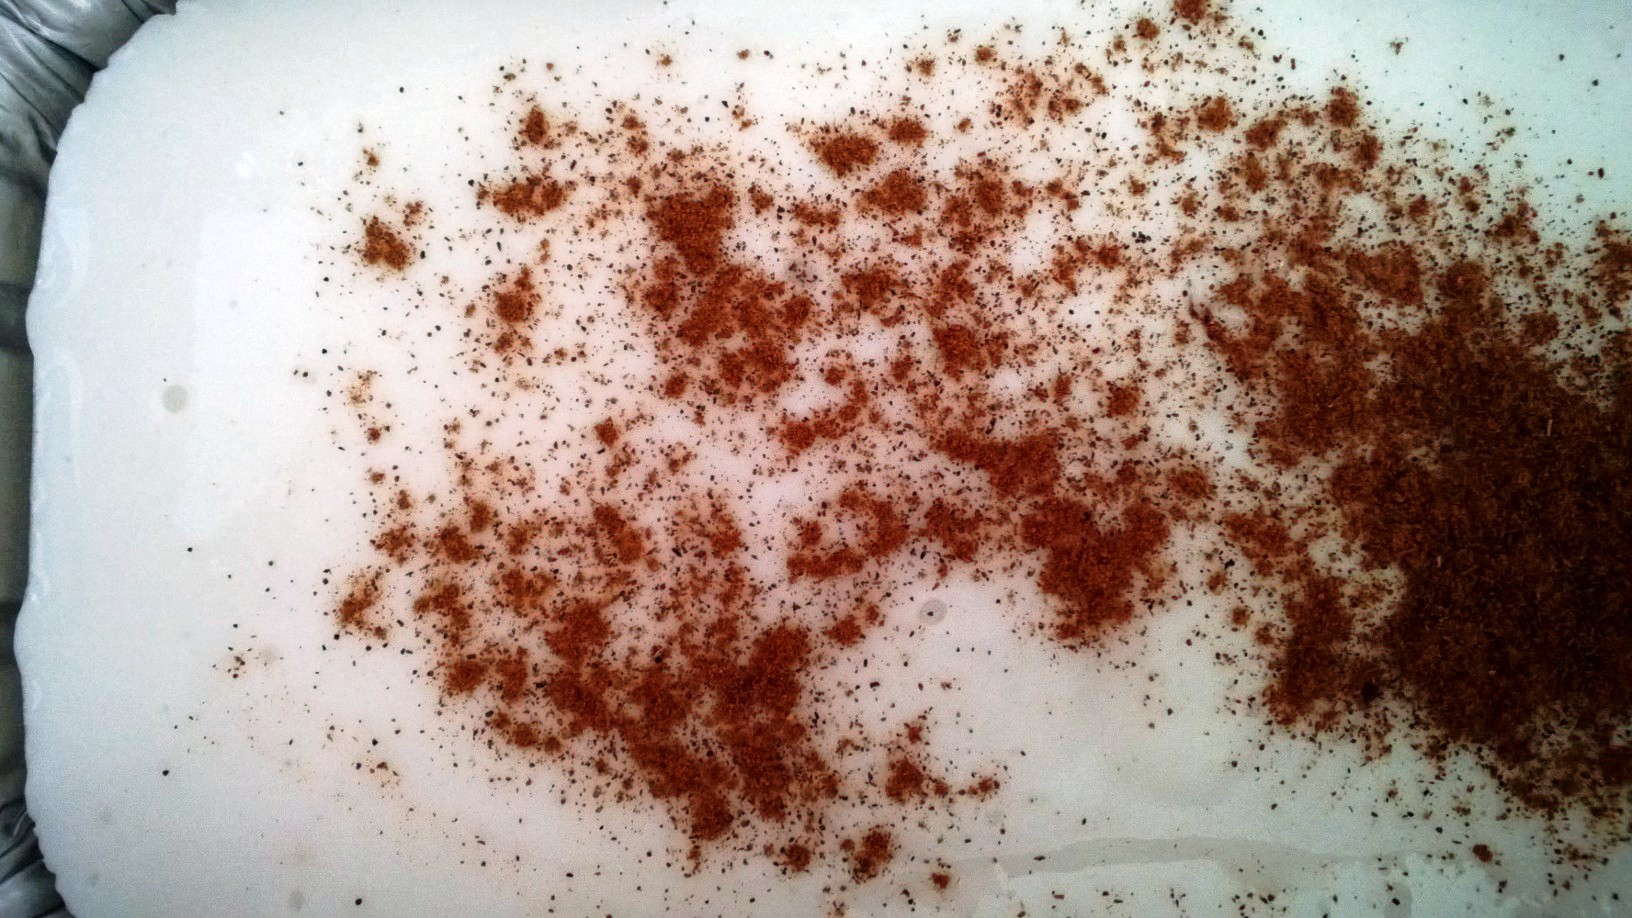
The end result is a smooth, spicy and creamy ice cream that feels as rich as any premium ice cream around.

Merry Xmas, Happy Holidays and may 2014 be filled with lots of blessings.

Tembleque, my version…

23 Dec

I have several recipes for tembleque here in KarmaFree Cooking…  All of them I have made, all of them I have enjoyed… but none of them I have developed myself.

My friend Aniette told me she makes a recipe she got from YouTube and that her Houston friends, who have never had tembleque, loved. Aniette has never tasted the actual recipe, because she’s allergic to coconut. And no offense to her Houston friends, but the texture of the recipe is not what tembleque should be like… IMHO. It was more like a coconut mousse, not tembleque.

What I really enjoyed about the youtube recipe was that it only had 4 ingredients. Tembleque is a simple recipe that shouldn’t be complex or difficult to make. To me, tembleque is the perfect recipe to teach at a Xmas-themed cooking class.

So I made about 4-5 batches of  tembleque before I felt comfortable to teach who to make it at the most recent KarmaFree Cooking cooking class. The results are tasty, jiggly and smooth like a tembleque should always be.

Tembleque My Way

TEMBLEQUE, My Way

2 cans coconut milk (one large 25oz can)
1 cup water
6tbs cornstarch
2/3 cups brown sugar
¼ tsp salt
1 or 2 sticks of cinnamon
Ground Cinnamon to taste
  1. In a large saucepan or small pot at medium high heat, add the coconut milk. Feel free to use a larger pot than you think you might need so you’ll have enough space to stir the mix.
  2. Add the sugar, salt,  cinnamon sticks and stir well with a wooden spoon.
  3. Add 1 cup of water to the cans to “wash them” from any leftover coconut milk. Add the cornstarch to this water to create a slurry. Mix well with a small whisk and add to the pot on the stove.
  4. Stir the mixture kinda constantly to avoid the cornstarch to fall to the bottom of the pot and create lumps. When the mixture feels it’s starting to thicken, lower the heat so the bottom doesn’t scorch. Continue stirring making a figure 8 until the mixture coats the back of the spoon and when you run your finger thru the coating the side do not come together again.
  5. Transfer to a heat resistant mold or transfer to individual plastic cups for individual servings. I like 3oz cups. They’re a nice little serving and if you want some more, just have 2.
  6. Allow to slightly cool for about 20 minutes on top of the kitchen counter. After that, transfer to the fridge to cool and set for about 2 hours. The final product will set but still be “jiggly” when you shake the mold or cup.K

??????????

Whole Wheat Bread Budín

20 Nov

I had not shared this recipe with you guys because at some point… this recipe was helping me make a living. When I was still figuring out this thing of working by myself, on the side, I was baking some things under the KarmaFree Cooking banner. I baked lots and lots of carrot cakes, made tons of hummus, veggie dips and red bell pepper dips. I also baked a lot of these budíns… especially for my friend Vanessa, may she rest in peace!  She would order one from me almost every week…

This whole wheat bread budín is the Puerto Rican version of a bread pudding. The cool thing is it needs no egg custard to cook or any pre-soaking, like many recipes I have seen made at the Food Network. Just whiz the bread on the food processor, mix the rest of the ingredients and BAKE!!!

See why this was so cool to make for sale?? I hope you enjoy it as much as my friends enjoyed it when I was cooking for them…

 ??????????

Whole Wheat Bread Budín

1 lb package of 100% whole wheat bread
1 quart of milk, I usually use a box of Parmalatt milk
2 cups brown sugar
6 tbs melted butter or you can use 5tbs of coconut oil too
1/2 tsp salt
1 tsp vanilla powder or extract
Cinnamon to taste
1 cup of raisins
8oz guava paste
  1. Process the bread in a food processor until you get crumbs.

2.  Transfer the bread crumbs to a large bowl and mix the rest of the ingredients, except the guava paste.

3.  Transfer to a 9 x 13 pan. I used to make this whole recipe to make 3 smaller size pans for sale. A lasagna pans is what the supply shop used to call this size. If I had one here I would measure it.

4.  Bake in a 350F oven for 45 minutes. I turn off the oven at 45 mins, but leave the pans in for an extra 10 minutes with the residual heat. That will ensure the budín is cooked, yet not too dry on the outside.

??????????

5.  After the budín has cooled off a bit, in a small sauce pan, add the guava paste with a little bit of water to make it into a pourable spreadable sauce. Pour on top of the budín as a glaze.

You just serve it directly from the pan… cut it into squares and serve your guests or bake sale customers.

Sweet Vegetarian Ham and Pineapple

27 Mar

When I wasn’t a vegetarian growing up, our traditional way to celebrate Easter was Jamón con Piña, or Sweet Ham with Pineapple. My mom would buy one of those canned Virginia Hams and bake it with cloves, pineapple slices, brown sugar and maraschino cherries. Later on, when I was a teenager, I also learned how to make myself Smoked Pork Chops… which you would fix in a pan using the exact same flavors.

Now that I am vegetarian, I can still enjoy the same sweet flavors without sacrificing any life… I purchase vegetarian ham at NYC’s Chinatown. This is the brand I like to get. It comes frozen… but after you thaw it, the flavor and texture is very, very similar to what I remember real ham to be.

HAM

I thaw it in small portions and keep it in a plastic zipper bag in the fridge. But if you don’t take my word for it on how similar these ham slices are to the real thing… check out my nieces enjoying some crepes filled with vegetarian ham and cheese. They are not vegetarian, they’re super picky and they regularly eat the real thing. Picky eaters asked me for MORE VEGETARIAN HAM!! So it’s that good…

Jamon con Piña  KFC

SWEET VEGETARIAN HAM AND PINEAPPLE

6 slices of vegetarian ham
1 individual serving container of cut pineapples in their juice
1 ½ tbs brown sugar
5-6 whole cloves


  1. In a glass oven-proof dish, place the vegetarian ham slices slightly overlapping each other.
  2. Sprinkle with the brown sugar and pour the pineapple juice over them, dissolving a bit the sugar. Place the pineapple pieces as evenly as possible over the ham slices. Sprinkle the cloves over.
  3. Cover the glass dish with parchment paper and a piece of aluminum foil on top. Bake in oven for 15-20 minutes at 350F. If you prefer, you can take the cover off and bake for an additional 5 minutes to allow the sugar to caramelize a bit.


Serve warm with a potato salad.