I have several recipes for tembleque here in KarmaFree Cooking… All of them I have made, all of them I have enjoyed… but none of them I have developed myself.
My friend Aniette told me she makes a recipe she got from YouTube and that her Houston friends, who have never had tembleque, loved. Aniette has never tasted the actual recipe, because she’s allergic to coconut. And no offense to her Houston friends, but the texture of the recipe is not what tembleque should be like… IMHO. It was more like a coconut mousse, not tembleque.
What I really enjoyed about the youtube recipe was that it only had 4 ingredients. Tembleque is a simple recipe that shouldn’t be complex or difficult to make. To me, tembleque is the perfect recipe to teach at a Xmas-themed cooking class.
So I made about 4-5 batches of tembleque before I felt comfortable to teach who to make it at the most recent KarmaFree Cooking cooking class. The results are tasty, jiggly and smooth like a tembleque should always be.
TEMBLEQUE, My Way
2 cans coconut milk (one large 25oz can) 1 cup water 6tbs cornstarch 2/3 cups brown sugar ¼ tsp salt 1 or 2 sticks of cinnamon Ground Cinnamon to taste
- In a large saucepan or small pot at medium high heat, add the coconut milk. Feel free to use a larger pot than you think you might need so you’ll have enough space to stir the mix.
- Add the sugar, salt, cinnamon sticks and stir well with a wooden spoon.
- Add 1 cup of water to the cans to “wash them” from any leftover coconut milk. Add the cornstarch to this water to create a slurry. Mix well with a small whisk and add to the pot on the stove.
- Stir the mixture kinda constantly to avoid the cornstarch to fall to the bottom of the pot and create lumps. When the mixture feels it’s starting to thicken, lower the heat so the bottom doesn’t scorch. Continue stirring making a figure 8 until the mixture coats the back of the spoon and when you run your finger thru the coating the side do not come together again.
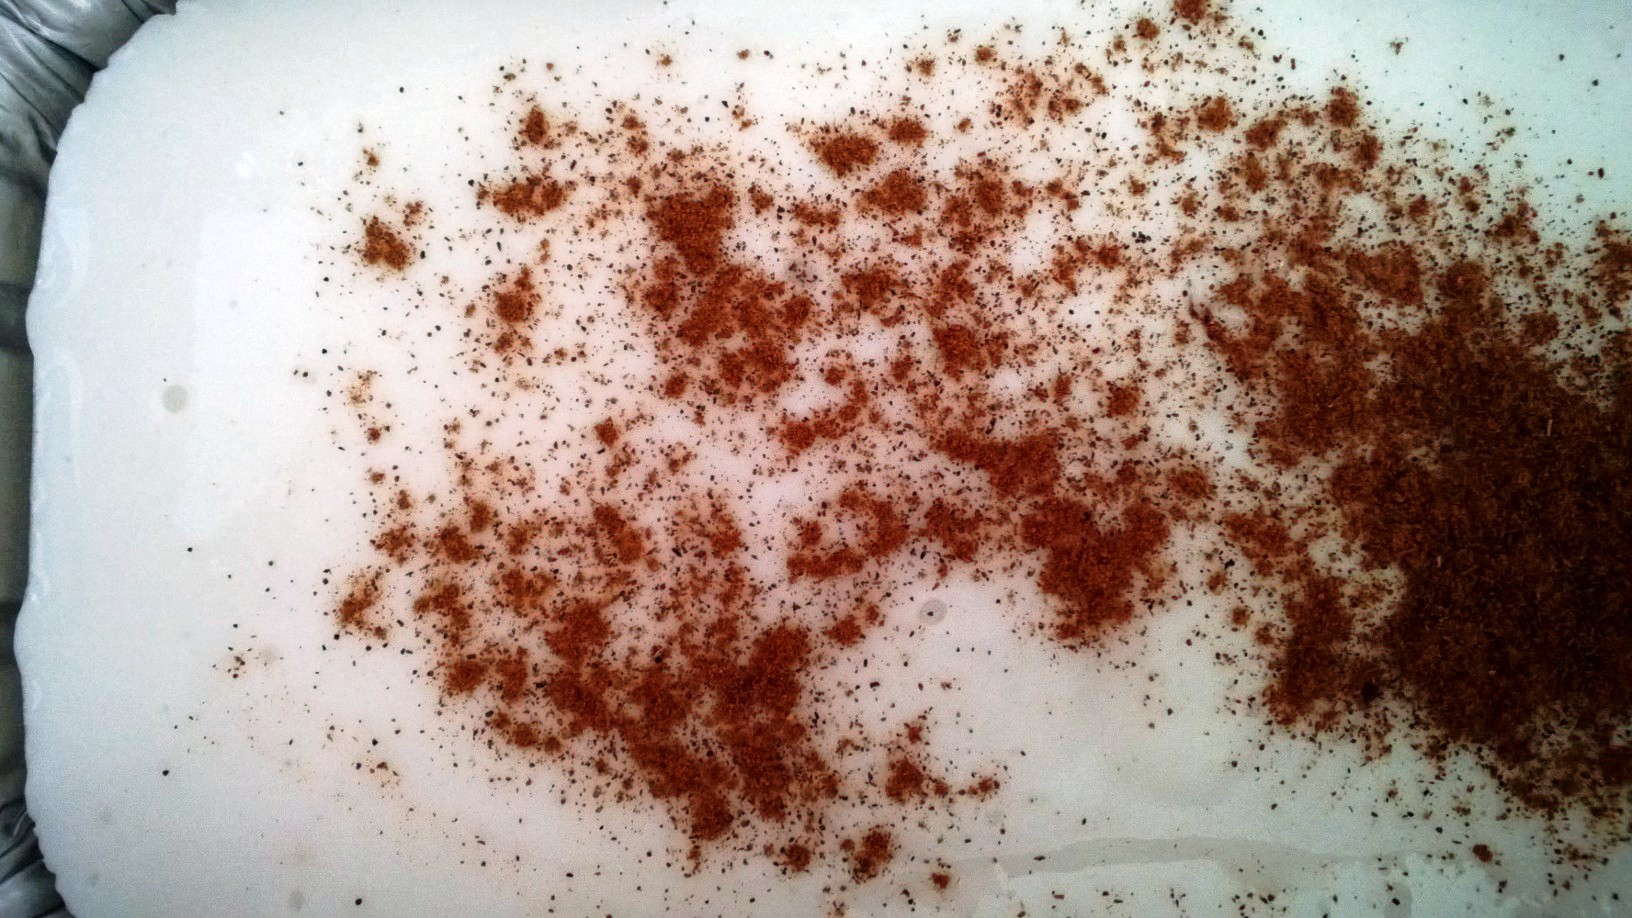
- Transfer to a heat resistant mold or transfer to individual plastic cups for individual servings. I like 3oz cups. They’re a nice little serving and if you want some more, just have 2.
- Allow to slightly cool for about 20 minutes on top of the kitchen counter. After that, transfer to the fridge to cool and set for about 2 hours. The final product will set but still be “jiggly” when you shake the mold or cup.K


I have been craving tembleque for so long! Those look perfect!
instead of can why not use fresh coconut and grate it like old school… you can make large batches of grated coconut and freeze it!!!
Sicilian Pecan Rican… believe me, if’I had the time, I would make the coconut milk myself. However, I am a busy entrepreneur with a blog and little time on my hands.
Know what?? I was recently visiting Whole Foods and found coconut milk in asceptic packaging, you know, like soy or almond milk in a box. I have actually bought it to make a non-dairy (without evaporated milk and/or condensed milk) version of my Coquito. I will photograph and share very soon here.
A couple questions: When do you use the cinnamon sticks? and How many does this recipe serve if using 4 oz. cups? This will be both my first time eating and making this! Thanks!!
Thanks for asking about the cinnamon sticks!!! Thanks to your comment, I realized I had left them out of the recipe. I add the cinnamon sticks to the coconut milk, sugar and water and let it steep in the hot liquid so the mixture is infused with the cinnamon flavor. After the tembleque is cooked and thickened by the cornstarch, just discard them before transferring to the serving cups.
In regards to using 4oz cups… I would say it would make about 8-10 cups… but I am guesstimating here. I haven’t done the recipe since Xmas, so I am not sure right now how much it yields. Hope you enjoy it as much as I do.
Thanks for that! It helped. I cut the ingredients in half and it was just perfect for pouring in 4 teacups. Will put them in the fridge soon but from all the licks I’ve done between the stirring spoon and the drips this is just amazing! It reminds me of the frozen coconut milk ice cubes my mom used to make. Can’t wait to make this again for every Christmas!