Archive | basics RSS feed for this section

Baked Plantains in their Skin

29 Oct

Have you ever made baked plantains???  It’s the easiest thing to do when you’re hungry and in a hurry…   My grandma used to tell me that a baked plantain and a glass of milk on the side were a full meal. 

You can make this one of two ways: 

1- On the microwave – I do not usually use the microwave for cooking because of all the radiation it emits onto the food, but I do use it on occasion when I am super duper hungry and there’s no time to wait…

2- On the toaster oven – because it’s sacrilegious, with our current electricity costs, to turn on a whole oven for one lonely plantain

This is not even a recipe… because the plantain is the ONLY ingredient… but this is important, the plantain NEEDS to be super ripe, almost black for this to work…


BAKED PLANTAIN in its SKIN

1 very ripe plantain


  1. Cut both ends of the plantain and make a slit on the plantain skin from top to bottom.

If doing this in the microwave oven…

  1. Place plantain on a paper towel and microwave on HIGH for 3-4 minutes, depending on how large is your oven. 
  2. After time has elapsed, check the plantain for doneness.  If you want, you can turn the plantain on its other side and microwave again on HIGH for an extra 2-3 minutes. 
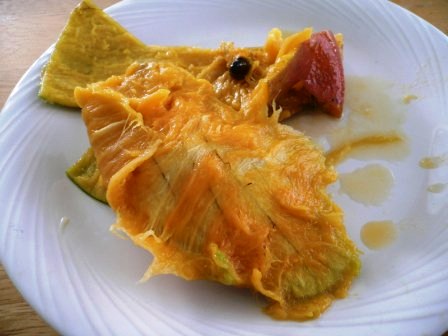
  3. Wait a few minutes for the radiation and heat to dissipate.  Take out of the plantain, remove it from its skin and enjoy.


If doing this on a regular toaster oven…

  1. Place the cut plantain on a oven proof dish at 350° F. 
  2. Let the plantain bake in its skin for about 20-25 minutes.  The sweet smell of the sugars in the plantain will let you know when it’s done. 
  3. Turn off the oven and let it finish cooking in the residual heat for about 10 minutes more.  Take the plantain out of its skin and enjoy.


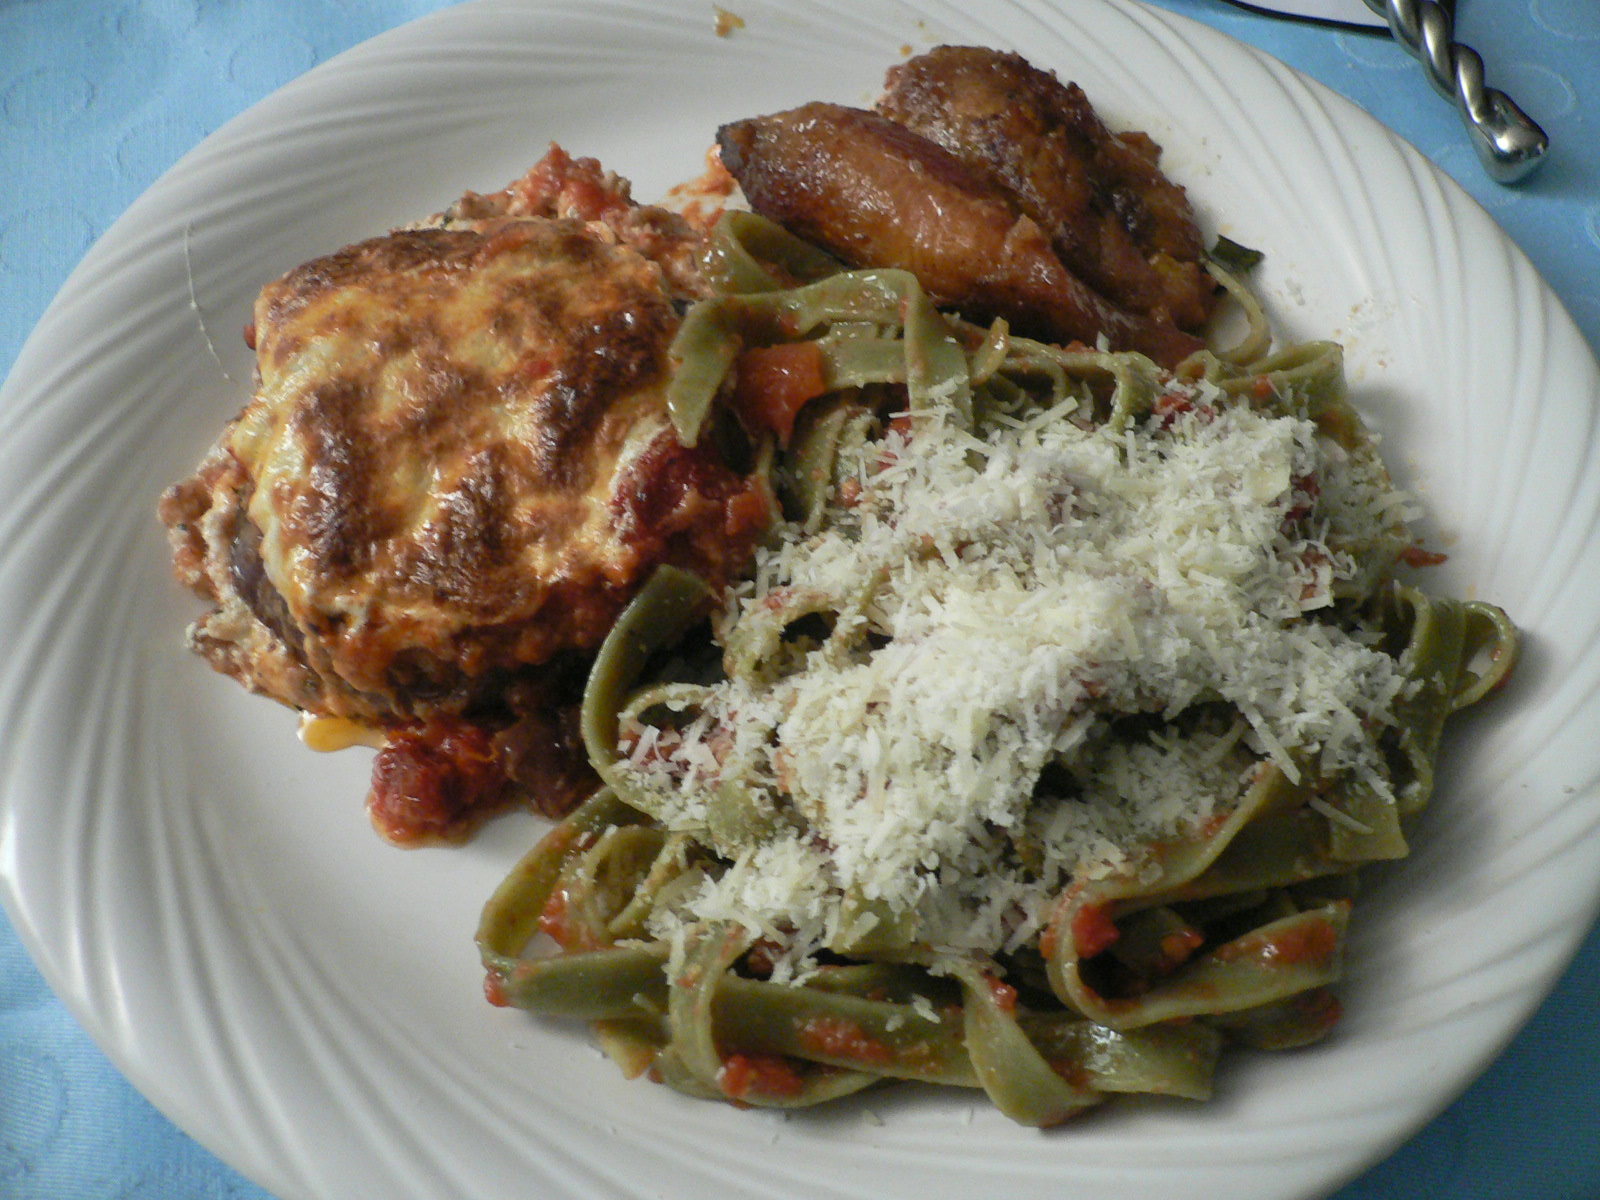
This is a great side dish for… anything, in my opinion.  But if you dare try it with a glass of milk, let me know how it goes…  it’s awesome!!!

How to Peel and Eat a Mango

29 Aug

I’ve seen the chefs at the Food Network do it… I’ve seen contraptions at Williams-Sonoma to help people separate their flesh from the pit.  And still I do not understand why people are so confused or baffled about the way to peel a mango.

To peel and eat a mango raw, as a fruit, all you need is a nice serrated knife.  Huh…  maybe a napkin too, because if the mango is juicy and delicious I can bet that some juice will run down your arm and the sides of your mouth.  But besides that, no other implement needs to be used or dirtied to peel and eat a mango.


This is a photo of a mango from my godfather’s tree in Miami… isn’t it beautiful???  Whenever I go to Miami, my uncle Felo always makes us eat and bring with us on the plane a mangoes and a avocados.  Once, I had to buy a new suitcase so I could carry the small farmer’s market he wanted me to bring along.

Back to our mango peeling class… this method was taught to me by my Puerto Rican grandma, Marianita.  Funny thing, that she taught the grandkids and not her daughters, because when I told my mom about writing this post, she was in the dark as many of you may be now.  I am amazed that my mom had never seen me eat a mango like this… I think she needs some gingko biloba to jig her memory STAT!!!!


 PEELING AND EATING A MANGO

What we will do is to peel the mango skin so you will end up first with a peeled top 2/3 of mango, keeping the skin on the bottom 1/3 so you have something to hold on to. Then, you will turn the mango upside down, peel the remaining skin and use the pit to hold on to the remaining mango, kind of like a popsicle.

All you need to do is three cuts with a serrated knife. 

Take the mango in one hand upright.  The stem end facing towards you.

You’ll make one cut across the mango, towards the bottom third.  All the way around the mango, but only through the skin, no need to go any deeper. 


Now the next cut goes from the cut you already made going up from one side of the mango continuing in one single swoop all the way to the cut on the other side of the mango.  Now repeat in a cross like fashion.  You must have ended up with a mango that still has the skin on but with 4 sections of cut skin on top. 


Take one corner of the skin and pull it to peel.  The whole peel will remove leaving you with a nice edible mango with the bottom still with skin so you can hold on to it and not be slippery.


When you’re done eating that side of the mango, just turn it upside down.  Hold the pit in your hand and pull the rest of the peel to expose the remaining mango flesh.


Eat the remaining mango and discard the pit once you’re done.


Number of utensils you need dirty – 1

Number of cuts made to the mango – 3

Experience eating a sweet mango with your hands and having the juice dribble down your chin – priceless!!!

Roasted Veggie Stock

26 Jul

I always wanted to make my own vegetable stock… but I was inspired when I read about a year ago that someone had made a roasted vegetable stock to give added body to an Onion Soup.   I have wanted to make a vegetarian version of Onion Soup for a long time too. Why a vegetarian version?  It’s onion soup… no?  In case you were not aware, onion soup is made traditionally using beef stock or beef consommé – making it unsuitable for vegetarians.

So based on the idea that if you roast something in the oven it concentrates its flavors we got our hands dirty and made home-made roasted vegetable stock.  It’s simple; it just has a lot of ingredients and takes a little while.


ROASTED VEGETABLE STOCK

2 medium carrots, cut into large chunks
2 medium onions, quartered
4 stalks celery, cut into large chunks
2 medium zucchini, cut into large chunks
2 bell peppers, green or red, roughly chopped
1 leek, washed well
1 large shallot, cut in half with skin on
2 garlic heads
A bunch of flat leaf parsley
Olive oil
Salt and Pepper
1 tbs Herbamare seasoning
1 cup crushed tomatoes
12 cups of water
4 bay leaves
½ cup balsamic vinegar
  1. First we need to roast the vegetables to make the stock…  so pre-heat the oven to 400° F.
  2. Place all the cut veggies (carrots thru parsley) in 2 baking sheets.  I tried to fit them all in one, but they were too much for my baking sheets.  Drizzle them lightly with olive oil and sprinkle salt and pepper generously.  Sprinkle the Herbamare too.  Using your clean hands, toss all the veggies until they’re well coated with the oil and seasonings.  Try to add as little oil as possible, because if you add too much oil now, it will make your stock oilier later on.
  3. Roast in the oven for approximately 30-40 minutes, turning the vegetables once during cooking.  Try for the veggies not to get too dark.
  4. When the vegetables are done roasting, transfer them to the largest, deepest pot you have…  I had to do this in two batches because I do not own large enough pots. 
  5. To the roasted vegetables in the mega large pot you’ll add the water, the tomatoes, bay leaves and balsamic vinegar.  Bring to a boil and simmer uncovered for about 45 minutes to 1 hour, until the flavors are extracted into the water.
  6. Let the stock cool down a bit so you can safely handle it.  When it is cool enough, strain the stock using a large colander over a very large bowl.  I suggest you strain the stock again using a fine mesh to make the stock as clear as possible.


Now you can store the stock in a bowl for use in the very near future or you can transfer to freezer bags and freeze in 1 cup or 2 cup increments to use later when making soups or risottos.

This yielded me about 10 cups of stock.  I used about 9 cups for the French Onion Soup and saved the rest for future use.

Easy to do and the flavor is spectacular.

Mandoline

23 Jul

I have been fascinated with madolines since I first saw them…  I even bought one but was intimidated of using it until a year after I bought it.  Now, I can’t stop using it… 


Even with decent knife skills, using a mandoline will ensure you’ll have very even, professional looking slices of whatever you want to slice.  I have used it for several dishes shown here in KarmaFree Cooking, like:

Comme Çi Comme Ça Salade Niçoise – I used it to slice the carrots and the radishes

Eggplant Parmesan

Creamy Potatoes


Eggplant Stacks

And most recently…  

Potatoes à la Angie


There are many mandolines available in the market.  I bought mine at Bed, Bath and Beyond and it shouldn’t have cost me over $25.  I bought this one because I did not want to spend over $100, as some models are, for something that I wasn’t sure if after all I was going to give a whole lot of use to.  I’ve been known to want some gadgets for a long time and then finding out that I do not like them after all.

The one thing I need to stress a lot is to be VERY CAREFUL with the blade.  My version is an inexpensive one and its blade is super sharp.  I once tried to catch the mandoline on its way to the floor and my finger met the blade…  I won’t go into the details, but I still have a scar in my finger.   Always use the handle to manage whatever you’re slicing and NEVER EVER try to catch a sharp falling kitchen utensil… let it drop to the floor and pick it from there.  Never try to catch anything sharp in mid-air.

That’s my nugget of wisdom for the day…

Soy Picadillo

18 Jul

When I decided to become a vegetarian, I personally made a conscious decision that I did not want to start to eat things that resembled the meat products I was used to eating before.  For some reason, I thought that would not help me modify the way I thought about a plate of food.

People always think of a plate of foods in the terms of – animal protein, starchy and vegetable side dishes, as opposed to looking at a rice dish or a veggie gratin as their main course accompanied by a salad.  That’s why many meat-eaters always ask us the tired question… “You’re a vegetarian??? Then, what do you eat???”

Because of this I consciously decided to keep soy products at a minimum when I first made the decision to become vegetarian.  But soy products are good and have a very useful role within vegetarian cooking.  One of them is textured soy crumbles.  One of my pet peeves is when people call it “soy meat” or “carne de soya”, arrrrgh!!!!  The correct name is textured soy protein or, in Spanish, “protein de soya”.  It’s not meat, so why even mention it in the name??

Textured soy protein is sold in bulk at most health food stores and it resembles cereal – a bit like Grapenuts, I think.  It comes in a variety from light to dark and from medium to even little cubes.  I particularly like the medium ground, the lighter the better.  Here’s a picture of the one I refer to, but a bit darker in color than what I usually prefer, but it still works for our purposes.

When cooked, textured soy protein takes on the characteristics of ground meat.  And just like any meat product, the key is in the seasonings.  If not seasoned well, that’s when vegetarian cooking starts getting a bad rep.  But seasoned well, it can even fool the biggest meat-eater out there…. Believe me, I’ve seen it happen.

Picadillo is the Cuban/Latin terminology for ground meat in a tomato sauce.  It’s super versatile – to eat on top of rice, to use in a lasagna, to use as the filling for alcapurrias or pasteles, to use inside a pastelón… you name it!!!  So here I’ll show you my version of Soy Picadillo… a great basic to have in your vegetarian arsenal…

SOY PICADILLO – Revised on 01/31/2013

2 tbs olive oil
2 tbs sofrito
½ of a vegetable bouillon cube with sea salt
1 medium onion, chopped
1 cup textured soy protein
1 15oz jar of stewed tomatoes
1/2 cup water
2 tbs tomato paste
¼ cup ketchup
2 bay leaves
1 tsp vegan Worcestershire powder sauce
1 tsp Herbamare seasoning
¼ cup green olives (optional)
2 roasted sweet bell peppers (optional)
2 tbs of capers (optional)
Kosher salt to taste
 
  1. First, we start by hydrating the soy protein.  Soak the crumbles in a medium-sized bowl and cover with filtered water.  Soak for about 20 minutes, until the crumbles are soft to the touch.
  2. After the 20 minutes are up, drain the soy crumbles using a colander, rinse with new running water and squeeze dry as much as possible, just like you do to frozen spinach when you defrost it.  Set aside.  The soy will smell a lot like cereal at this point… do not get discouraged.  This will all change once we cook it with all our seasonings.
  3. In a medium-sized saucepan over medium-high heat, add olive oil, sofrito, the bouillon cube and the chopped onion.  Sautee for a few minutes until the onion softens a bit.  Add salt to season the onions and a bit of pepper if you fancy.
  4. Add the drained soy crumbles to the pot.  You could possibly add a little stream of olive oil to this to prevent the soy to stick to the bottom and sides of the pan.  Remember, soy does not contain fat.  To this, add the stewed tomatoes, tomato paste, water, ketchup, bay leaves, Worcestershire powder and Herbamare seasoning.  If you’re adding the olives, capers or sweet peppers… this is the time to add them.  Check the sauce level…  you should have a fair amount of liquid that will become a sauce, if you feel the mix is a bit dry, add a bit more water.
  5. Cover and let the mixture come to a boil, then lower the heat to medium-low and let simmer for about 40-45 minutes.   You can just turn the heat off, and let it continue to cook with the residual heat for about 15 minutes more… besides, it’ll be too hot to handle immediately.

It’s ready… now you can use this Soy Picadillo in your favorite application.  I used it first as the filling for lasagna.

oooooooooooooooooooooooooooooooooooooooooooooooooooooooooooooooooooooooooooooooooooooooooooo

Ok…. I know some of you might be thinking… IS SHE NUTS?!?!?!  Worcestershire sauce traditionally has anchovies!!! How can she tell us to use it on a vegetarian dish!!!  Well, this Worcestershire powder from McCormick’s is a new discovery for me.  All the ingredients and seasonings of the traditional L&P sauce I used to buy before SANS the anchovies.  Now, be careful with the pepper, because this has pepper and you can over-pepper your dish.     Ever since I published this recipe originally it was brought to my attention that the “natural flavor” on the ingredient list might possibly be anchovies.  So I do not recommend using this product anymore.  I do use vegan Worcestershire Sauce available at health foods across the country.  Make sure you buy vegan to make sure there are indeed no anchovies in the product.