Archive | desserts RSS feed for this section

Cherry Carob Cookies

11 Jan

I started my cooking adventures mainly by making Martha Stewart’s cookie recipes.  Most of them are easy and super delicious.

My favorite cookie by far are these Cherry Carob Cookies… they’re an adapted version of Martha’s Torie’s Cherry Chocolate Chunk Cookies.  I have made these cookies, the original recipe and the new adapted version, to give as gifts for Valentine’s Day, Mother’s Day, Xmas, and even Birthdays.  I always get requests for them.  This time around I made them for my dear friend Choy, who makes the most awesome vegetarian egg-less cheesecake.

Hope you enjoy them as much as we all do…

cherry-carob-cookies.jpg

CHERRY CAROB COOKIES

2 1/4 cup organic whole wheat pastry flour
1/2 teaspoon baking soda
2 sticks of unsalted butter
1 1/2 cup packed brown sugar
1 teaspoon salt
2 teaspoons vanilla powder
equivalent of 2 eggs from egg replacer
1 cup carob chips
1 cup dried cherries
1 cup toffee chips
 
  1. Pre-heat oven to 350 degrees.
  2. In a bowl whisk together the flour and baking soda.  Set aside.
  3. In another bowl, beat together the butter and the sugar with an electric mixer on medium speed, until light and fluffy.
  4. Mix in the salt, vanilla and egg replacer.
  5. Add flour mixture in 3-4 batches.  Mix until just combined.
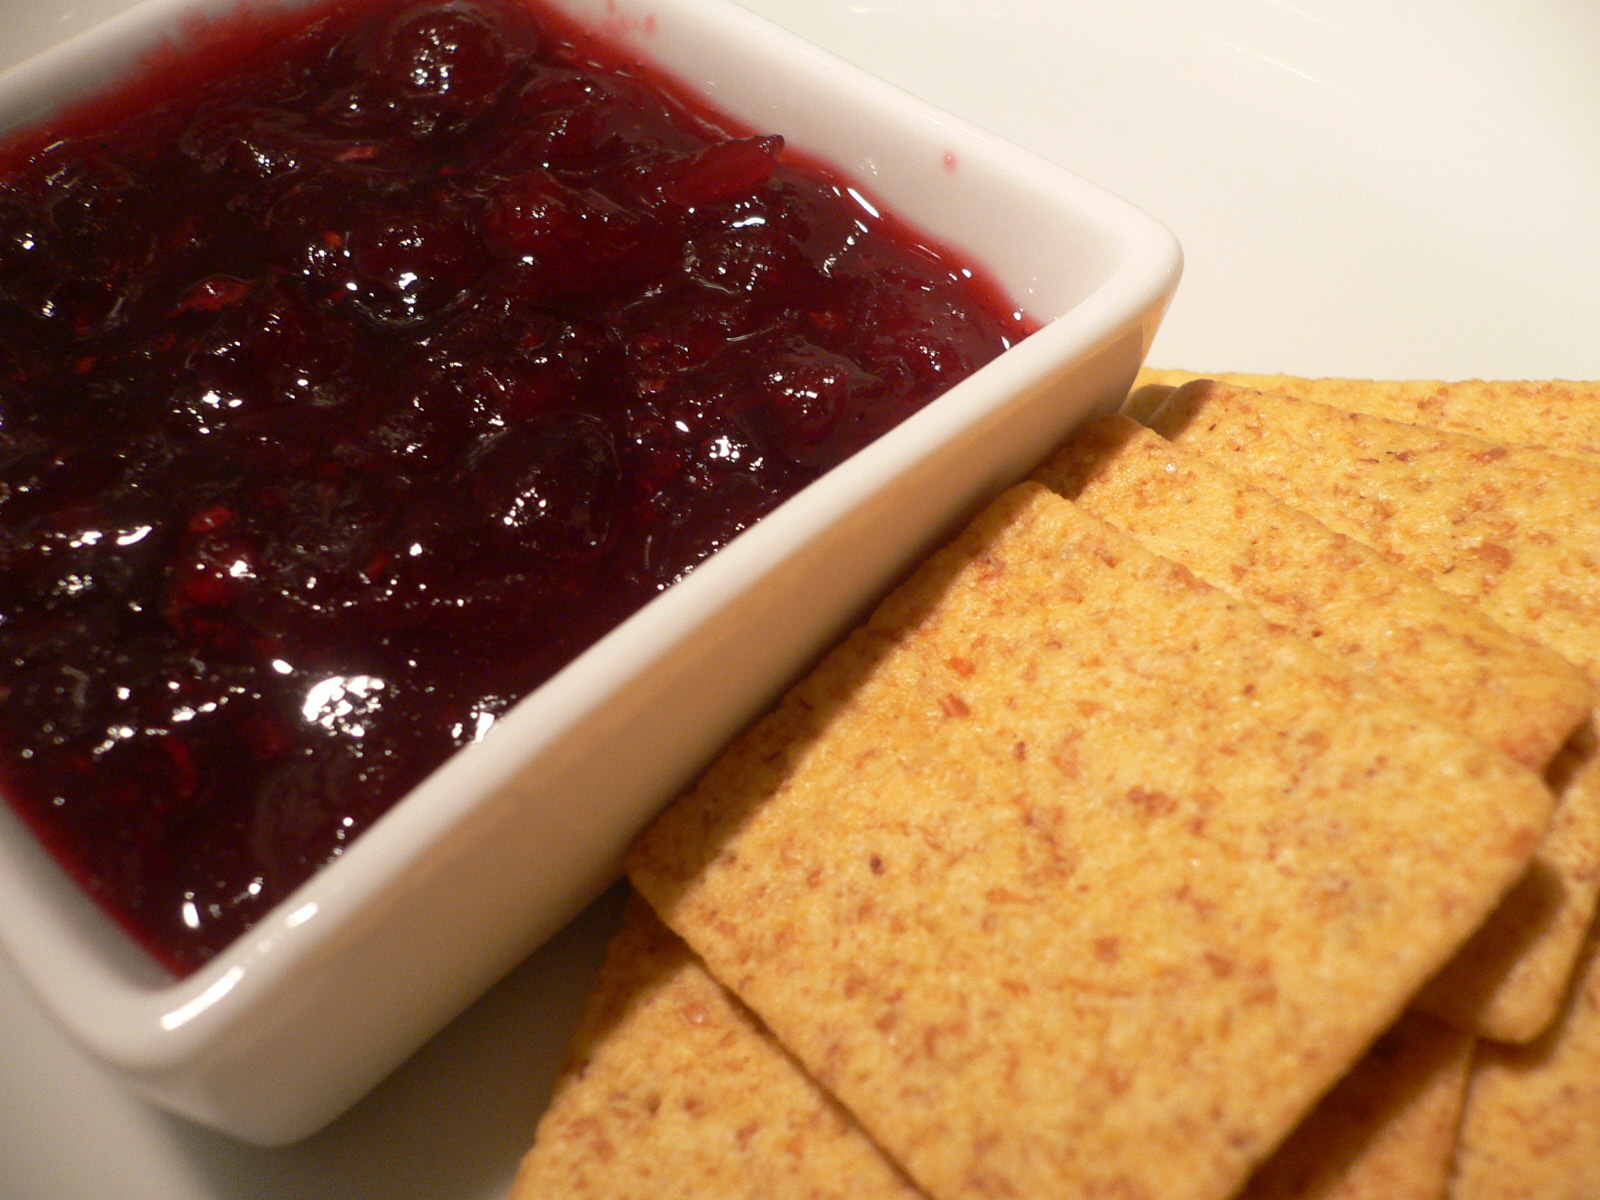
  6. Stir in the carob chips, cherries and toffee chips.
  7. Drop heaping tablespoon-size balls of dough 2 inches apart in a cookie sheet lined with a silplat or unbleached parchment paper.
  8. Bake until golden around the edges. about 10 -12 minutes.
  9. Remove from oven and let them cool on the baking sheet.  After a few minutes, transfer warm cookies to a cooling rack to  cool completely.
  10. Store cookies in the fridge for up to 1 week in a tightly sealed container.

But don’t worry, they will not last long.  They are eaten best with a tall cold glass of milk.

Strawberry Kanten

23 Dec

This is a recipe I learned from Diane Carlson while at a cooking retreat called the Conscious Gourmet back in April of this year.  I made some wonderful friends and learned some awesome recipes, this being one of them.  Among the wonderful friends, my friend Kathleen from Kathleen’s Vegetarian Kitchen.

 I learned this is called KANTEN because that’s another name of the agar-agar in the recipe. It’s an easy recipe, but you need time to make it… you’ll see why…

 130.jpg

 STRAWBERRY KANTEN

4 cups apple juice – Knudsen’s organic brand is highly recommended
1/4 cup agar flakes
1 tablespoon roasted almond butter
dash of lemon juice
pinch of sea salt
2 cups strawberries
1 tablespoons maple syrup or to taste
  1. Place apple juice and agar flakes in a medium saucepan.  Set aside for 15 minutes so the agar flakes start to dissolve a bit in the juice.  Bring liquid to a boil, lower heat and gently simmer for 5 minutes or until agar is completely dissolved.
  2. Pour the hot kanten into a metal bowl or metal baking dish and place in freezer until very firmly set.
  3. Slice 1/2 cup of strawberries for garnish.  Puree the remaining strawberries in a blender with maple syrup and salt.  Strain the strawberries through a fine sieve to remove as many seeds as possible.
  4. When the kanten is fully solidified, break it up into a food processor.  Add the almond butter, lemon juice and salt and puree until smooth. Layer kanten and strawberry sauce in parfait glasses.  Garnish with remaining strawberries.

It’s important to use the metal bowl to help the kanten solidify faster.  Depending on how cold your freezer is, this part will take at least 2 hours.

 The color of the apple juice you use will definitely affect the color of your kanten.  The Conscious Gourmet version was made with Knudsen’s apple juice.  The version I did on  my own was made with Mott’s Natural apple juice, therefore, this latter version was beiger, while the Knudsen version is pinkier.

 p1010767.jpg

Carrot Burfi

20 Dec

This is another of the dishes I made with my friend Rosani.  This is actually her recipe, and she’s super excited to be published via this blog.

This is a very nutritious and healthy dessert she had originally on her first trip to India.  It’s traditionally made with carrots, ghee and powdered milk.  Our version is trying to be dairy free, and I say trying because we ended up adding evaporated milk for the mixture to get the consistency we wanted.  And I will be TRUE to the recipe we actually did, which ended up super delicious.  I guess you at home can follow our example of just go with the dairy-free version… I’ll tell you where to adjust.

 Again, we did this for a crowd… so I am using a recipe I found on the Internet to guide me with the quantities.

p1010849.jpg

CARROT BURFI

4 medium-sized carrots, finely shredded
2  cups of sugar
1/2 pint of soy creamer
1/2 carton of evaporated milk
2 tablespoons of ghee or clarified unsalted butter
1/2 cup of shredded coconut
1 teaspoon of cardamom (optional, it’s traditional, but we didn’t use it on our version)

 p1010831.jpg               p1010838.jpg

** If making the recipe dairy-free, use 1 pint of soy creamer and omit the evaporated milk all-together.

  1. In a large skillet, cook the grated carrots and sugar, covered for about 20 minutes.
  2. Add the grated coconut, soy creamer and evaporated milk, if using.  Stir often to avoid it to sticking to the bottom.
  3.  p1010833.jpg
  4. Stir in the ghee and mix in the cardamom, if using.
  5. p1010842.jpg
  6. Cook over medium heat until the mixture has absorbed most of the liquid and when a spoon is scraped across the mixture, you can see the bottom of the skillet.
  7. Spread in a baking dish to cool off.
  8. Spoon into dessert dishes and enjoy.

Brown Rice Krispies Treats

19 Dec

This is my Xmas present to all my vegetarian friends.

I’ve always been a fan of Rice Krispies Treats but they’re made with marshmallows, which are made with egg whites. This version is a mixture of a bunch of recipes I found on the Internet. And I even made a few adaptations of my own.

I hope you and the rest of my friends enjoy it as much as I enjoyed making them.

 rice-krispies-muchos-2.jpg

BROWN RICE KRISPIES TREATS

1 cup light corn syrup with brown sugar (Karo brand)
1 cup almond butter
1/2 cup brown sugar
6 cups brown puffed rice krispies
1 cup carob chips
  1. In a large saucepan over medium heat, mix together the sugar, corn syrup and almond butter until their all pretty warm, mixed together and syrupy.
  2. Remove from heat and pour in the puffed rice cereal. Stir well until all the cereal is covered in the sticky mixture. This is where going to the gym will some in handy…
  3. After all the mixture is combined, stir in the carob chips. They’ll melt a bit, but that’s part of the charm, in my humble opinion.
  4. Pour mixture into a greased 9 x 13 glass dish. I greased using my Canola Oil Spray.
  5. Spray your hands with the Canola Oil Spray too and press flat.
  6. Let cool for 1 hour before cutting into squares. Don’t put in the refrigerator, it gets rock hard there. I had a tough time cutting it.

Makes 18 nicely sized squares.

Cranberry Preserves

12 Dec

This is the most delicious and easiest recipe for cranberry jelly or preserves you’ll ever encounter.  My uncle loves cranberry sauce at Thanksgiving and I wanted to see if I could get him to eat the real thing, not the jelly that comes from a can.  It just looks too unappetizing…

I can’t remember well where I saw this recipe, but I have tried a Cranberry Chutney from Martha Stewart which called for orange juice and orange rind, and while it was delicious, the orange rind made it quite bitter for my taste.  This recipe is sooooooo easy that you’ll be able to recite it to your friends when the rave about how delicious this is. 

 I also learned yesterday this might also be called Cranberry Butter…  however you prefer to name it, please make it and enjoy.

 p1010916.jpg

CRANBERRY PRESERVES

1 bag of fresh cranberries
1 cup apple juice
1 cup brown sugar
 p1010868.jpg                        p1010871.jpg                     p1010883.jpg
  1.  Wash the cranberries.  Go thru them and throw away all the ones that have gone soft.
  2. Place all ingredients in a large heavy saucepan.
  3. Bring mixture to a boil.  I cover it so it comes to a boil faster, but watch it, as it can boil over.  After it starts boiling, uncover, reduce heat and simmer for about 15 minutes.
  4. The cranberries will begin to pop on their own.  Stir it every few minutes, and as you stir, pop the cranberries that might be still whole.  It’s the pectin inside the cranberries that helps the sauce thicken.
  5. After the cranberries are cooked.  Remove from heat and let cool.  Be careful, the mixture is VERY HOT and will burn you.
  6. Transfer to  smaller jars or plastic bowls.

You can have this cranberry preserves with crackers as a jam, in a sandwich, as accompaniment to mashed sweet potatoes and even as a topping for ice cream.  It’s so versatile and soooooo easy.

Hope you make it this Holiday season.