Archive | main courses RSS feed for this section

Chili Verde

13 Mar

A few weeks ago my Serious Eats Water Cooler group issued a challenge… let’s make CHILI!!!

I am not a chili girl at heart, as my introduction to chili was Wendy’s chili with meat and beans. Never a fan of beans, therefore never enchanted with chili.

Wanting to partake in the chili challenge, I decided to give a stab to a vegetarian chili recipe. Mixing my Puerto Rican root vegetable “roots” with a few Mexican flavors, this vegetarian chili recipe is hearty and filling like a sancocho but with a nice spicy kick from the salsa verde. This is certainly something you can adjust to your taste.

In regards to the chili debate – beans vs. no beans – this is certainly a bean-less chili that I hope will satisfy the most avid bean eater too. Enjoy…

chili verde 2 KFC

CHILI VERDE

1/4 cup extra-virgin olive oil
1 small onion, chopped
One large Yukon gold potato, peeled and cut into cubes
One white sweet potato, peeled and cut into cubes
1 large parsnip, peeled and cut into cubes
1 tbs sofrito
½ large green bell pepper
1 tablespoon cornstarch
1 cup whole kernel corn, I use frozen
1 vegetable bouillon cube
1 1/2 cup water
½ of a can salsa verde – I used Herdez brand
Kosher salt and freshly ground black pepper
Garnishes, such as crumbled cheese, chopped green onions, sliced avocados, lime wedges)
  1. Heat the oil in a heavy, large pot over medium heat. Add the onions, potatoes, sweet potatoes, parsnips, vegetable cube and sofrito. Season with salt and pepper.
  2. Cover and sweat until the onions are tender, stirring often to prevent browning, about 8 minutes. Mix in the cornstarch. Add the corn, the water and bring the chili to a simmer.
  3. Place the green bell pepper in a processor and mix with the salsa verde. Blend just until smooth. Add the sauce to the pot.
  4. Cover and simmer the chili 30 minutes, until the potatoes, sweet potatoes and parsnips are tender and the chili is reduced to a thicker consistency. Season with more salt and pepper if desired.

Thyme Rosemary Scalloped Potatoes

27 Feb

I loooooove potatoes and I love cheese too… But sometimes I want to take a break from cheese. Hey… don’t shoot me for saying this, but as the saying goes, “todos los extremos son malos” or all extremes have a dark side. And for me, eating too much cheese on a consistent basis does a number on me.

After I finish retreats, I try to avoid eating too much cheese. I seek recipes in my arsenal that do not rely on cheese. There are some, but not many. I must confess (*hangs head down in shame)…

I found this recipe by a daily email I receive from Cooking.com. It’s a Food & Wine recipe which they adapted from Daniel Boloud. So by me now adapting it once again, who knows if we’re either come full circle to the original recipe or taking it into a whole different place where chef Boloud never ever intended… either way, this recipe is a real keeper IMHO.

As you’ll read in the directions, I did it in a spring form pan. Some of the liquid seeps out, but the end result is really good still. Next time, I will make them individually in muffin tins and they will look cute and the liquid will stay with the potatoes. I will show you pics of that soon enough. OK??

scalloped potatoes

THYME ROSEMARY SCALLOPED POTATOES

1 tbs extra-virgin olive oil, plus more for the pan
1 small onion, minced
1 clove of garlic, smashed
1 tsp chopped thyme
1/2 tsp chopped rosemary
1 cup mushroom broth… left over from rehydrating some morels
½ vegetable bouillon cube
1 large Yukon Gold potato, very thinly sliced with a mandolin
Salt and Freshly ground pepper


  1. In a small saucepan, heat the olive oil. Add the onion, garlic clove and vegetable cube and cook over moderate heat, stirring occasionally, until softened, about 3 minutes.
  2. Add the thyme and rosemary and cook for 1 minute. Add the mushroom broth and bring to a boil. Cook over moderately high heat until reduced to 1/2 cup, about 10-15 minutes.

??????????

3.  Preheat the oven to 400° and oil a round cake pan. I did it on my spring form pan, but make sure you wrap it tightly in foil to prevent leakages. Line the bottom of the pan with parchment paper and oil the paper.

4.  Arrange an overlapping layer of potato slices in the bottom of the pan. Season lightly with salt and pepper and spoon a small amount of the reduced broth on top. Repeat the layering with the remaining potatoes and reduced broth, seasoning each layer lightly. Pour any remaining broth on top. Cover the pan with a sheet of oiled parchment paper and then a sheet of foil and place in a sheet tray to catch any liquid.

??????????

5.  Bake the potatoes until they are very tender, about 45 minutes to 1 hour. Remove the foil and paper and bake until the top is dry, about 10 minutes longer.

6.  Turn the broiler on. Remove the potatoes from the oven and let rest for 5 minutes. Take out of the spring form pan and broil it until the surface is lightly browned, about 2 minutes.

7.  Cut into wedges and serve.

??????????


Spinach, Tomato and Cheese Stove Top Macaroni

22 Feb

I prefer stove-top mac and cheese recipes to mac & cheeses you bake in the oven…

Why?? After the pasta is cooked and the cheese sauce is made, why do we need to cook it all over again??? I like a cheesey topping just like the next person, but I also like to have my macaroni with lots of sauce and unfortunately, baking dries much of the sauce out.

So this is a recipe that came about with no recipe in mind at all… My aunt likes when I make pasta in cheese sauces. I was in the supermarket and I started buying ingredients without knowing how I would make them in the end. The result was a great pasta dish that delighted not just the people who ate it with me initially, but my friends on the internet as well. So to all of you who were drooling over the pic on FB, here’s the recipe!!!!

This is a large recipe for me… I rarely ask you to make the whole box of pasta at once. This will feed about 8 people or 4 people with leftovers. You can certainly halve this recipe… I do it aaaaaaalllllllll the time.

Hialeah-20130201-00067

SPINACH, TOMATO AND CHEESE MACARONI

1 box of whole wheat macaroni
½ bag of frozen chopped spinach
1 small onion, diced
1 tsp minced garlic
1 tbs olive oil
2 cups diced tomatoes
2 cups half and half
4 oz cream cheese
2 cups Italian blend shredded cheese
Salt and Pepper to taste
Parmesan Cheese, grated to garnish


  1. In a large pot, much larger than you think you’ll need, bring about a gallon of water to a boil. When the water reaches it’s boiling point, salt the water and add the pasta. Stir a few times so the pasta won’t stick together. Cook the pasta according to pasta directions until al dente.
  2. While the pasta cooks, we make the sauce… they’ll be done at about the same time.
  3. In a medium sauce pan over medium heat add some olive oil, the onions and garlic. If you have sofrito, you could add a tbs if you want as an added bonus. Sautee them for a few minutes so the onion softens. Avoid the garlic getting burned.
  4. Add the spinach still frozen… the heat from the pan will thaw it. Season with salt and pepper. Cover the sauce pan for a few minutes. This will help the spinach thaw quicker.
  5. When the spinach is thawed and looks more cooked, add the diced tomatoes and cream cheese. Stir well to combine. Afterwards, add the half and half and allow it to softly boil so the sauce will thicken in consistency. Season again lightly with salt and pepper. Stir a few times as the sauce is thickening to avoid any scorching on the bottom of the pan.
  6. When the sauce has gotten a tad thicker, but is still runny, turn off the stove and add the shredded cheese in small batches. Stir consistently and allow the cheese to melt into the sauce.
  7. When the pasta is done, drain it well… but even if a little water is kept it’s no big deal. Return the pasta to the larger pot and add the sauce to it. Stir well to combine. Try to stir carefully to avoid breaking up the pasta…

Serve with grated parmesan on top with your favorite salad ( we had to have avocados in Miami) and baked sweet plantains.


Tell me what you think… Are you brave enough to “invent” a pasta dish on the fly like that??? I want to hear from all my friends on FB that were ohhhh-ing and ahhh-ing when they saw the picture initially. Have you made it?? Tell me what you think. Gracias!!!

Morel Mushroom Toasts

25 Jan

I have a bunch of virtual friends and we decided at the end of last year to start sharing amongst each other the things we love to eat from the places we live. These virtual friends are spread all over the US and the world – Colorado, Florida, California, New York, New Jersey, Maryland, Texas, Oklahoma, of course me in Puerto Rico and even one in Italy and another one in can’t remember if she’s in Iceland, Vietnam or Australia. That girl has me confused…

On our first round of our Foodie Exchange I got paired up the KATY, the only other vegetarian in our group. Can you believe our luck??? Well, they say there are no coincidences in life. It was up to the Universe that we would get to share what we love about our region. Katy lives in Maryland, close to DC and Baltimore… but she’s a lover of everything in her region including Pennsylvania where most mushrooms in the US are grown.

This is what I received from Katy…


215872_10152285200655174_1664678418_n

dried morels

But for the purposes of this post, we’ll concentrate on the baggie of dried morel mushrooms right there. Katy told me these are her favorites and that she preferred to send them fresh but was unable to locate them. So in its place she sent me these with instructions on her favorite way to eat them – sautéed with onions and thyme over toast. This is Katy’s favorite snack and she urged me to try it.

Katy is part of our Foodie Group for a reason… these toasts are amazing!!! I loved the earthiness of the morel mushrooms and how easy they are to put together. A great vegetarian snack or light lunch suitable for any foodie out there.

 Morel Toast

MOREL MUSHROOM TOASTS

½ bag of dried morel mushrooms
½ medium onion, sliced thinly
2-3 sprigs of fresh thyme
1 small garlic clove, smashed
Olive oil
Salt and pepper to taste
Cream Cheese
A whole wheat ciabatta roll, sliced in half


  1. Bring a small saucepot with water to a boil. As soon as the water boils, add the dried morel mushrooms to the water, cover and turn off the stove. Allow the mushrooms to reconstitute in that hot water for about 30 minutes.
  2. After the mushrooms are softened again, strain the mushrooms over a fine sieve reserving the liquid for another recipe.
  3. Take the drained mushrooms and pat the dry a bit. I cut the larger ones in half, but you don’t have to if you don’t want to.
  4. In a small skillet over medium heat, add the olive oil, the onions and the smashed garlic clove. Sautee them lightly for a few minutes. Add the softened morels and the thyme leaves. Season with salt and pepper. Cook everything together until the mushrooms have dried out a bit and looked cooked and “kinda alive”. Discard the pieces of garlic and set aside.

morels Sautee

5.  While the mushroom cook, drizzle some olive oil over the bread halves and toast in toaster oven. Slather some cream cheese or other spreadable cheese of your choice and place the morels and onions over the toasts with cheese.

 Morel Toast - Closeup

This is a great snack or even a light lunch served with a simple salad on the side. Thanks Katy for introducing me to morel mushrooms… I had eaten them in restaurants, but never made them at home. And now, this has also become one of MY favorites, thanks to you.


Cheese, Spinach and Mushroom Stuffed Manicotti

17 Jan

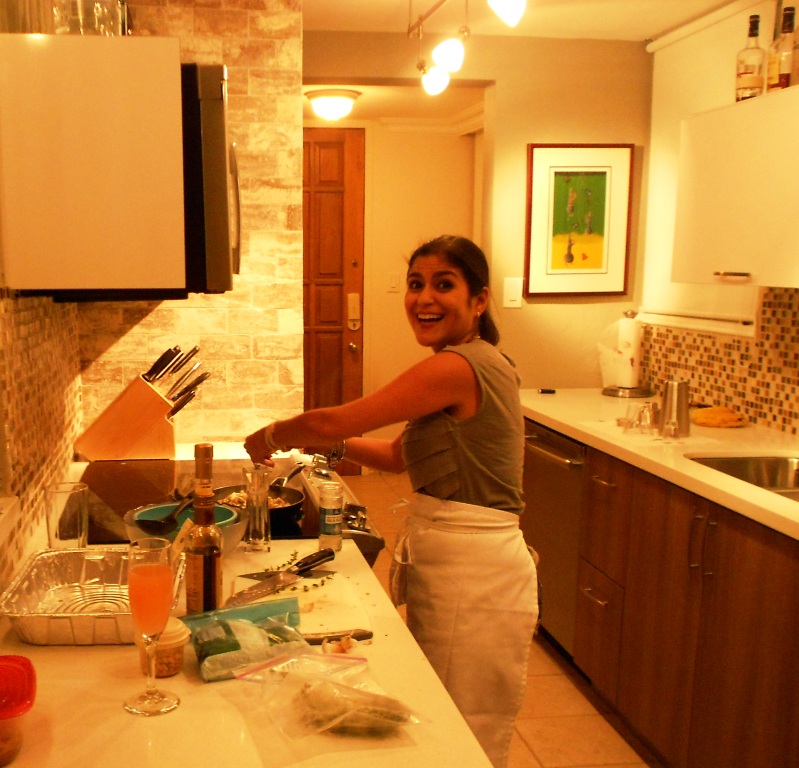
My un-married friends (which is not the same as being single) and I like to get together and celebrate ourselves, our friendship and the Xmas season. We were also celebrating the new remodeled kitchen at one of my friend’s… She invited us all for a night of music, great company and Madelyn’s cooking.

cooking

That’s the funny thing… my friend loves to cook, and she does it very well, but when she invites, Madelyn does the cooking. I do not mind at all because it gives me a chance to showcase a few recipes I’ve had in the works. Tired of the same Xmas food fare people eat at most parties during the season, I planned a healthy pasta menu with low-fat cheeses and tons of flavors. Annie Mariel would bring the salad… something composed, that’s her type of cooking.

This pasta dish is super simple and you don’t even need to cook the pasta beforehand. Due to time and availability this time around, I made this recipe using regular semolina pasta, but I have certainly made it using brown rice pasta and whole wheat pasta. In none of those cases I have pre-boiled the pasta. There is no need to do that as long as you have enough liquid for the pasta to cook in. The liquid will come from the tomato sauce and the liquid in the filling. This is a mix and bake recipe perfect for entertaining or a pasta night with the family.


manicotti - cheese, spinach and mushrooms


CHEESE, SPINACH AND MUSHROOM STUFFED MANICOTTI

1 box of whole wheat manicotti
1 box of Pomi chopped tomatoes
16 oz tub of part skim ricotta cheese
16 oz tub of cottage cheese
1 cup of grated Parmesan Cheese, divided
1 cup of shredded Italian Cheeses, divided
1 cup frozen spinach, mostly thawed and finely cut
1 packet of button mushrooms, finely chopped
½ onion, chopped finely
1 clove of garlic, smashed
2-3 sprigs of fresh thyme
1 tsp soy sauce
1 tsp balsamic vinegar
¼ cup of toasted pine nuts
1 tbs basil, chopped – I use the freeze dried kind or Italian Seasonings
Olive oil
Salt and pepper to taste


  1. Pre-heat oven to 350F.
  2. Let’s put together the filling…
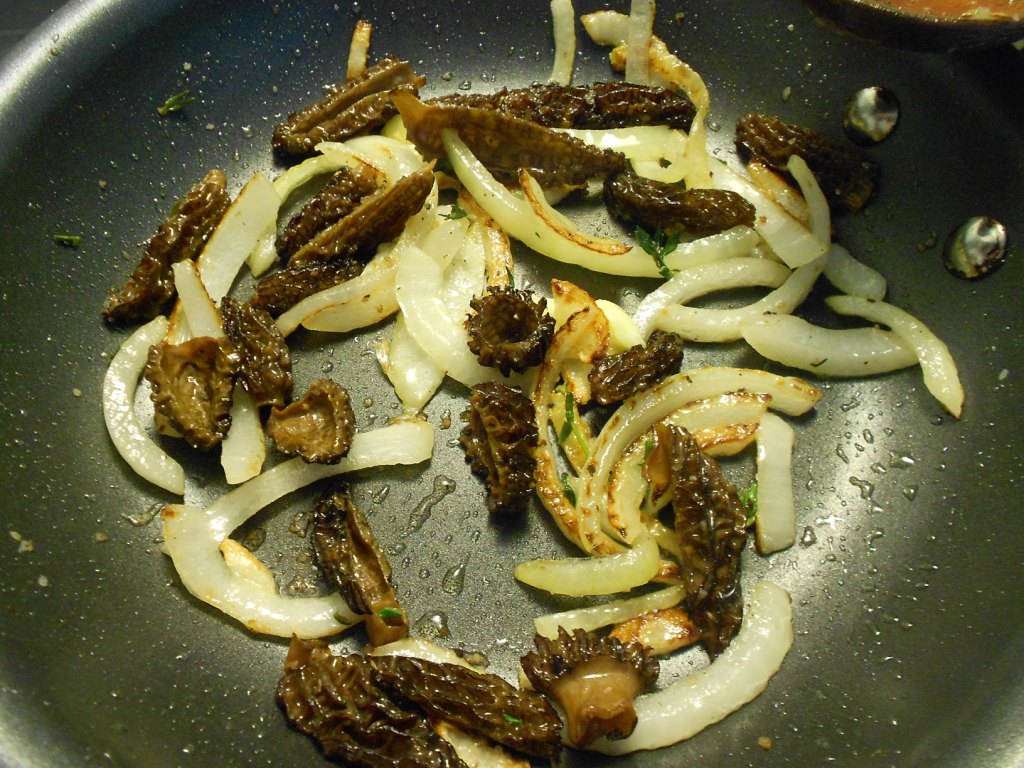
  3. In a medium skillet over medium-hi heat, add a drizzle of olive oil and add the onion, garlic clove and mushrooms. Mix together and cook without stirring too much so the mushroom get to brown and caramelize. Move them once in a while, but leave them alone for periods of time and allow them to get brown.
  4. When the mushrooms are brown and fragrant, and to me they smell like steak, believe it or not, add a splash of soy sauce and a splash of balsamic vinegar to season. Add the thyme leaves and sauté a few times. Discard the pieces of garlic you may find and set aside.
  5. In a separate bowl, mix together the ricotta, the cottage cheese, ½ cup shredded cheeses and ½ cup Parmesan cheese. Also add the toasted pine nuts and the spinach, squeezing any extra liquid from it, but it does not have to be super dry. We want some moisture still because it will help cook the pasta. Also, add the cooked mushrooms. Mix everything together. Season with salt, pepper and a drizzle of olive oil and set aside.
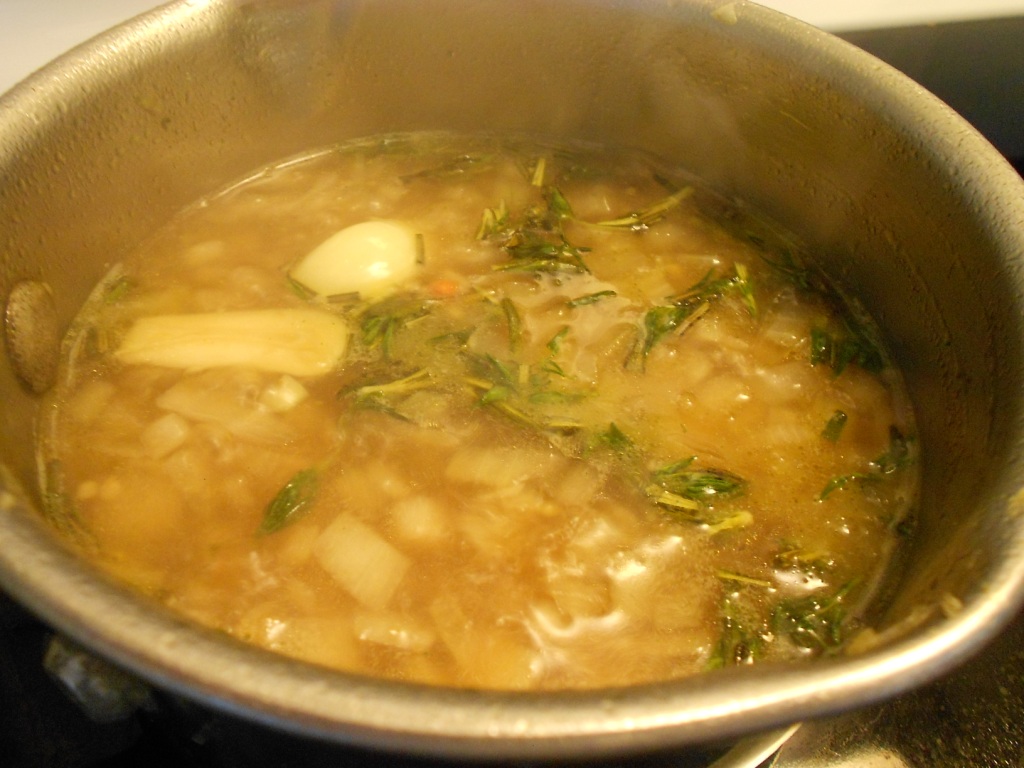
  6. In another bowl, add the chopped tomatoes, a drizzle of olive oil, a drizzle of balsamic vinegar and season with salt, pepper and the basil or Italian seasonings mix. Mix everything together to combine all ingredients well.
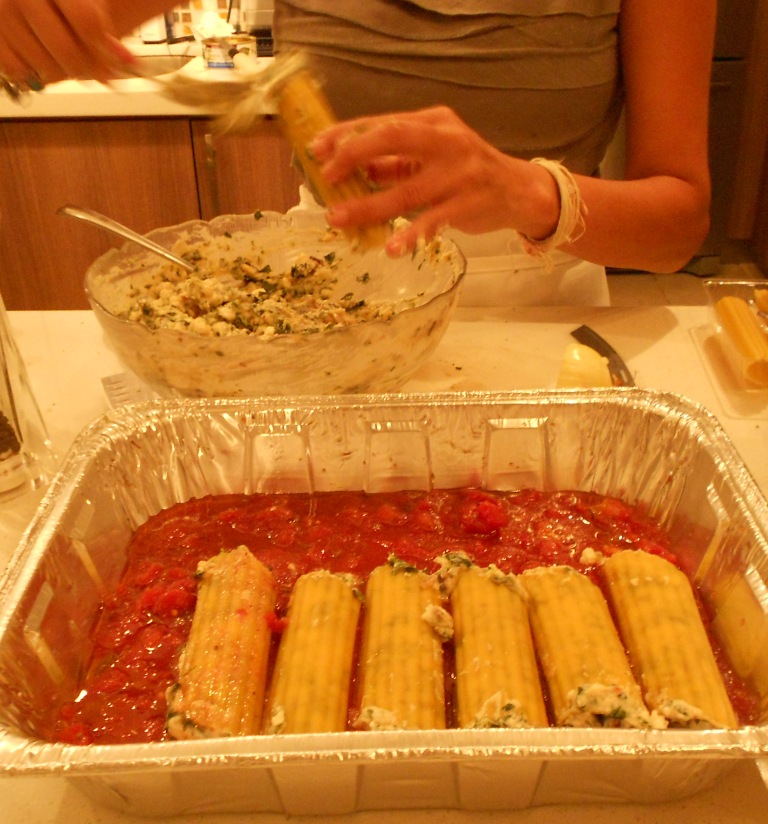
  7. Transfer ½ the sauce to the bottom of a 9” x 13” baking dish. I used a disposable baking dish because I do not bring my vegetarian-only dishes to anyone’s home where I am not 300% they’re vegetarian just like me.
  8. Using a small spoon, fill each dried manicotti sleeve with the cheese/spinach/mushroom filling we just did. Place each manicotti sleeve one next the other in the baking dish. Some will go one way, the rest across, but they should all fit. This is the most time consuming part of the process. Keep on going until all manicotti sleeves are filled with cheese. If you have any leftover filling, like I did, don’t worry. I have a Round 2 recipe for you to use it in a new different application.

cooking 3

9.  Pour the rest of the tomato sauce over the filled manicotti. Top with the remaining shredded Italian cheeses and grated Parmesan.

10.  Place in oven for about 30 minutes to allow the pasta to cook in the tomato sauce. You’ll notice when the sauce is bubbling and the pasta has softened. If the top is not golden brown, turn the broiler on and allow the cheeses to get crispy on top. When it’s golden delicious, I turn the oven off and leave the pasta in there for another 15 minutes to let it finish cooking with the oven’s residual heat. This will ensure the pasta is cooked, yet still al dente.


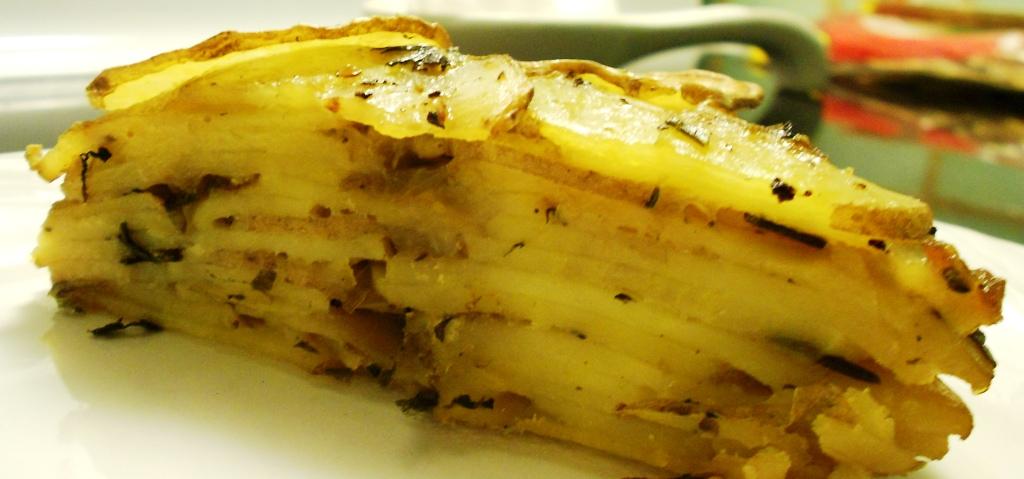
Serve with your favorite side dishes… and for us Puerto Ricans that means sweet plantains are on the menu too. We also served it with Annie Mariel’s awesome composed salad. It may not have been the traditional typical Xmas menu, but it was my last cooked meal of 2012 and I LOVED it!!!! I hope you love it too.

My Plate