Archive | Xmas RSS feed for this section

Vegan Coquito

1 Dec

Yes… I went there. My sister has been dairy-free for some time now and she was craving Coquito.

Being the good big sister that I am, I developed this version omitting the evaporated and condensed milks. I must admit, this turned out to be a really cool experiment. The flavors and the spirit of Coquito is still there – without rum or dairy.

I hope you enjoy it as much as I and my sister did.

Vegan Coquito

VEGAN COQUITO

1 pint coconut creamer
2 containers coconut cream
2 containers of coconut milk
30oz of spiced tea – using a baggie each of cinnamon sticks, anise seeds, star anise, cloves and a 5” piece of ginger
2 tbs vanilla powder or extract
2 tbs cinnamon powder
2 tbs nutmeg
 
  1. Just like my regular recipe for coquito, you first make a spiced tea – In a medium saucepan pour 3 cups of water, cinnamon sticks, anise seeds, star anise and cloves. Add also the piece of ginger cut up into small pieces or rounds. No need to even take off the skin. Bring to a rolling boil over medium high heat for about 15-20 minutes to create a strong spiced tea. This will give the coquito most of its spiciness. Turn off the heat and allow the spices to concentrate the flavor of the tea. Let cool a bit. You could even make this the day before and store it in the fridge until you’re ready to assemble the Coquito recipe.
  2. I find that if you have a really large pitcher or plastic jug with a large mouth that will accommodate about 90oz of liquid, this is the best way to assemble this…
  3. In the large pitcher I described above, combine the coconut creamer, coconut milks and creams of coconut with 30oz of the spiced tea. Add the vanilla powder, cinnamon powder and freshly grated nutmeg. Using an immersion blender, blend the whole thing well to combine and make a tad frothy.
  4. Allow to chill in the refrigerator in that same pitcher you made it in.

Serve chilled in small shot glasses. Sprinkle with ground cinnamon.

Raw Yuca Casserole

21 Apr

In Spanish there’s a saying that goes…  “lo prometido es deuda…” meaning that what you promise is a debt you need to repay.  And I promised you ever since our first ever KarmaFree Cooking Class I was going to give you the recipe for the Raw Yuca Casserole or Pastelón de Yuca Cruda and I had failed to do so… until now.

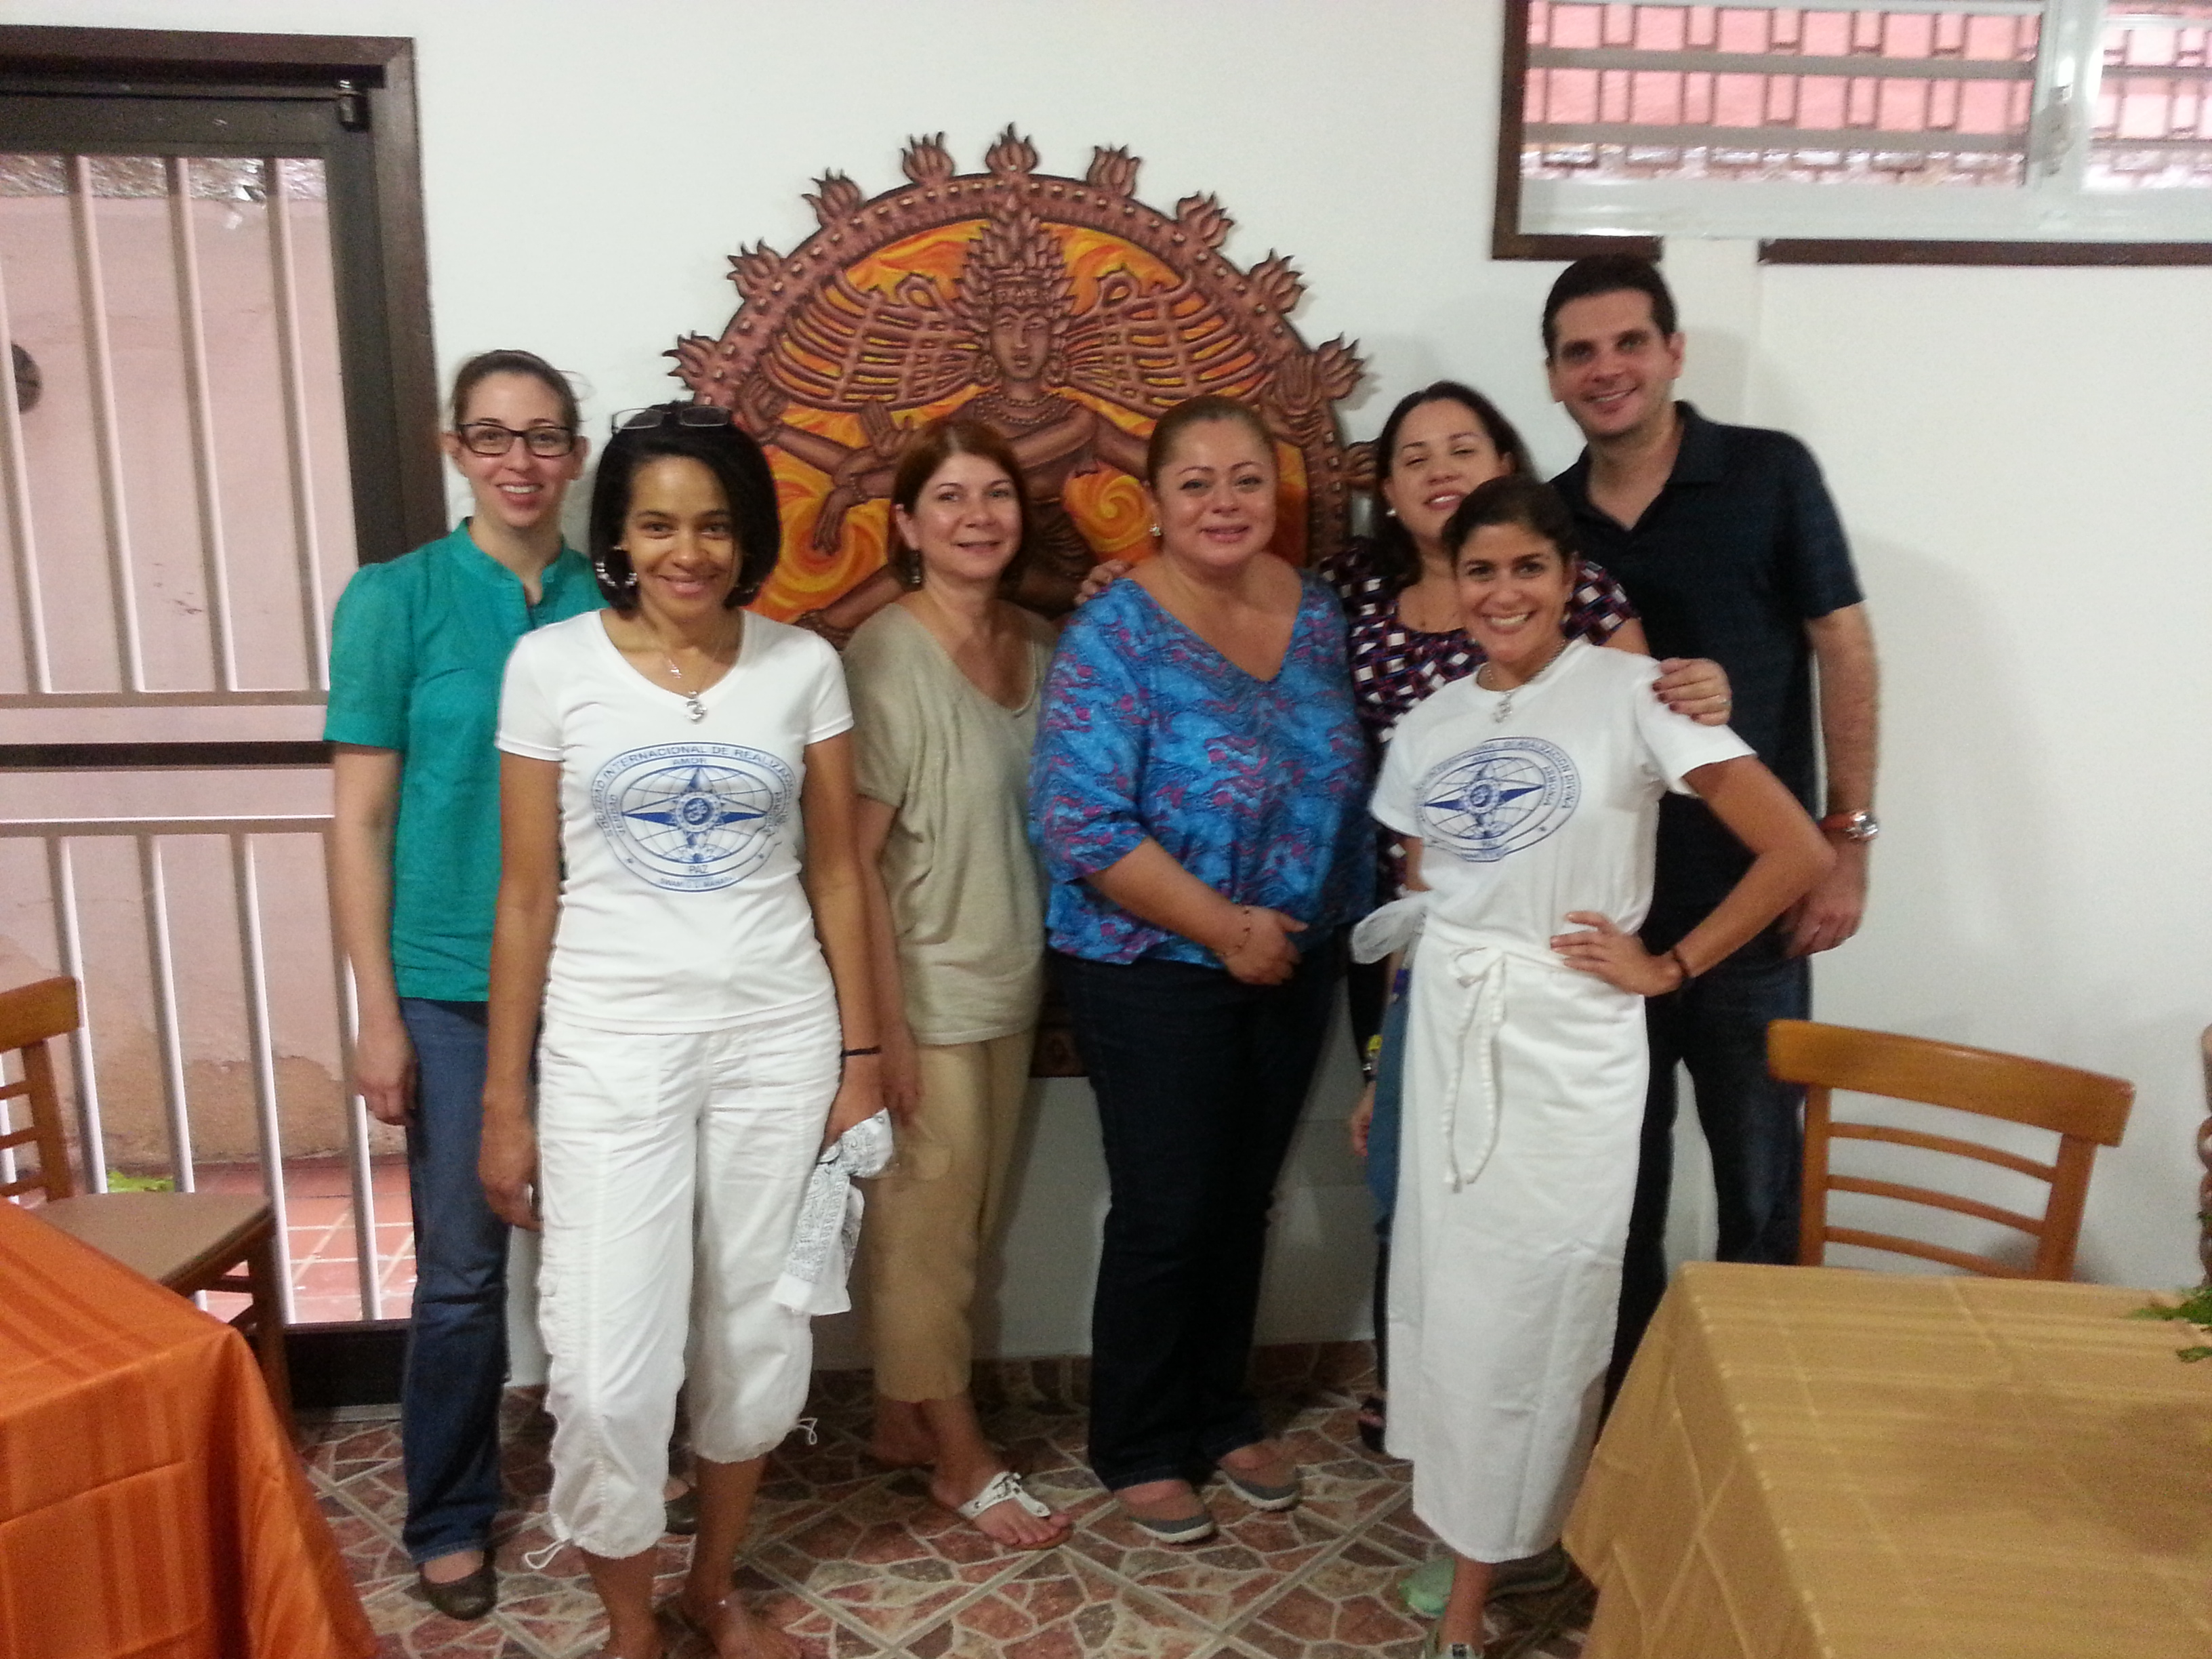
This recipe comes from Mai, Angie’s grandma.  And Mai, may she rest in peace, was who taught us all to make this delicious pastelón.  We were going to perform a tribute to her yesterday at the end of our Easter Retreat, but rain prevented us from it.  So instead, I am honoring her by publishing her recipe for posterity and for all to enjoy.

Mai Clemente

Mai Clemente – Angie’s Grandma

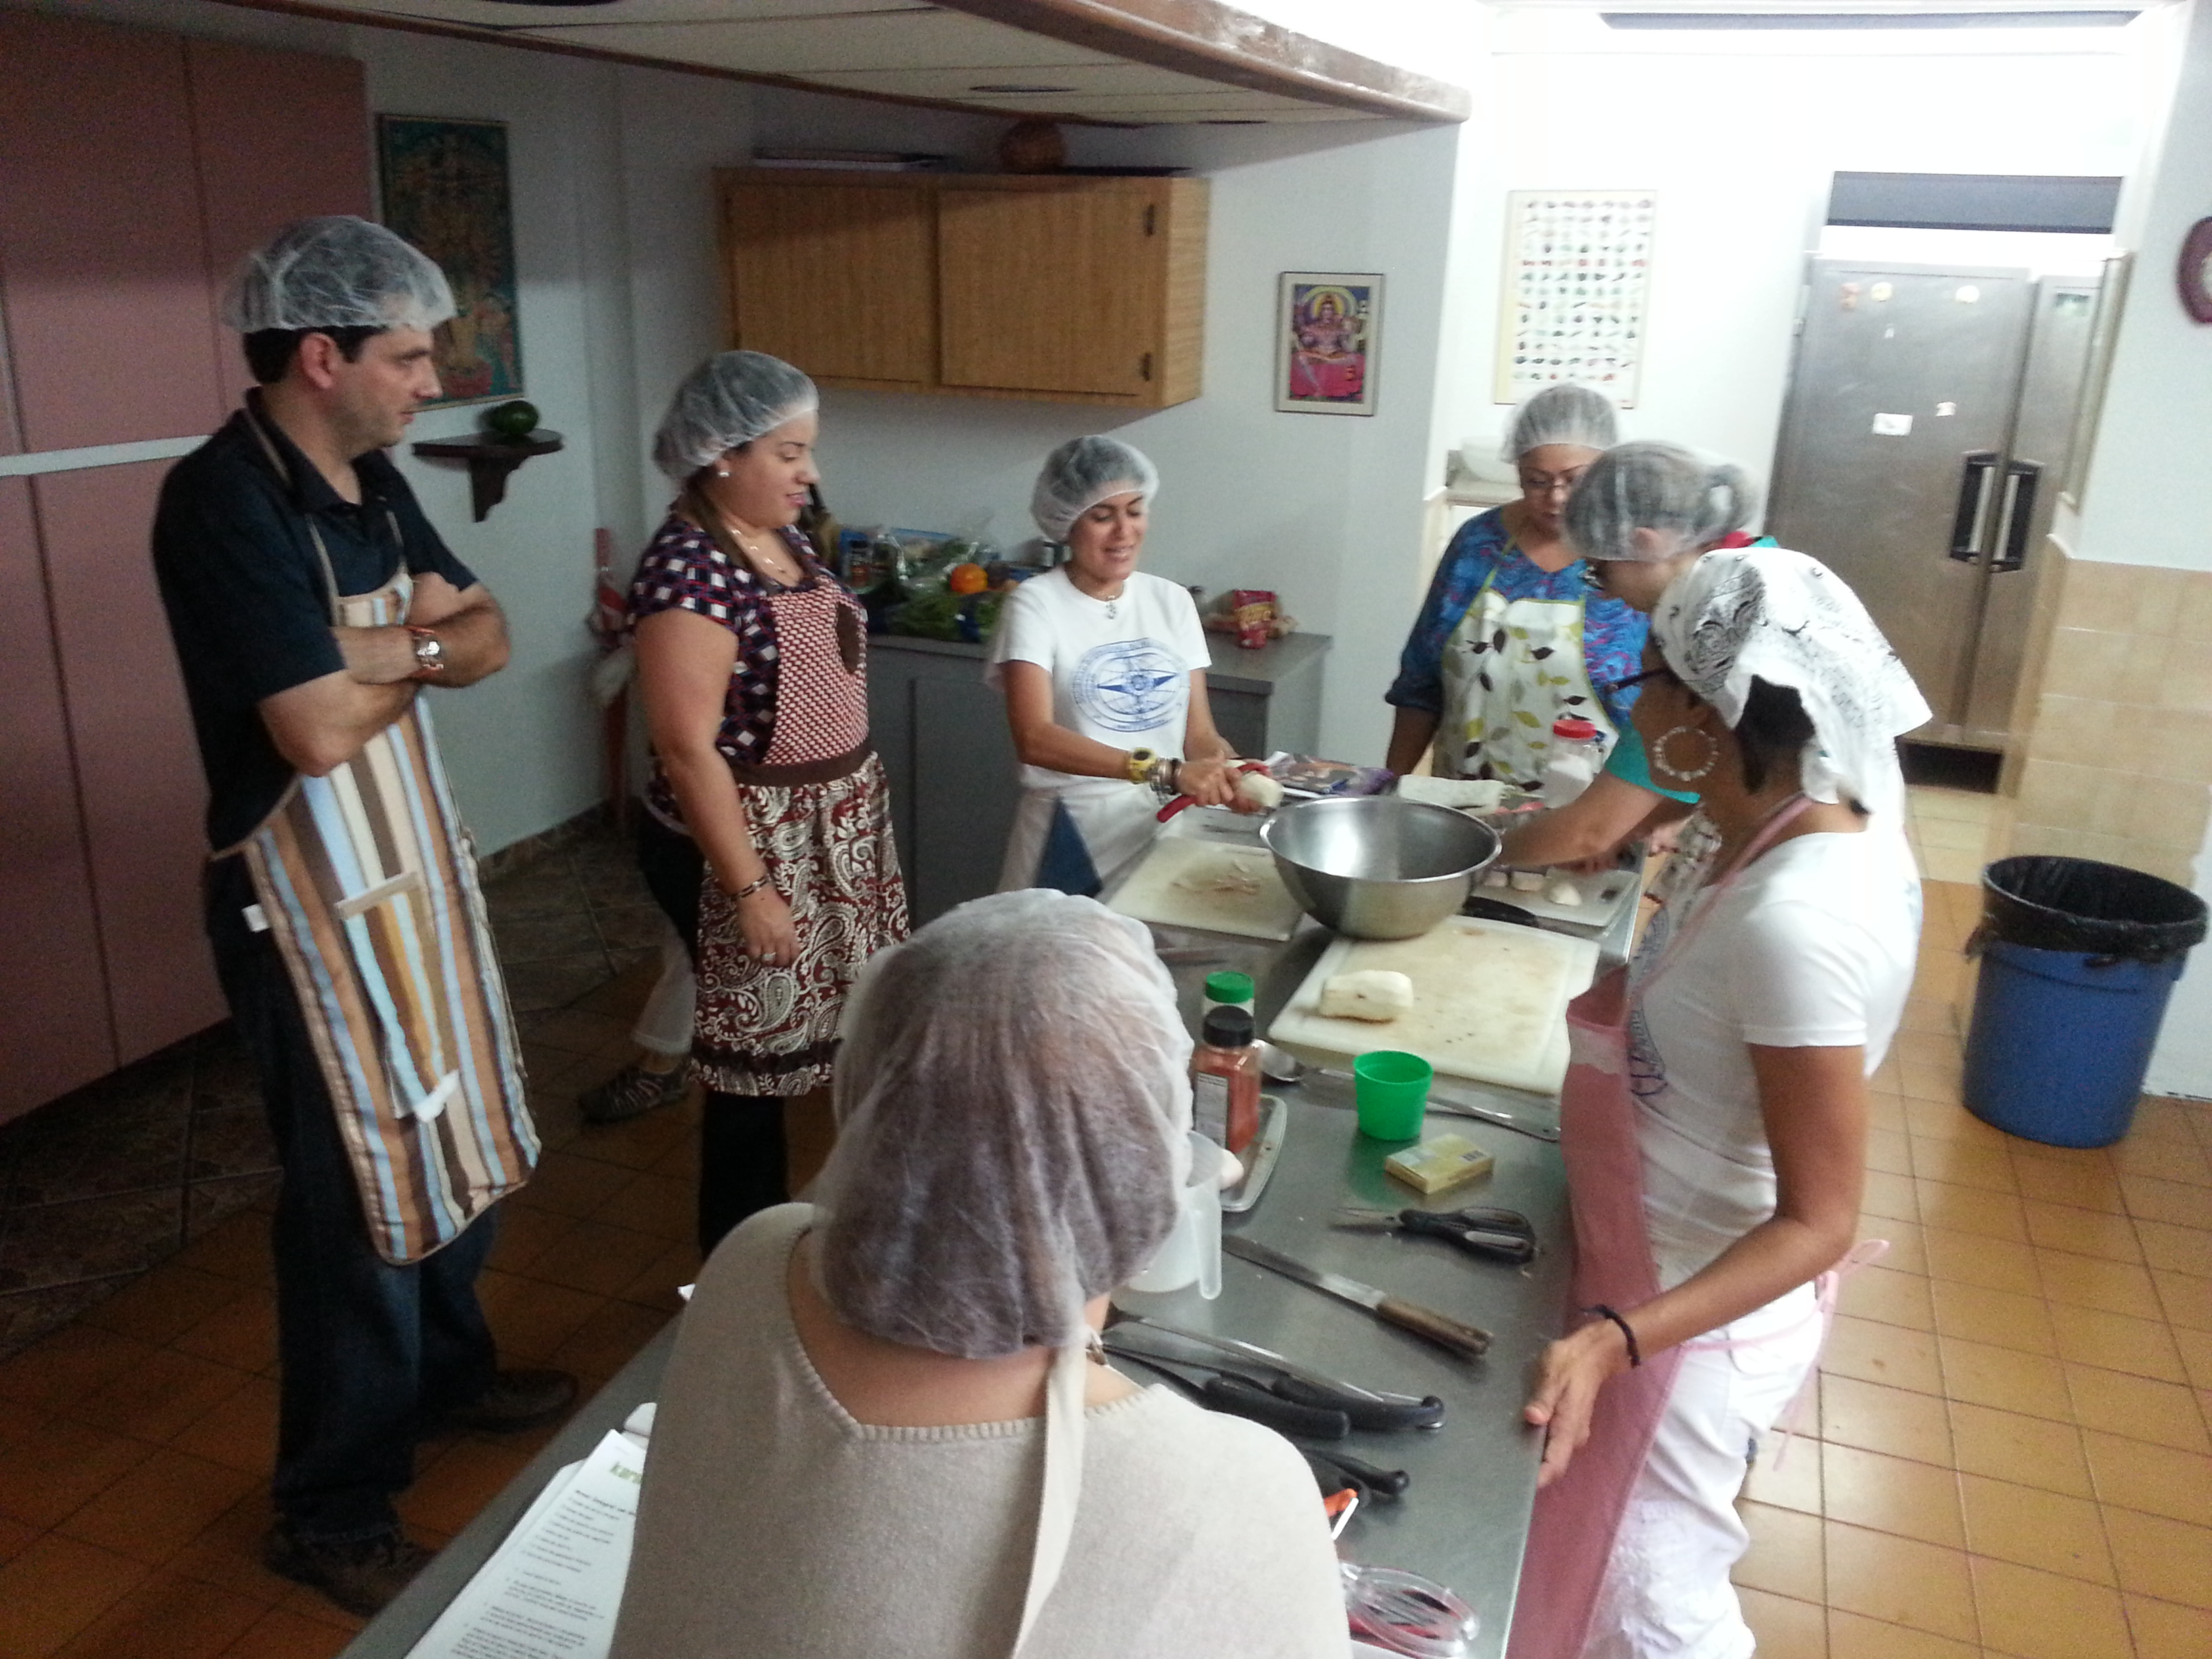
We chose this recipe for our 1st ever cooking class for several reasons: 1) it’s different, 2) it includes typical flavors of Puerto Rico and 3) this is very similar to tasting the flavors of a yuca pastel, very typical during Xmas time, but without the effort of making into individual pasteles.

Don’t get discouraged by the name of the dish…  the cool think about this pastelón, different from other pastelones or other yuca recipes I have shared with you in the past is that you do not need to cook the yuca in advance to make this recipe.  The yuca is prepared raw and then cooked after it’s assembled as a casserole.  Check it out…

First Ever KarmaFree Cooking Class Menu

RAW YUCA CASSEROLE

7 lbs raw yuca
Annato Oil
2 tbs canola oil for sautéing
2 tbs salt, divided
1 can of coconut milk
2 cups of textured soy protein
1 jar of green olives and capers, pitted
2 vegetable bouillon cubes
2 packets of tomato sauce
½ cup of sofrito or recaíto
2 tbs Dry scallions
2 Bay leaves
 
  1. First you need to re-hydrate the textured soy protein in about 2 cups of water. For approximately 30 minutes.  After the soy has plumped, drain it and squeeze it dry well. And keep to the side.
  2. While the soy rehydrates, we prepare the yuca…
  3. Peel the yuca and take off the center hard vein that runs thru it.  Cut it into long pieces that are not too skinny.  Wash it well and grind it using either one of these implements – a Champion grinder, a hand grinder or the grinder attachment on a KitchenAid mixer.  Make sure to squeeze out as much liquid as possible using a large colander or even a clean cotton towel, because this yuca liquid makes the masa bitter.
  4. When the yuca is ground and squeezed dry, season it with the annatto oil, 1 ½ tbs of salt and the coconut milk.  Mix it all well so it has a beautiful yellowy color.  Set aside.
Photo provided by Adriana from GreatFood 360

Photo thanks to Adriana from GreatFood 360

Yuca Cruda, Casserole

Photo thanks to Adriana from Great Food 360.

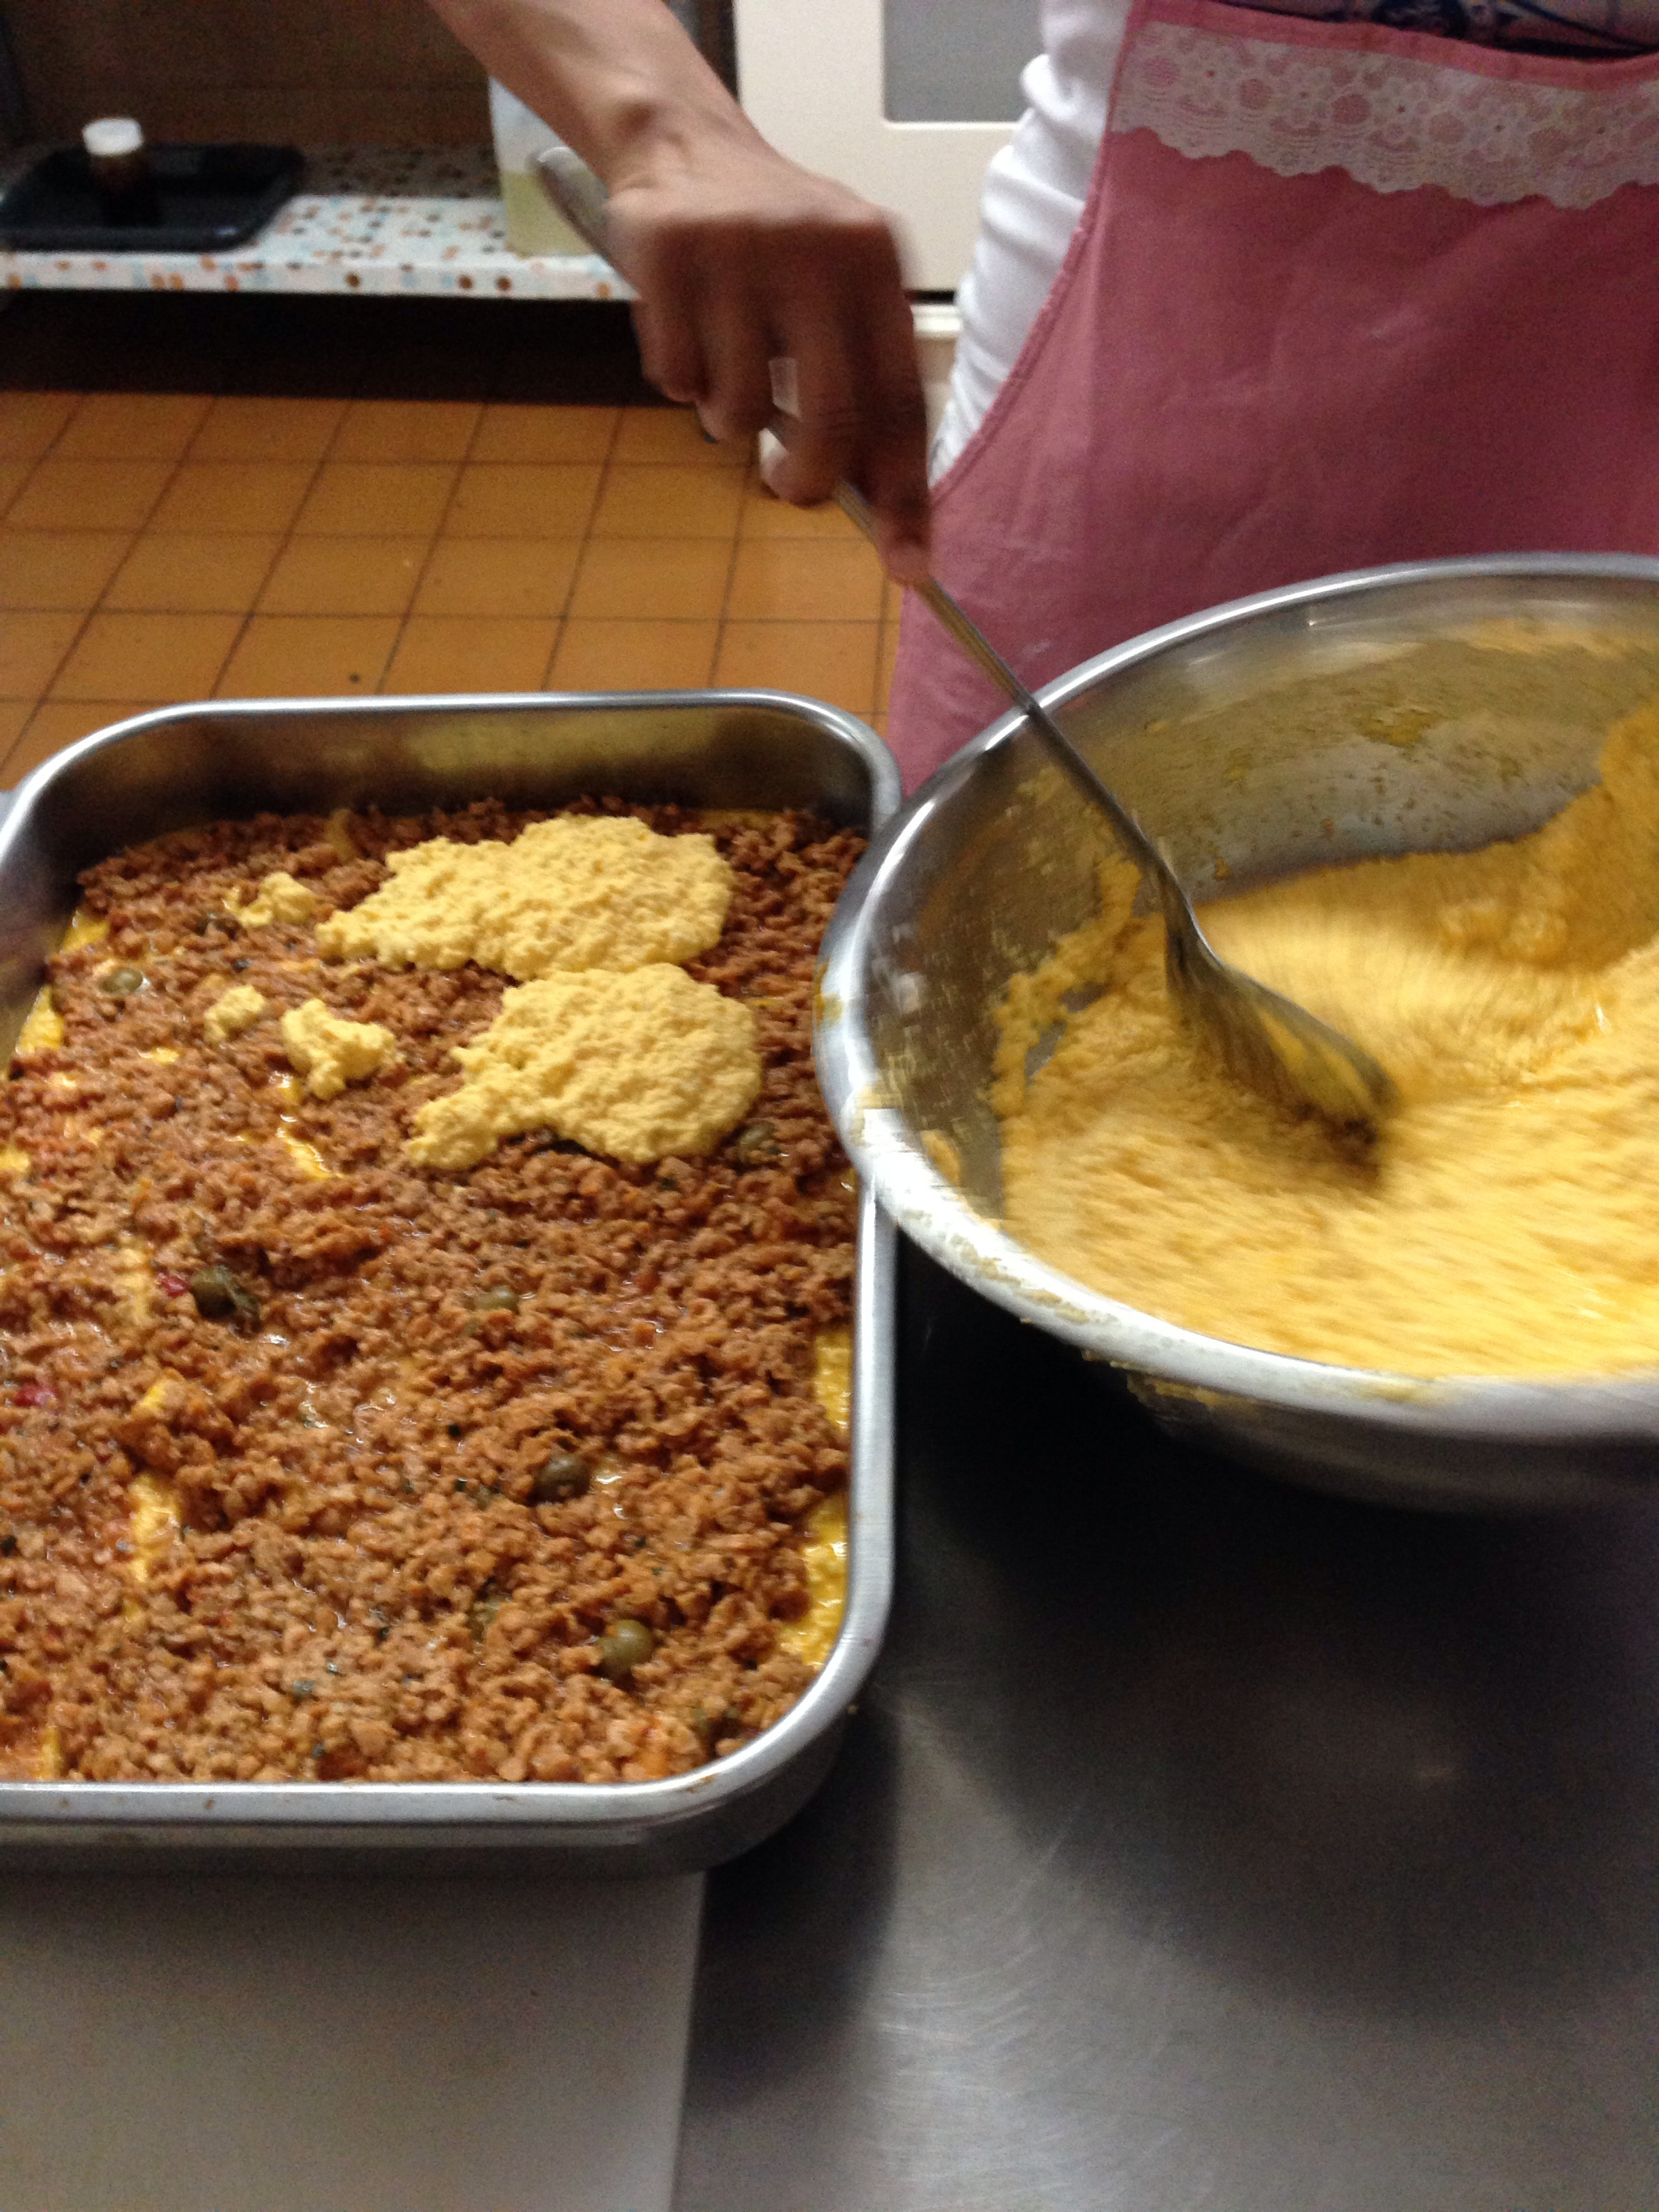
5.  Now we move on to making the filling…  In a large skillet, add the canola oil and cook all together the olives and capers, sofrito, recaíto, the 2 bouillon cubes, the tomato sauce, dried scallions, bay leaves and ½ tbs of salt.  In the end, add the drained soy and mix everything together.  Allow to cook over low heat for about 10 minutes.  Stir every once in a while to avoid the soy mixture to stick to the bottom of the pan.  Turn off the heat and set aside.

6.  Now we put it all together to make it look like a pastelón…  Divide the yuca mixture in 2 halves.  Spread one half on the bottom of a 9”x 13” baking dish.  You won’t need to pre-grease it because the yuca masa has annatto oil in it.  But you can if you prefer.

Pastelon Yuca 2

Photo thanks to Adriana from GreatFood360

7.  Spread the soy mixture over the first layer of ground yuca as evenly as possible.

8.  Cover the soy mixture with the second half of the ground yuca.

Photo thanks to Adriana from GreatFood360.


9.  Cover the baking dish using a piece of parchment paper secured on top with a layer of aluminum foil.  Bake in a 350F over for approximately 30-45 minutes, depending on your oven.  Start checking the pastelón at the 30 minute mark and uncover it to make sure the consistency is cooked and the top dries and browns a bit.

10.  Let is rest for a few minutes after you take it out of the oven so that the yuca sets and it’s easier to portion and serve into pieces.


This is one of my favorite pastelones.  You can make the filling with anything you would like.  I personally like to substitute part of the soy protein with mixed vegetables.  It’s a way to give variety to the recipe.

I hope you like it as much as Angie and I we like it too… and thanks Mai for leaving us with a little piece of you though your cooking.

KarmaFree Cooking 1st Cooking Class Recap

28 Jan

You asked for it… and we heard you.

Last December we held our first KarmaFree Cooking class at the Centro Cultural Yoga Devanand kitchens.  A delicious vegetarian Puerto Rican Xmas menu designed to help the students discover and taste for themselves that traditional Xmas fare can be made vegetarian without losing any authenticity.

26d1073a5f5f11e39dfb0ac1ed5599c8_8

The menu included:

Rosemary Almonds

Can be enjoyed as an Appetizer or Salad Topper or even as a homemade gift.  It’s a true KarmaFree Cooking favorite.

rosemary-almonds

Raw Yuca Pastelón – all the flavors of a traditional pastel in an easier to make format

11300649775_b3d73ef075_o

Brown Rice and Pigeon Peas – a classic of Puerto Rican cuisine

Arroz con Gandules

Yautía Fritters – the flavors of  alcapurrias, but without the filling

Frituras Yautia 3

A not so typical Salad – including some non-traditional salad ingredients and a delicious Parsley Garlic Dressing

A New Salad

My version of Tembleque – the quick, easy and vegan dessert we all love

Tembleque My Way

We had a lovely time during our cooking class.  To be honest, this is the first time I have taught an official class.  I have shared my recipes with my friends many, many times, but never in a class setting.  I hope the students who participated enjoyed it as much as I did.

20131207_113539

20131207_130341

I would like to thank everyone who attended.  Some were personal friends, some are friends I have gotten to know thru the blog, others have been KarmaFree Cooking fans for a while…  I kinda felt like a celebrity when they told me that.  Your support and interest gets me going.  And it was real nice to have Adriana from Great Food 360 with us and specially to have her take the most awesome pics ever.  I need to ask Santa for a new camera STAT.

But I also want to send a special shout-out to my friend Angie… she was my co-instructor in this class and she ROCKED!!!  She’s my friend, but she was also one of my first vegetarian cooking teachers.  She was the “owner” of the Brown Rice and Pigeon Peas and Raw Yuca Pastelón Recipes.  We always talk recipes and it was a delight to have her on the team.

DSCN0714

Also, a special thanks to my mom… she was the official picker-upper and was in charge of doing the dishes, helping us keep the space clean for the students to cook.  Goes to show you the value of having someone helping you keeping things tidy in the kitchen.

Please visit the links of the recipes in the class above… and stay tuned for our next class coming up on February 1st 

White Chocolate Cheesecake with Cranberries

2 Jan

A dessert with the holidays written all over it… white chocolate, cream cheese and cranberries. These last ones, look like jewels on top of it all.

Easy to make and fancy to the eyes. I brought it to a day-after-Thanksgiving get-together and my friends ate it all before I had a chance to take a good picture of it.

Is that enough proof on how good this is???

White Chocolate Cheesecake

WHITE CHOCOLATE CHEESECAKE WITH CRANBERRIES

1 cup graham cracker crumbs
½ stick butter, melted
8oz cream cheese
¼ cup brown sugar
½ tsp vanilla powder
1 ½ tsp egg replacer + 2 tbs water
¼ cup half and half
½ cup white chocolate chips
¼ cup dried cranberries
  1. Use the wrapper of the butter stick to grease the bottom and sides of a 5” x 7” baking dish.
  2. I break a few graham crackers in the bowl of my food processor. Process it until I get fine crumbs. I measure to make sure I have 1 cup of crumbs and return the measured crumbs to the food processor. Add the melted butter and pulse a few times to combine. It should be the texture and consistency of damp sand. Add the mixture to the buttered baking dish and pat the crumbs to the bottom of the dish and a bit to the sides.
  3. Bake in a 400F oven for about 10 minutes to create a nice crust base for our cheesecake. When the crust is golden brown, take out of the oven and chill for a few minutes to cool down as much as possible.
  4. Reduce the oven temperature to 350F.
  5. In the meantime, let’s create the filling…
  6. In a bowl mix together using a hand mixer the cream cheese, sugar, vanilla, egg replacer mixed with water, and half and half. Blend well until it becomes a smooth mixture. Add most of the white chocolate chips and cranberries and mix in using a spatula.
  7. When the crust has cooled, pour the cheesy white chocolate mixture on top of the crust. Decorate the top with the remaining white chocolate and cranberries. Bake in oven for about 25 mins. When the time has elapsed, turn the oven off, but leave the cheesecake in the oven for 10-15 additional minutes.

Take out of the oven and let it cool in a wire rack, so air can circulate from all sides. Refrigerate for about 2 hours for the cheesecake to set completely.

Carob Oatmeal with Cranberries

30 Dec

When you’re trying to lead a gluten-free lifestyle, even if it’s once in a while, I need to get creative…

I love cold cereal in the morning, but most of my favorite options include some sort of wheat component. And after a few days, plain old oatmeal can get a tad boring. I know…

Bring some spark to your mornings with carob and cranberries. It’s just as easy as making regular oatmeal, just a few extra ingredients and VOILA!

Carob Oatmeal with Cranberries

CAROB OATMEAL WITH CRANBERRIES

1 ½ cups almond milk
4 tbs quick cooking oatmeal
½ tbs carob powder
¼ tsp salt
2 heaping tbs brown sugar
½ tsp vanilla powder
1/3 cup dried cranberries
  1. In a medium sauce pan over medium heat add the almond milk and season it with the sugar, vanilla powder, carob powder and salt. Mix together to combine well. Immediately after, add the oatmeal. Mix well again and partially cover allowing an opening for you to see the milk and how it’s coming to temperature.
  2. When the milk starts to boil, in about 2-3 minutes, stir everything to combine and allow all the boiling to subside a bit. Lower the temperature of the stove to low and continue to cook partially covered.
  3. After about 5-6 minutes of cooking, you’ll see the oatmeal starts to thicken a bit, but not quite done yet. I cover completely. Count to 10 and turn off the stove. Turn it off and walk away. Don’t look, don’t peek… just walk away.
  4. After about 15 minutes of letting the oatmeal stand, it’s done. I usually let it stand for about 30 minutes to allow it to be a tad cooler.
  5. Add the cranberries right before you’ll eat it to add a special chew and sweetness.
%d bloggers like this: