Yautía Fritters

27 Dec

I learned to make these fritters from Mili at the Yoga Center. She was always a champion of having something fried in our Saturday menus…

I have always been a great fan of anything fried, but to be honest, never made these yautía fritters myself. So why in the world did I want to include them as part of a Cooking Class menu??? Beats me…

So I had to prepare fast, real fast to make a recipe that I could replicate time and time again, and that it tasted as good as Mili’s always did. Thank goodness yautías and most viandas are on sale during Xmas because they’re used in so many typical recipes.

Frituras Yautia - INgredients

Here are the results… I hope you enjoy them as much as the cooking class students did.

Frituras Yautia 3

YAUTÍA FRITTERS

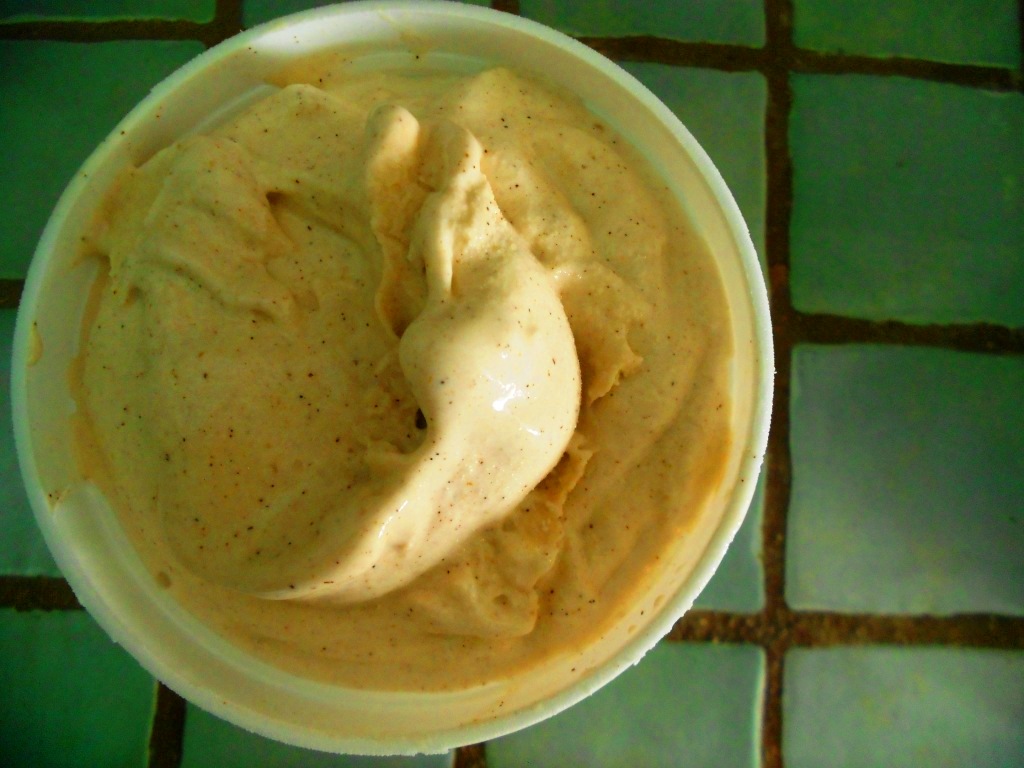
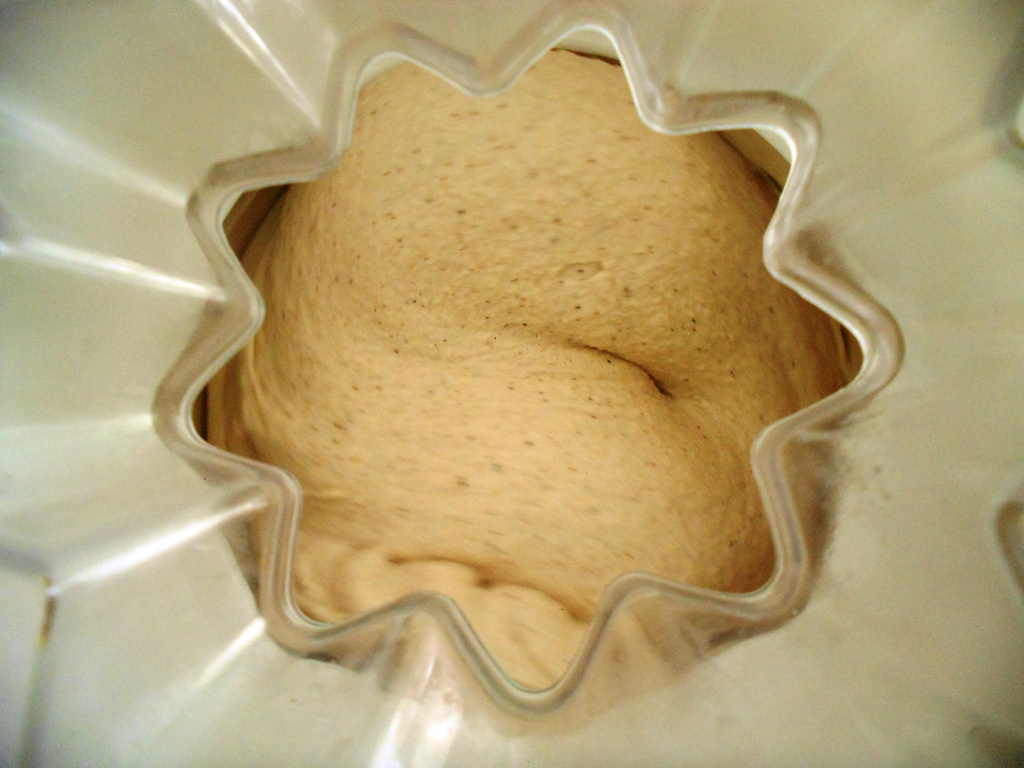
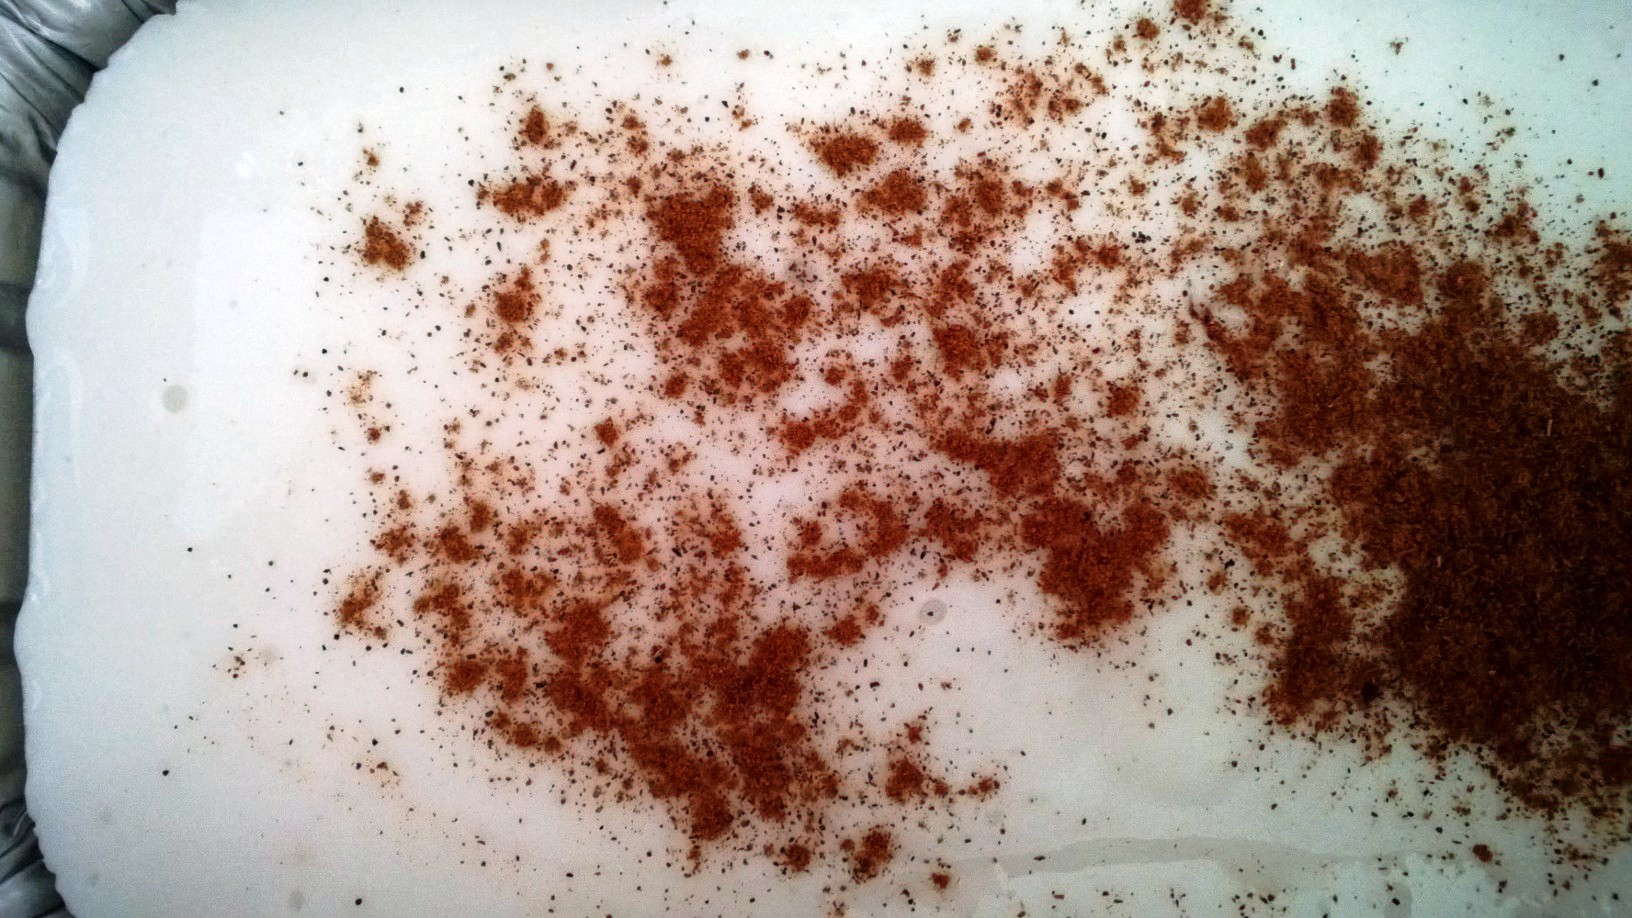
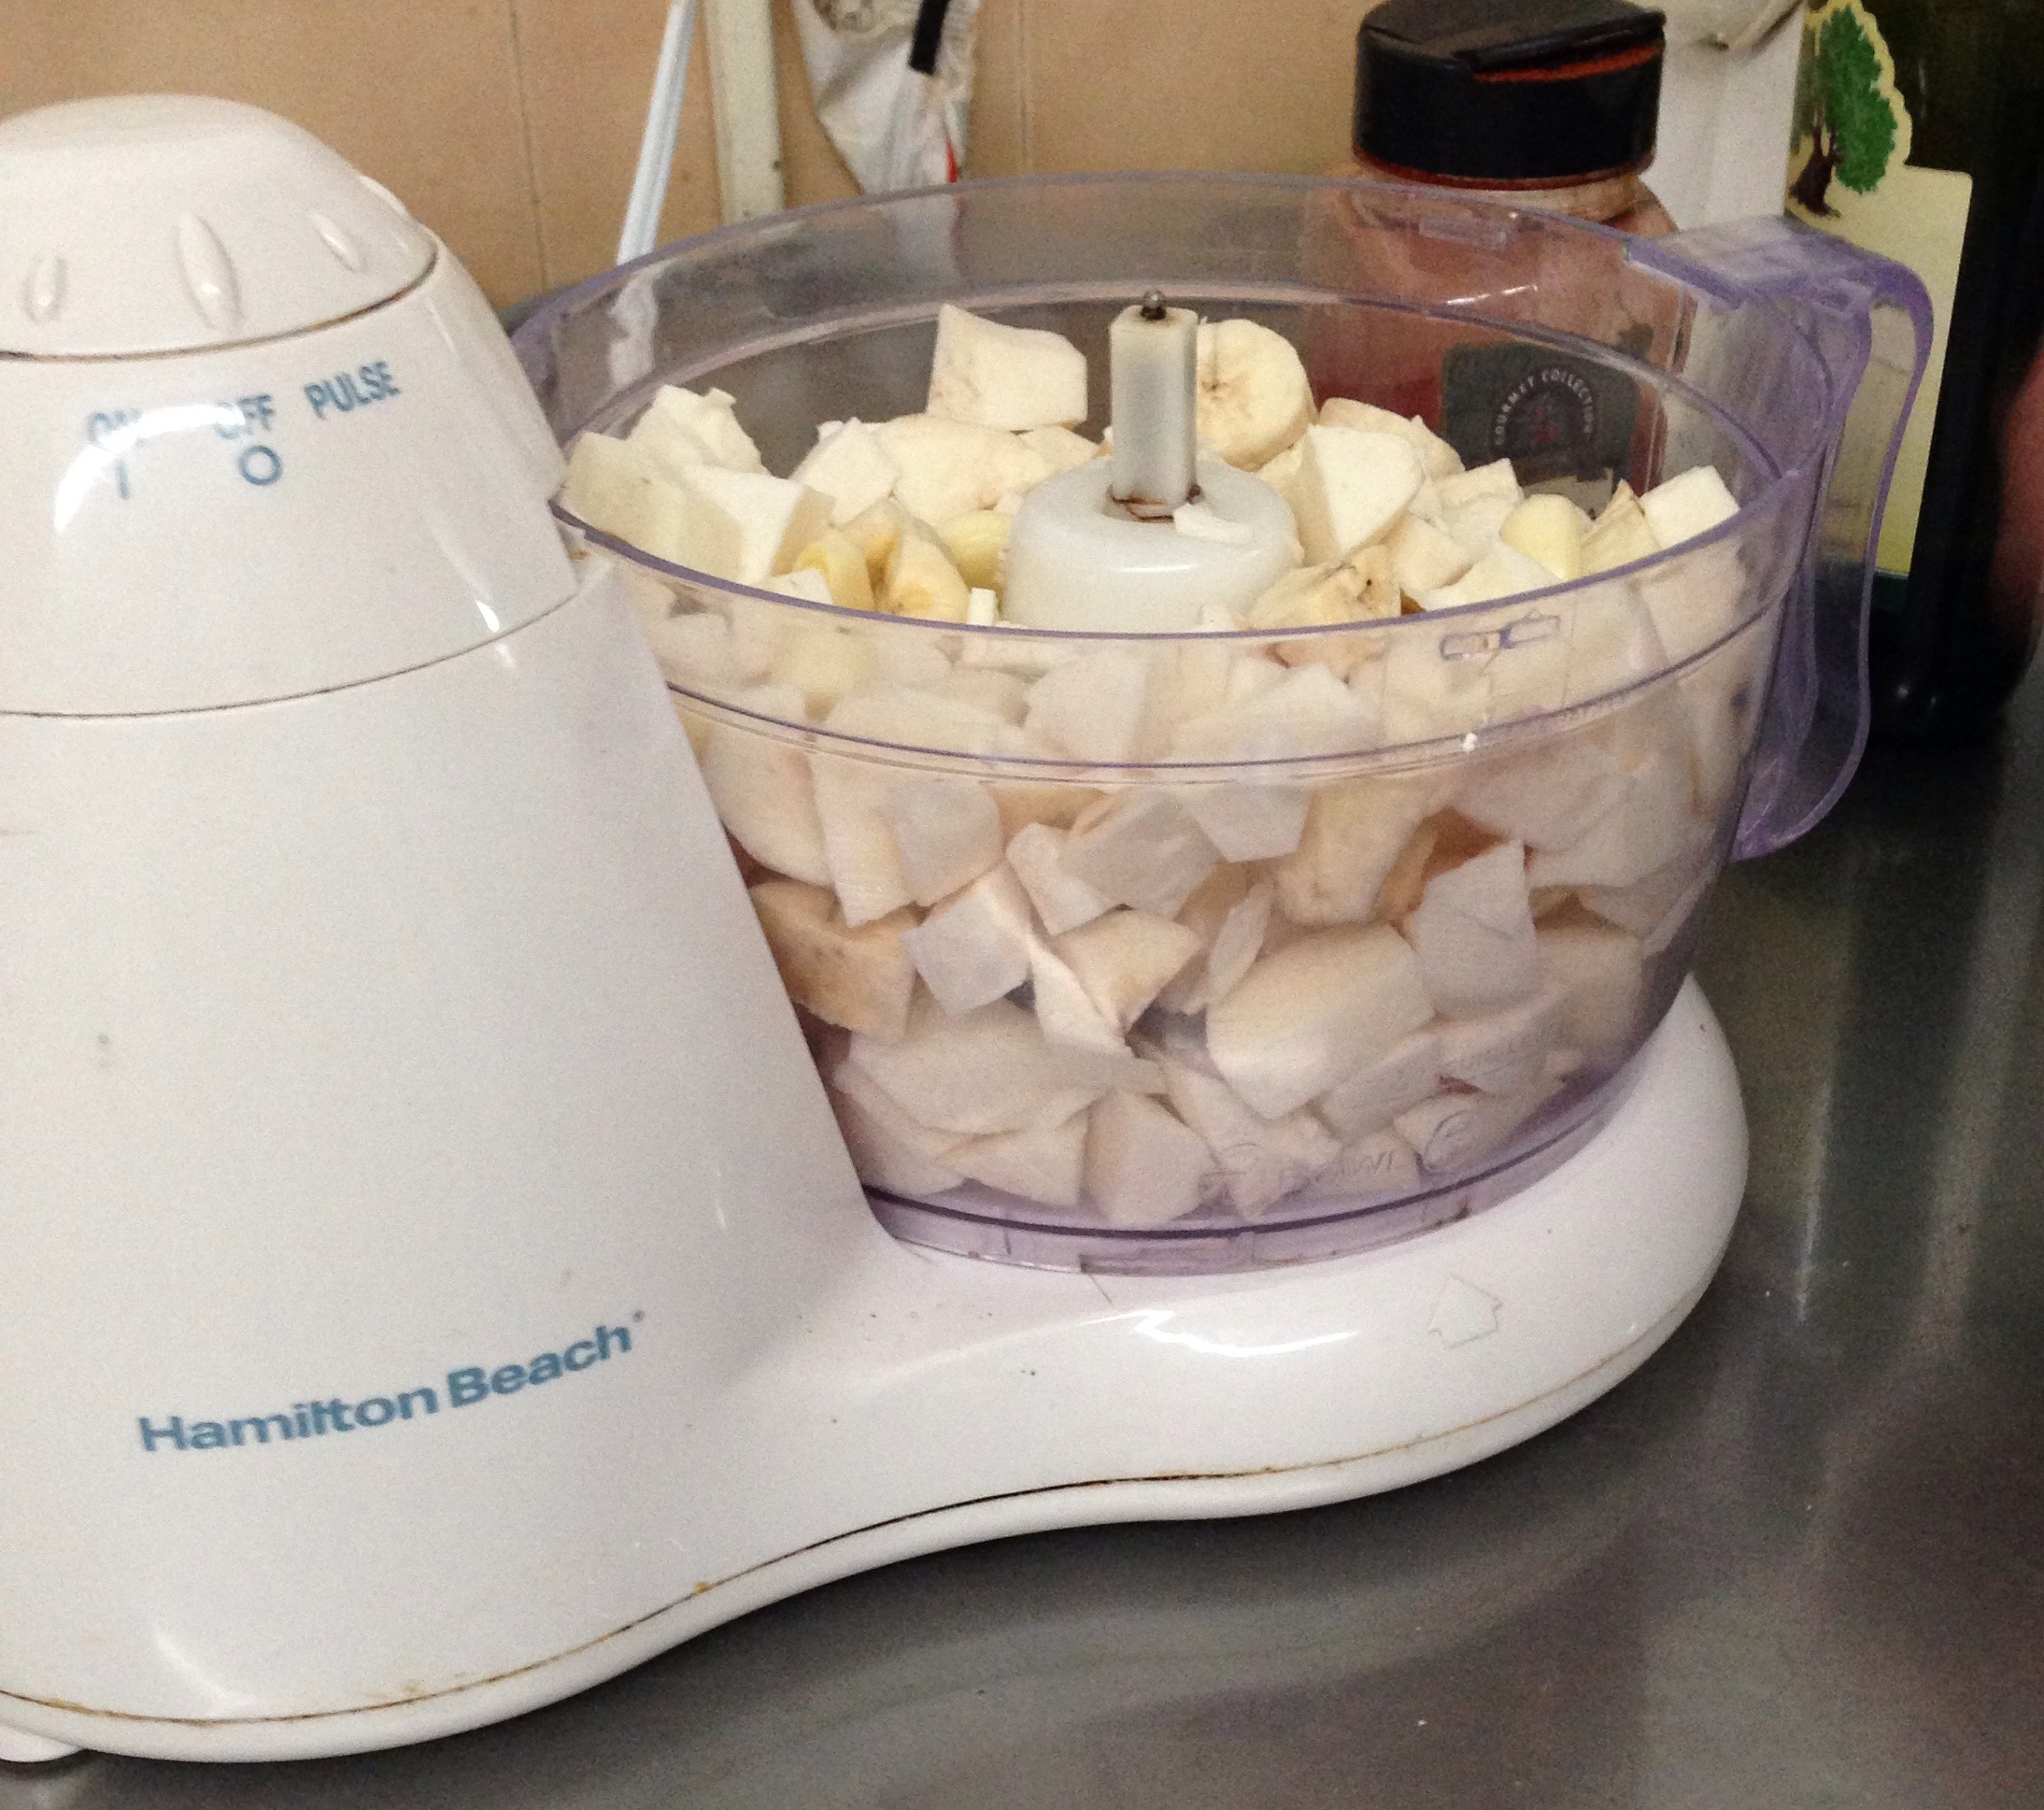
2 medium sized yautías, peeled and cut into small pieces
1 green banana, peeled and cut into small pieces
3 tbs sofrito
2 large garlic cloves, peeled and cut into smaller pieces
1 tsp salt
1 tbs olive oil
Sprinkling of paprika
Frying oil – Grapeseed oil or Canola Oil
  1. Add all the ingredients in a food processor and blend until you create a puree.
  2. With a spatula, scrape off the sides of the bowl of the food processor to make sure all the mix is evenly pureed.
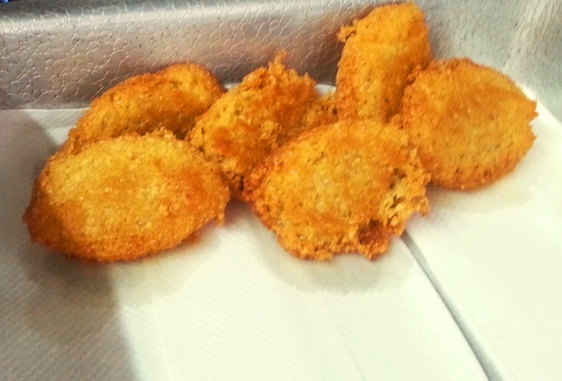
  3. Using a skillet with about ½ inch of oil over medium high heat, fry the fritters creating small mounds with 2 spoons.
  4. When they’re golden brown on both sides, transfer them to a plate with paper towel to soak up any extra oil.

Processing Frituras yautia

These fritters are easy… and delicious. You can make them in a cinch. Perfect for an impromptu parranda. They taste like an alcapurria without the filling.

Masa Frituras Yautia

When we were making them at the cooking class, Angie told me if we had left a bit of the soy filling from the yuca pastelón, we could’ve demonstrated how this masa works for an alcapurrias too.

Coquito Ice Cream

25 Dec

I have been meaning to make an ice cream using my Coquito recipe for years… but recently I asked my mom for her ice cream maker and I have become a frozen dessert maniac.

I educated myself on making ice creams… proportions, flavors, textures. And the best ice creams always included some sort of egg component. And as you know, eggs are no-no’s in KarmaFree Cooking. I was willing to give this project a few tries, but making Coquito takes a few steps and I didn’t want to be wasteful.

I struck gold when I took my ice cream making inquiries to a Facebook group we have – the Serious Eats Water Cooler. There a few friends introduced me to Max Falkowitz, an ice cream guru who’s also part of the editorial team at Serious Eats. Between his recommendations and my friend Jerzee Tomato’s input, I came up with a brilliant combination of texture and smoothness.

Create a custard… without using eggs and mix in the Coquito. Genius!!! The Coquito has fat from the coconut milk, evaporated and condensed milks so all you need to do is add some more to the custard.

I hope you enjoy it as much as we do!   My mom was in awe when she tried it…  as has been each and every person who has tasted it after that.  This was a home run!

Coquito Ice Cream


COQUITO ICE CREAM

2 cups of my Coquito Recipe
1 ¼ cups half and half
2 tsp cornstarch
½ cup brown sugar

First we need to create the components… you can make a batch of Coquito first and then make the cornstarch custard.

  1. In a medium saucepan over medium heat, add 1 cup of half and half and sugar. Add the cornstarch to the remaining ¼ cup half and half. Whisk well to create a slurry and while whisking, add to the saucepan with the rest of the ingredients.
  2. Whisk or stir constantly using a wooden spoon to avoid any lumps while the mixture thickens. It’ll take about 5-6 minutes. The custard is done when it coats the back of a wooden spoon and when you run a finger thru it, the sides of custard will not get back together.
  3. It may look a tad loose, but it’ll thicken in the fridge while it cools.
  4. Transfer the custard to a heatproof bowl or even a glass measuring cup and chill in the fridge at least 2-3 hours. I place a plastic film over the custard to avoid it creating a film on top. You can do this even a few days in advance if you want. Just like making the Coquito in advance.
  5. When you’re ready to assemble the ice cream, in a pitcher bring together 2 cups of Coquito and the cornstarch custard, which should measure just a tad more than 1 cup. Mix well to combine and add to your ice cream maker. Churn 25-30 minutes according to your ice cream machine’s instructions.
  6. Transfer to a container to freeze in the freezer for about 2 hours before serving. It’s delicious right off the ice cream maker… but it’s at its best after a few hours in the freezer.
  7. When you’re about to serve it… leave it a few minutes at room temperature before scooping.

??????????

The end result is a smooth, spicy and creamy ice cream that feels as rich as any premium ice cream around.

Merry Xmas, Happy Holidays and may 2014 be filled with lots of blessings.

Tembleque, my version…

23 Dec

I have several recipes for tembleque here in KarmaFree Cooking…  All of them I have made, all of them I have enjoyed… but none of them I have developed myself.

My friend Aniette told me she makes a recipe she got from YouTube and that her Houston friends, who have never had tembleque, loved. Aniette has never tasted the actual recipe, because she’s allergic to coconut. And no offense to her Houston friends, but the texture of the recipe is not what tembleque should be like… IMHO. It was more like a coconut mousse, not tembleque.

What I really enjoyed about the youtube recipe was that it only had 4 ingredients. Tembleque is a simple recipe that shouldn’t be complex or difficult to make. To me, tembleque is the perfect recipe to teach at a Xmas-themed cooking class.

So I made about 4-5 batches of  tembleque before I felt comfortable to teach who to make it at the most recent KarmaFree Cooking cooking class. The results are tasty, jiggly and smooth like a tembleque should always be.

Tembleque My Way

TEMBLEQUE, My Way

2 cans coconut milk (one large 25oz can)
1 cup water
6tbs cornstarch
2/3 cups brown sugar
¼ tsp salt
1 or 2 sticks of cinnamon
Ground Cinnamon to taste
  1. In a large saucepan or small pot at medium high heat, add the coconut milk. Feel free to use a larger pot than you think you might need so you’ll have enough space to stir the mix.
  2. Add the sugar, salt,  cinnamon sticks and stir well with a wooden spoon.
  3. Add 1 cup of water to the cans to “wash them” from any leftover coconut milk. Add the cornstarch to this water to create a slurry. Mix well with a small whisk and add to the pot on the stove.
  4. Stir the mixture kinda constantly to avoid the cornstarch to fall to the bottom of the pot and create lumps. When the mixture feels it’s starting to thicken, lower the heat so the bottom doesn’t scorch. Continue stirring making a figure 8 until the mixture coats the back of the spoon and when you run your finger thru the coating the side do not come together again.
  5. Transfer to a heat resistant mold or transfer to individual plastic cups for individual servings. I like 3oz cups. They’re a nice little serving and if you want some more, just have 2.
  6. Allow to slightly cool for about 20 minutes on top of the kitchen counter. After that, transfer to the fridge to cool and set for about 2 hours. The final product will set but still be “jiggly” when you shake the mold or cup.K

??????????

KarmaFree Cooking’s 1st Cooking Class

2 Dec

By popular demand!!!!

KarmaFree Cooking will offer its 1st ever official cooking class, this coming Saturday, December 7 at the Centro Cultural Yoga Devanand in Caparra Terrace, Puerto Rico.

cropped-kfc-logo-more-border1.jpg

Together with my friend Angie, I will be offering the class featuring a traditional Xmas menu classics with a vegetarian twist.  The holidays need not be celebrated by harming anyone or anything…


Our class menu will consist of:

  • Arroz con Gandules / Rice with Pigeon Peas
  • Pastelón de Yuca Cruda / Raw Yuca Pastelón – It’s the flavors of a pastel, but in a much easy to make format
  • Green Salad with Delicious Dressing that will have everyone craving more raw foods…
  • Frituras de Yautía / Yautía Fritters – it’s like an alcapurria, without the filling
  • Tembleque – the holidays easiest dessert, and vegan to boot!!
  • Rosemary Almonds – Perfect for a snack for yourself or to give away!


Course will be given in SPANISH.  But if someone interested has limited Spanish knowledge, please let us know and we could make arrangements for those interested.

This is a practical course, you will get your hands dirty and cook alongside me and Angie.  Please bring an apron, pen and paper to take notes.  You’ll leave with a copy of the recipes so you can replicate them with confidence at home.


When: Saturday, December 7, 2013

Where: Centro Cultural Yoga Devanand, Caparra Terrace, San Juan, Puerto Rico

Contribution: $35


Limited seating for up to 15 students…  so please click on the link and reserve your space today.  You can call 787-273-0236 for more information.  Or email me at karmafreecooking{at}yahoo{dot}com.

Te esperamos…

Black Sesame Gomasio

22 Nov

Have you ever had gomasio?? It’s a seasoning made from sesame seeds and salt. I was under the impression it was something that came from India, but according to Wikipedia, apparently is more Japanese.

I learned to enjoy gomasio thanks to Mili at the Yoga Center. She loves it and she would make some and bring to the center. She taught me how to eat it as a condiment sprinkled over salads, but you can certainly enjoy it over soups, rice or anything you want to give a nice salty flavor to.

??????????

You can find prepared gomasio in any gourmet or health food store or supermarket like Whole Foods. I even saw gomasio over at La Grande Epicerie in Paris. But why buy it if it’s so easy to make yourself???

??????????

Black Sesame Gomasio

1 ½ cups black sesame seeds
3 tbs kosher salt

??????????

  1.  In a large sauté pan over medium heat toast the sesame seeds. Toasting black sesame seeds is a bit challenging than toasting the regular white ones. Just keep toasting until the seeds start to pop and jump a little bit out of the pan. Transfer to a heat resistant bowl and allow for the seeds to cool completely. They turn a tad ashy…

??????????

2.  Transfer the cooled sesame seeds to a food processor. Pulse to pulverize the seeds a few times. Add the kosher salt and pulse a few times again until everything combines and becomes a unified powder mix.

Keep in a tight container. I save it in the fridge as the warm temperatures of Puerto Rico can make the seeds rancid very quickly.